Creating an online code editor is a great way to practice web development. In this tutorial, we’ll build a simple online code editor using HTML, CSS, and JavaScript that allows users to write and execute code in real time. This is an essential tool for learning and testing frontend development concepts! 🚀
Features of the Online Code Editor:
✅ Write and test HTML, CSS, and JavaScript in real time 🖥️
✅ Instant output rendering using iframe 🎨
✅ Simple and user-friendly UI design ✍️
✅ No additional libraries required, pure JavaScript ⚡
✅ Perfect for beginners and web developers 🎯
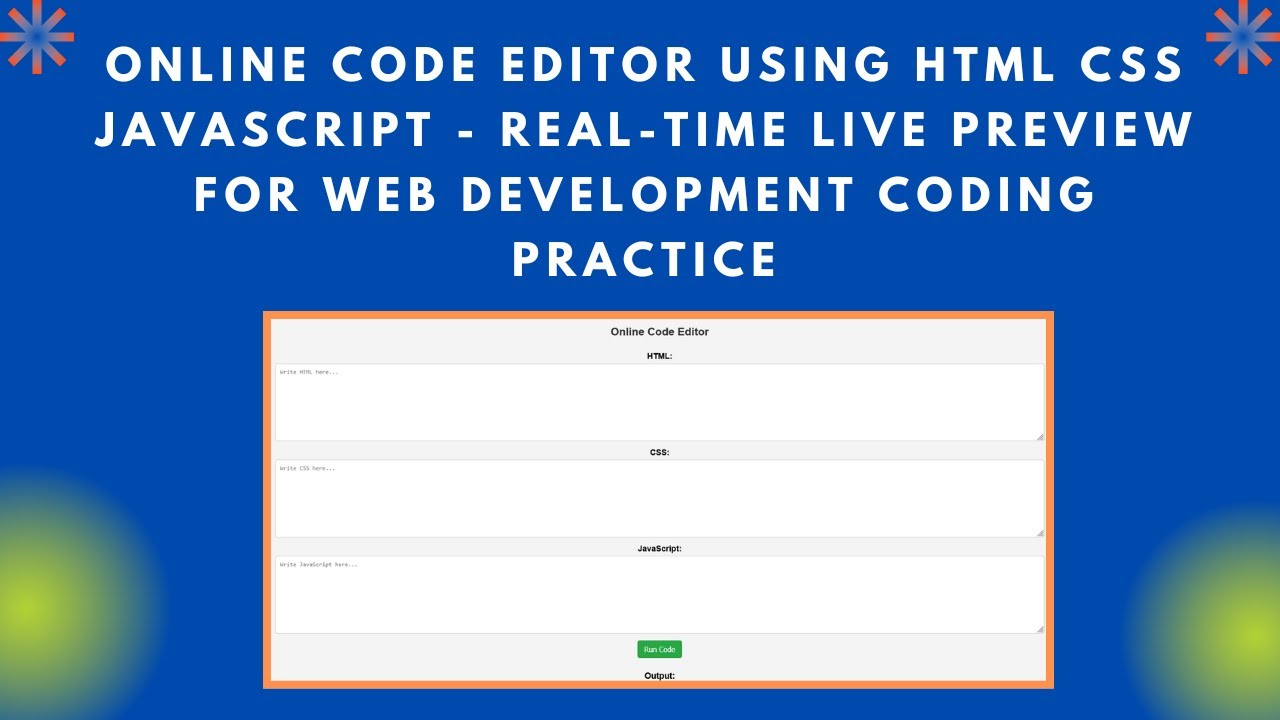
Step 1: HTML Structure
First, we create the structure of our editor with three text areas for HTML, CSS, and JavaScript input, along with a button to execute the code.
<!DOCTYPE html>
<html lang="en">
<head>
    <meta charset="UTF-8">
    <meta name="viewport" content="width=device-width, initial-scale=1.0">
    <title>Online Code Editor</title>
    <link rel="stylesheet" href="styles.css">
</head>
<body>
    <h2>Online Code Editor</h2>
    <label>HTML:</label>
    <textarea id="html" placeholder="Write HTML here..."></textarea>
    <label>CSS:</label>
    <textarea id="css" placeholder="Write CSS here..."></textarea>
    <label>JavaScript:</label>
    <textarea id="js" placeholder="Write JavaScript here..."></textarea>
    <button onclick="runCode()">Run Code</button>
    <h3>Output:</h3>
    <iframe id="output"></iframe>
    <script src="script.js"></script>
</body>
</html>
Step 2: Styling with CSS
To enhance the appearance, we use CSS to style the text areas, buttons, and output frame.
body {
    font-family: Arial, sans-serif;
    display: flex;
    flex-direction: column;
    align-items: center;
    padding: 10px;
    background-color: #f4f4f4;
}
textarea {
    width: 90%;
    height: 150px;
    margin: 5px 0;
    font-family: monospace;
    border: 1px solid #ccc;
    padding: 10px;
    background-color: #fff;
    border-radius: 5px;
}
iframe {
    width: 90%;
    height: 300px;
    border: 1px solid #ddd;
    background-color: #fff;
    margin-top: 10px;
    border-radius: 5px;
}
button {
    padding: 10px 15px;
    margin: 10px 0;
    background-color: #28a745;
    color: white;
    border: none;
    border-radius: 5px;
    cursor: pointer;
    font-size: 16px;
}
button:hover {
    background-color: #218838;
}
Step 3: JavaScript Logic
The JavaScript function captures the user input, combines it, and injects it into the iframe to display the result dynamically.
function runCode() {
    const html = document.getElementById("html").value;
    const css = `<style>${document.getElementById("css").value}</style>`;
    const js = `<script>${document.getElementById("js").value}</scr` + `ipt>`;

    const iframe = document.getElementById("output").contentWindow.document;
    iframe.open();
    iframe.write(html + css + js);
    iframe.close();
}
Final Thoughts 🎯
Congratulations! 🎉 You have successfully built an Online Code Editor with HTML, CSS, and JavaScript. This tool helps beginners test and learn web development concepts interactively.
Additional Enhancements:
- Add dark mode for a better user experience 🌙
- Save and load user code using local storage 💾
- Improve UI with CSS frameworks like Bootstrap 🎨
- Expand functionality to support code sharing 🔗
📌 Video Tutorial & Code Repository
🎥 Watch the Video Tutorial:
💾 GitHub Repository: View Code
If you enjoyed this tutorial, don’t forget to like, comment, and subscribe to Madras Academy for more web development tutorials! 🚀