
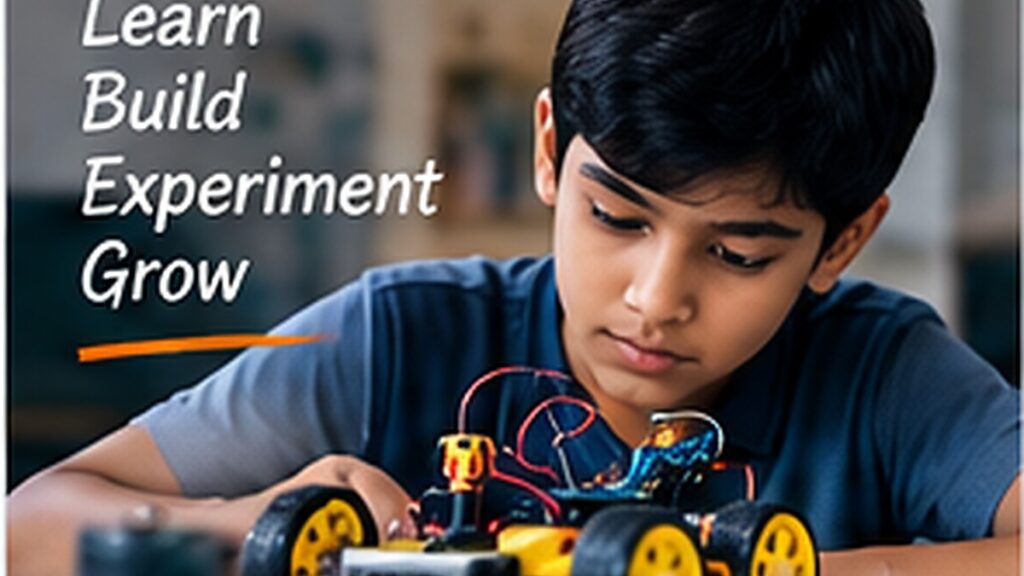
Arduino is a good entry point into physical computing because students can connect code to real-world outputs such as lights, buzzers, motors and displays. The best beginner projects are small enough to troubleshoot but still demonstrate a complete input–process–output system.
This guide focuses on practical learning: understand the idea, try a small version, test it, document what happens and improve it. That approach is more useful for students than collecting isolated facts without applying them.
Before you start
An Arduino Uno or compatible board, a breadboard, jumper wires, LEDs, resistors and a USB cable are enough to begin. Add sensors and motors only as each project needs them.
Students should learn how to identify 5V, GND, digital pins and analog pins before wiring components. Always disconnect power before changing the circuit.
- Arduino Uno/Nano
- breadboard
- jumper wires
- LEDs and 220Ω resistors
- USB cable
- multimeter if available
1. Traffic light controller
Create a sequence of red, amber and green LEDs using delays. Then improve it by adding a pedestrian push button. This teaches digital outputs, timing and state changes.
2. Automatic street light
Use an LDR in a voltage-divider circuit to measure light level. When the sensor value drops below a threshold, switch the LED street lights on automatically.
3. Temperature monitor
Read a DHT11, LM35 or DS18B20 sensor and display the temperature in the Serial Monitor or on an LCD/OLED.
4. Ultrasonic distance meter
An HC-SR04 sensor sends an ultrasonic pulse and measures the return time. Convert that time into distance and show the result on a display.
5. Smart dustbin
Detect a nearby hand with an ultrasonic sensor and rotate a servo to open the lid.
6. Soil-moisture plant alert
Measure soil moisture and light an LED or buzzer when the soil becomes too dry.
7. Digital visitor counter
Use one or two sensors to detect movement through a doorway and update a count on a display.
8. Gas or smoke alert
Connect an MQ-series sensor and activate a buzzer above a safe test threshold. Never release combustible gas deliberately.
9. Servo-controlled barrier gate
Use a button, IR sensor or ultrasonic sensor to open and close a small model barrier.
10. Obstacle-avoiding robot
Combine an ultrasonic sensor, motor driver and two geared motors. The robot moves until an obstacle is detected, then changes direction.
A sensible learning order
- Start with LEDs and buttons.
- Read one analog sensor such as an LDR.
- Add a display or buzzer.
- Control a servo motor.
- Control DC motors through a motor driver.
- Combine two sensors in one project.
- Build one complete project and document it.
Common mistakes to avoid
- Connecting motors directly to Arduino pins
- Forgetting a common ground between modules
- Using a sensor library without checking its example first
- Building the entire project before testing individual components
- Copying code without knowing which pins and threshold values must change
Frequently asked questions
Which Arduino board is best for beginners?
Arduino Uno and compatible boards are easy to learn because most tutorials and examples use the same pin layout.
Do I need to know C++ first?
No. Students can learn the required Arduino syntax gradually, although understanding variables, conditions, loops and functions makes projects easier.
Can Arduino projects be used in school exhibitions?
Yes. Choose a safe low-voltage project, label the components clearly and prepare a simple explanation of the sensor, logic and output.
Final thoughts
Pick one project that uses only one new component, finish it properly and then reuse that knowledge in a slightly more advanced build.
Madras Academy tip: keep photos, diagrams, code links, test notes and a short explanation for every project or learning activity. A clear portfolio makes progress visible and helps students explain what they actually learned.