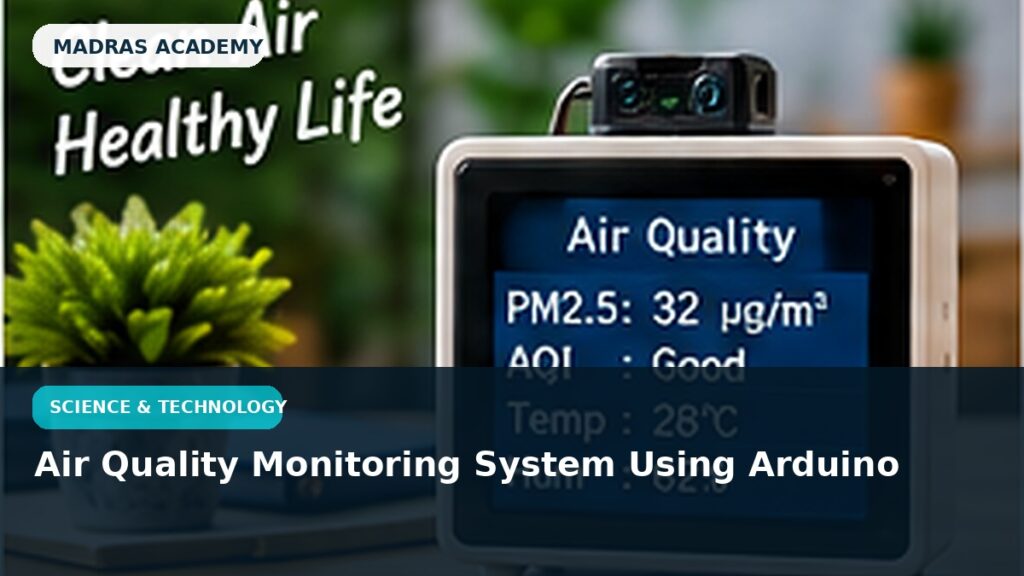
An Arduino air-quality monitor can help students learn how environmental sensors are read, calibrated and displayed. It is important to present the project as an educational indicator system, not as a certified health or regulatory instrument.
This tutorial is designed for students who want to understand the project rather than only copy a finished model. Build one part at a time, test each section, record what changes and prepare a short explanation of the science or engineering principle.
Possible sensors
An MQ-series sensor can respond to certain gases and vapours but is not a direct replacement for a calibrated particulate or professional air-quality instrument. A DHT11/DHT22 can add temperature and humidity.
- Arduino Uno/Nano
- MQ-series gas sensor
- DHT11/DHT22
- LCD/OLED display
- buzzer/LED
- breadboard
- 5V supply
Understanding sensor values
Many low-cost sensors output a raw analog value. That value changes with environment and sensor condition. Students should observe relative changes and avoid claiming exact pollutant concentration unless the sensor has been appropriately calibrated.
Display and alert logic
Show the raw or interpreted status on an LCD/OLED. A simple threshold can change an LED from green to amber/red or activate a buzzer for demonstration.
Add data logging
Advanced students can record readings over time using a computer, SD card or ESP32 connection, then create a graph of how the value changes in different locations.
Step-by-step build
- Connect the gas/air sensor and read the raw analog value.
- Allow any sensor warm-up time specified by its documentation.
- Connect the temperature-humidity sensor and verify readings separately.
- Add an LCD/OLED display.
- Define simple demonstration thresholds based on observed baseline values.
- Add LED or buzzer status output.
- Compare readings in several safe locations without exposing the sensor to hazardous concentrations.
- Create a chart and explain the limitations of the sensor.
Common mistakes to avoid
- Presenting a hobby sensor as a certified AQI instrument
- Ignoring warm-up and calibration requirements
- Testing with dangerous smoke or chemical vapours
- Using arbitrary thresholds without observing baseline behaviour
- Confusing gas-sensor readings with particulate PM2.5 measurements
Frequently asked questions
Can an MQ sensor measure official AQI?
Not by itself. Official AQI calculations use specific pollutant measurements and calibrated instrumentation. A school project should describe MQ readings as indicative sensor values.
Why do readings drift?
Low-cost gas sensors can be affected by temperature, humidity, warm-up, aging and other gases.
Can I add IoT monitoring?
Yes. An ESP32 can send readings to a local dashboard or cloud service for an advanced version.
Conclusion
The most important learning outcome is understanding how sensors produce imperfect measurements and how responsible engineers describe those limitations.
Madras Academy project tip: add a block diagram, component labels, photos of testing, a simple results table and two or three viva answers. That makes the project easier to explain and shows genuine understanding.