
Introduction
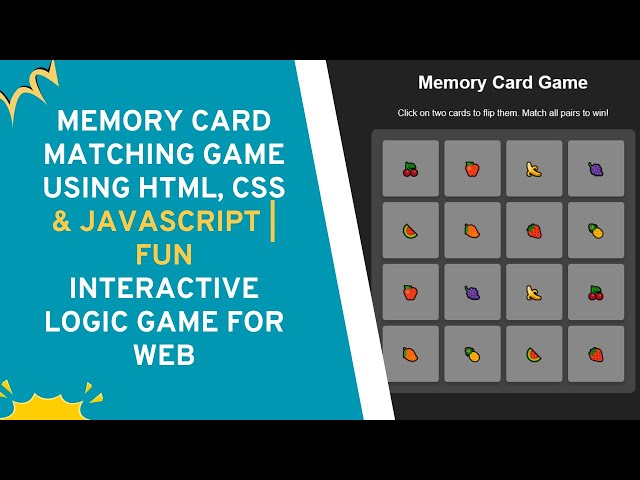
Want to create a fun and interactive game using HTML, CSS, and JavaScript? In this tutorial, we’ll guide you step by step to build a Memory Card Game where players flip cards to find matching pairs. This project is great for practicing DOM manipulation and event handling while having fun! 🚀🎯
What You’ll Learn
✅ Designing a grid-based memory game layout using CSS 🎨
✅ Handling click events and card flipping with JavaScript 🖱️
✅ Implementing randomized card shuffling for a fresh game each time 🎲
✅ Adding smooth animations and transitions for a polished UI ✨
✅ Enhancing game logic to detect matches and track progress 🎯
Step 1: Creating the Game Layout with HTML
We’ll start by setting up a simple grid-based structure for our memory card game.
<div class="game-container" id="gameBoard"></div>The game board will be dynamically populated with cards using JavaScript.
Step 2: Styling the Game with CSS
To make the game visually appealing, we’ll use CSS for the layout and animations.
.game-container {
  display: grid;
  grid-template-columns: repeat(4, 100px);
  grid-gap: 10px;
  background: #444;
  padding: 20px;
  border-radius: 10px;
}
.card {
  width: 100px;
  height: 100px;
  background-color: white;
  display: flex;
  justify-content: center;
  align-items: center;
  font-size: 24px;
  cursor: pointer;
  border-radius: 5px;
  transition: background 0.3s ease, transform 0.2s ease;
}
.card.hidden {
  background-color: #888;
  color: #888;
}
Step 3: Writing JavaScript Logic
Now, let’s add JavaScript to handle card flipping, matching logic, and shuffling.
const symbols = ['🍎', '🍌', '🍒', '🍇', '🍉', '🍓', '🍍', '🥭'];
let cards = [...symbols, ...symbols];
cards.sort(() => 0.5 - Math.random());

const gameBoard = document.getElementById("gameBoard");
let firstCard = null;
let secondCard = null;

function createCard(symbol) {
  const card = document.createElement("div");
  card.classList.add("card", "hidden");
  card.textContent = symbol;
  card.addEventListener("click", () => flipCard(card));
  gameBoard.appendChild(card);
}

function flipCard(card) {
  if (!firstCard) {
    firstCard = card;
    card.classList.remove("hidden");
  } else if (!secondCard && card !== firstCard) {
    secondCard = card;
    card.classList.remove("hidden");
    checkMatch();
  }
}

function checkMatch() {
  if (firstCard.textContent === secondCard.textContent) {
    firstCard = null;
    secondCard = null;
  } else {
    setTimeout(() => {
      firstCard.classList.add("hidden");
      secondCard.classList.add("hidden");
      firstCard = null;
      secondCard = null;
    }, 1000);
  }
}

cards.forEach(createCard);
Step 4: Enhancing the Game with Animations
To make the game feel more interactive, we add smooth transitions when flipping cards.
.card:hover {
  transform: scale(1.05);
}
Video Tutorial 🎥
For a full step-by-step tutorial, check out the video below:
Conclusion
Congratulations! 🎉 You’ve successfully built a Memory Card Game using HTML, CSS, and JavaScript. This project is perfect for sharpening your web development skills. Try adding a timer, a move counter, or a restart button to make it even more engaging!
💡 Source Code: GitHub Repository
If you enjoyed this tutorial, don’t forget to like, comment, and share it with others. Subscribe to Madras Academy for more exciting web development tutorials! 🚀🎥
#HTML #CSS #JavaScript #MemoryGame #WebDevelopment #FrontendDevelopment #GameDevelopment #Coding #TechTutorial #InteractiveDesign #CreativeCoding