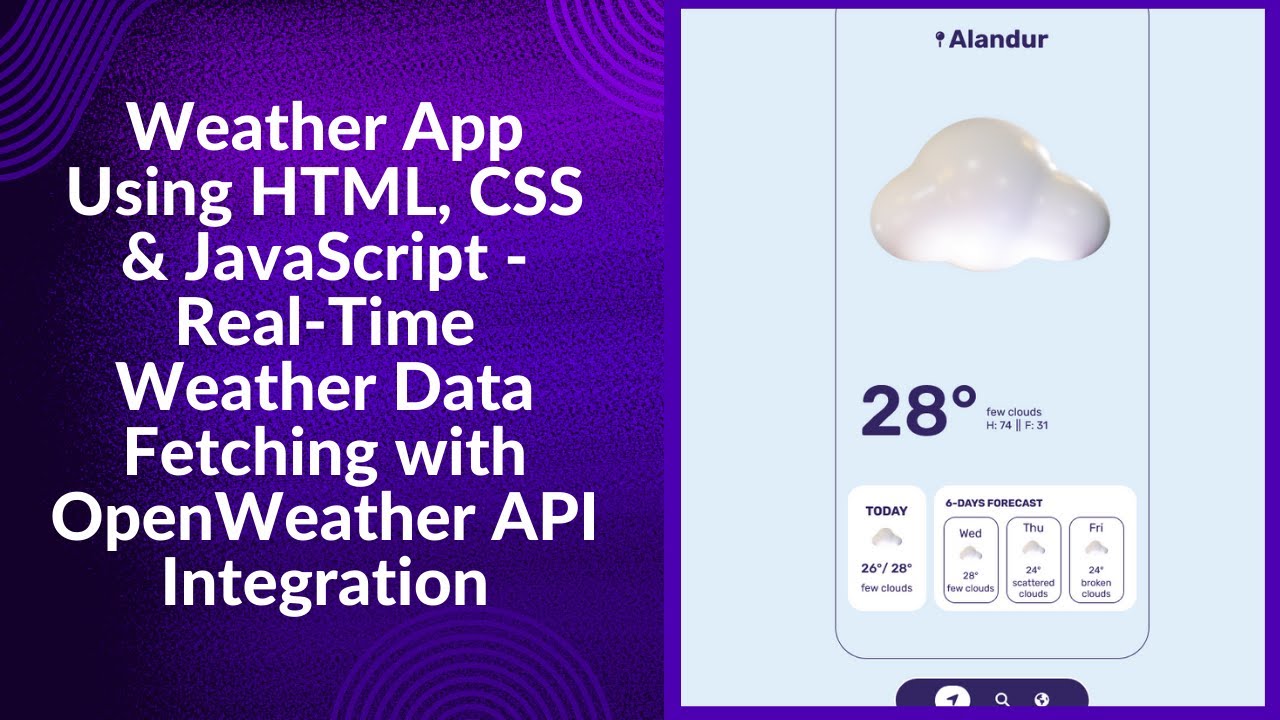
Are you looking to create a dynamic web application that fetches real-time weather data? In this step-by-step tutorial, you’ll learn how to build a Weather App using HTML, CSS, and JavaScript. This interactive project will help you practice working with APIs, user input handling, and UI design to create a functional and visually appealing weather application. 🌍☁️
What You’ll Learn 📚
✅ Structuring the weather app layout using HTML 📋
✅ Styling the user interface for a modern and clean look with CSS 🎨
✅ Fetching real-time weather data from an API using JavaScript 🌍
✅ Handling user input and dynamically updating the UI 🖥️
✅ Displaying weather conditions with icons and animations ⛅
By the end of this tutorial, you will have a fully functional weather app that can be customized and enhanced with additional features.
Step 1: Setting Up the HTML Structure
First, let’s start by creating the basic structure of our weather app using HTML. This will include an input field for the user to enter a city name, a search button, and a section to display the weather details.
<!DOCTYPE html>
<html lang="en">
<head>
    <meta charset="UTF-8">
    <meta name="viewport" content="width=device-width, initial-scale=1.0">
    <title>Weather App</title>
    <link rel="stylesheet" href="styles.css">
</head>
<body>
    <div class="container">
        <h2>Weather App</h2>
        <input type="text" id="city" placeholder="Enter city name">
        <button onclick="getWeather()">Get Weather</button>
        <div id="weather-info"></div>
    </div>
    <script src="script.js"></script>
</body>
</html>
Step 2: Styling the Weather App with CSS
To make our app visually appealing, let’s add some CSS styles.
body {
    font-family: Arial, sans-serif;
    display: flex;
    flex-direction: column;
    align-items: center;
    justify-content: center;
    height: 100vh;
    background: linear-gradient(135deg, #6dd5ed, #2193b0);
    margin: 0;
    text-align: center;
    color: white;
}
.container {
    background: rgba(255, 255, 255, 0.2);
    padding: 20px;
    border-radius: 10px;
    box-shadow: 0px 5px 10px rgba(0, 0, 0, 0.2);
    width: 300px;
}
input {
    width: 100%;
    padding: 10px;
    margin: 10px 0;
    border: none;
    border-radius: 5px;
}
button {
    background: #ff4757;
    color: white;
    border: none;
    padding: 10px 15px;
    font-size: 16px;
    cursor: pointer;
    border-radius: 5px;
}
button:hover {
    background: #e84118;
}
Step 3: Fetching Real-Time Weather Data with JavaScript
Now, let’s write the JavaScript code to fetch weather data from an API and display it.
function getWeather() {
    const city = document.getElementById("city").value;
    const apiKey = "your_api_key";
    const url = `https://api.openweathermap.org/data/2.5/weather?q=${city}&appid=${apiKey}&units=metric`;

    fetch(url)
        .then(response => response.json())
        .then(data => {
            const weatherInfo = `
                <h3>${data.name}, ${data.sys.country}</h3>
                <p>Temperature: ${data.main.temp}°C</p>
                <p>Humidity: ${data.main.humidity}%</p>
                <p>Weather: ${data.weather[0].description}</p>
            `;
            document.getElementById("weather-info").innerHTML = weatherInfo;
        })
        .catch(error => console.error("Error fetching weather data:", error));
}
Final Thoughts 🎯
With this simple yet powerful Weather App, you now have a functional project that fetches real-time weather data and displays it dynamically. You can further enhance it by adding features like:
✅ Weather icons based on conditions 🌦️
✅ Background images that change with the weather 🌄
✅ Auto-location detection to get the weather instantly 📍
Watch the Video Tutorial 🎥
📺 Watch the full tutorial on Madras Academy’s YouTube Channel:
For more exciting web development tutorials, don’t forget to like, comment, and subscribe to Madras Academy! 🚀
Code Repository 💾
Access the complete source code on GitHub:
🔗 Weather App GitHub Repository

