
In this guide, we’ll walk through creating an engaging AI chatbot interface using HTML, CSS, and JavaScript. You’ll learn how to design a user-friendly chat layout, handle user input, and simulate AI-like responses for a seamless, interactive experience.
Features of the AI Chatbot
✅ Modern chat UI with HTML and CSS 🎨
✅ Handling user input dynamically with JavaScript ⚡
✅ AI-like chatbot responses 🤖
✅ Smooth scrolling and animations ✨
✅ Responsive design for a better user experience 🖥️
Step 1: HTML Structure
We start by creating the basic HTML layout for our chatbot interface:
<!DOCTYPE html>
<html lang="en">
<head>
<meta charset="UTF-8">
<meta name="viewport" content="width=device-width, initial-scale=1.0">
<title>AI Chatbot Interface</title>
</head>
<body>
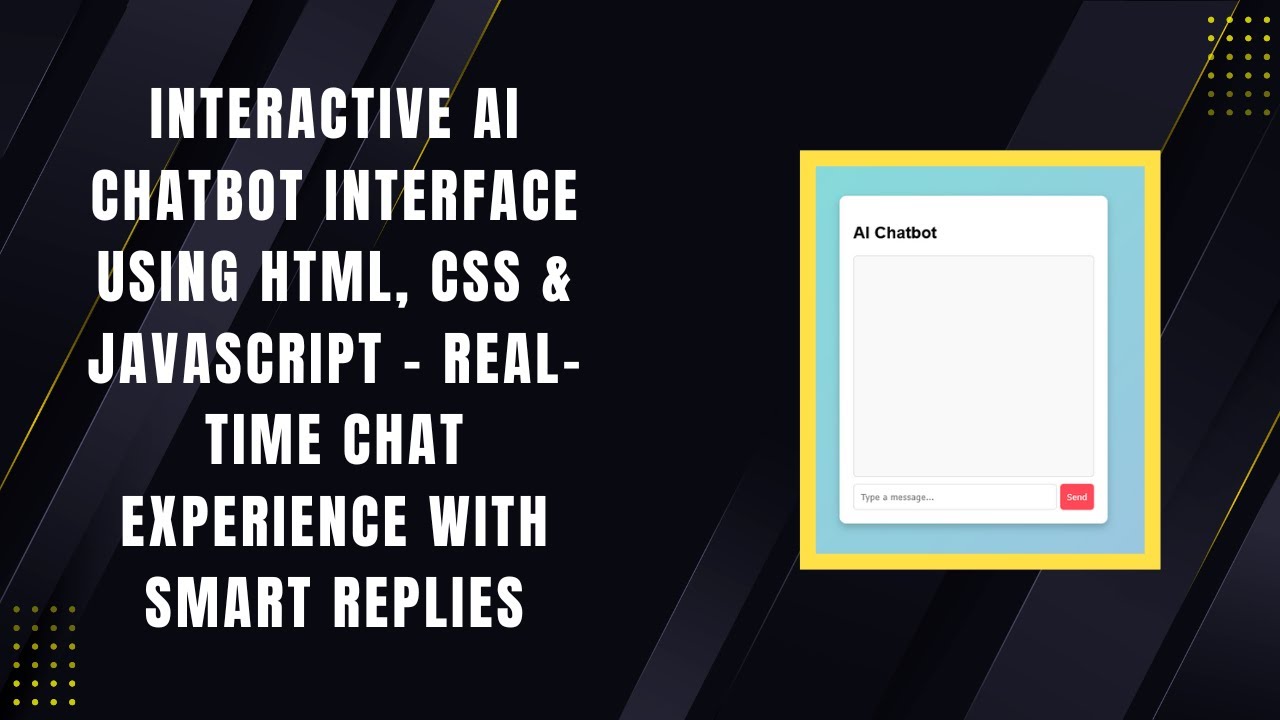
<div class="chat-container">
<h2>AI Chatbot</h2>
<div class="chat-box" id="chatBox"></div>
<div class="input-container">
<input type="text" id="userInput" placeholder="Type a message..." onkeypress="handleKeyPress(event)">
<button onclick="sendMessage()">Send</button>
</div>
</div>
</body>
</html>This creates a chatbox, an input field, and a button for sending messages.
Step 2: Styling with CSS
To make our chatbot visually appealing, we add the following CSS:
body {
    font-family: Arial, sans-serif;
    display: flex;
    justify-content: center;
    align-items: center;
    height: 100vh;
    background: linear-gradient(135deg, #74ebd5, #acb6e5);
    margin: 0;
}
.chat-container {
    width: 350px;
    background: white;
    padding: 20px;
    border-radius: 10px;
    box-shadow: 0px 5px 10px rgba(0, 0, 0, 0.2);
    display: flex;
    flex-direction: column;
}
.chat-box {
    height: 300px;
    overflow-y: auto;
    padding: 10px;
    border: 1px solid #ddd;
    border-radius: 5px;
    background: #f9f9f9;
    display: flex;
    flex-direction: column;
}
.message {
    padding: 8px 12px;
    border-radius: 10px;
    margin: 5px 0;
    max-width: 80%;
}
.user {
    background: #ff4757;
    color: white;
    align-self: flex-end;
}
.bot {
    background: #3498db;
    color: white;
    align-self: flex-start;
}
.input-container {
    display: flex;
    margin-top: 10px;
}
input {
    flex: 1;
    padding: 10px;
    border: 1px solid #ddd;
    border-radius: 5px;
    outline: none;
}
button {
    background: #ff4757;
    color: white;
    border: none;
    padding: 10px;
    margin-left: 5px;
    border-radius: 5px;
    cursor: pointer;
}
button:hover {
    background: #e84118;
}
Step 3: JavaScript for Chatbot Logic
Now, let’s add JavaScript to handle user input and bot responses:
function sendMessage() {
    let userInput = document.getElementById("userInput").value.trim();
    if (userInput === "") return;

    addMessage(userInput, "user");
    document.getElementById("userInput").value = "";
    setTimeout(() => {
        let botResponse = getBotResponse(userInput);
        addMessage(botResponse, "bot");
    }, 1000);
}

function addMessage(text, sender) {
    let chatBox = document.getElementById("chatBox");
    let messageDiv = document.createElement("div");
    messageDiv.classList.add("message", sender);
    messageDiv.innerText = text;
    chatBox.appendChild(messageDiv);
    chatBox.scrollTop = chatBox.scrollHeight;
}

function getBotResponse(input) {
    input = input.toLowerCase();
    const responses = {
        "hi": "Hello! How can I help you?",
        "hello": "Hi there! What do you need?",
        "how are you": "I'm just a bot, but I'm doing great! 😊",
        "what is your name": "I'm ChatBot, your AI assistant!",
        "bye": "Goodbye! Have a great day!",
        "thanks": "You're welcome! 😊"
    };
    return responses[input] || "Sorry, I didn't understand that. Can you rephrase?";
}

function handleKeyPress(event) {
    if (event.key === "Enter") {
        sendMessage();
    }
}
Demo Video 📺
Check out the step-by-step tutorial in this video:
Conclusion
By following this guide, you’ve built a fully functional AI chatbot using HTML, CSS, and JavaScript. This project is a great starting point for creating more advanced chatbots with AI-powered responses.
Want More?
🔗 GitHub Repository
📢 Like, Share & Subscribe to Madras Academy for more coding tutorials! 🚀