
Introduction
A search bar with autocomplete functionality enhances user experience by providing real-time suggestions while typing. In this tutorial, we will create a sleek and interactive autocomplete search bar using HTML, CSS, and JavaScript. This feature helps users quickly find what they are looking for with minimal typing effort.
Features
✅ Modern and stylish search bar design 🎨
✅ Real-time search suggestions using JavaScript ⚡
✅ Dynamic filtering of search results 🔍
✅ Click-to-select functionality for suggestions 🖱️
✅ Smooth animations for a better user experience ✨
Live Demo & Source Code
Check out the complete source code on GitHub:
GitHub Repository
Step-by-Step Guide
1. Creating the Basic Structure with HTML
First, we will set up the basic structure using HTML:
<!DOCTYPE html>
<html lang="en">
<head>
<meta charset="UTF-8">
<meta name="viewport" content="width=device-width, initial-scale=1.0">
<title>Enhanced Autocomplete Search Bar</title>
<link rel="stylesheet" href="styles.css">
</head>
<body>
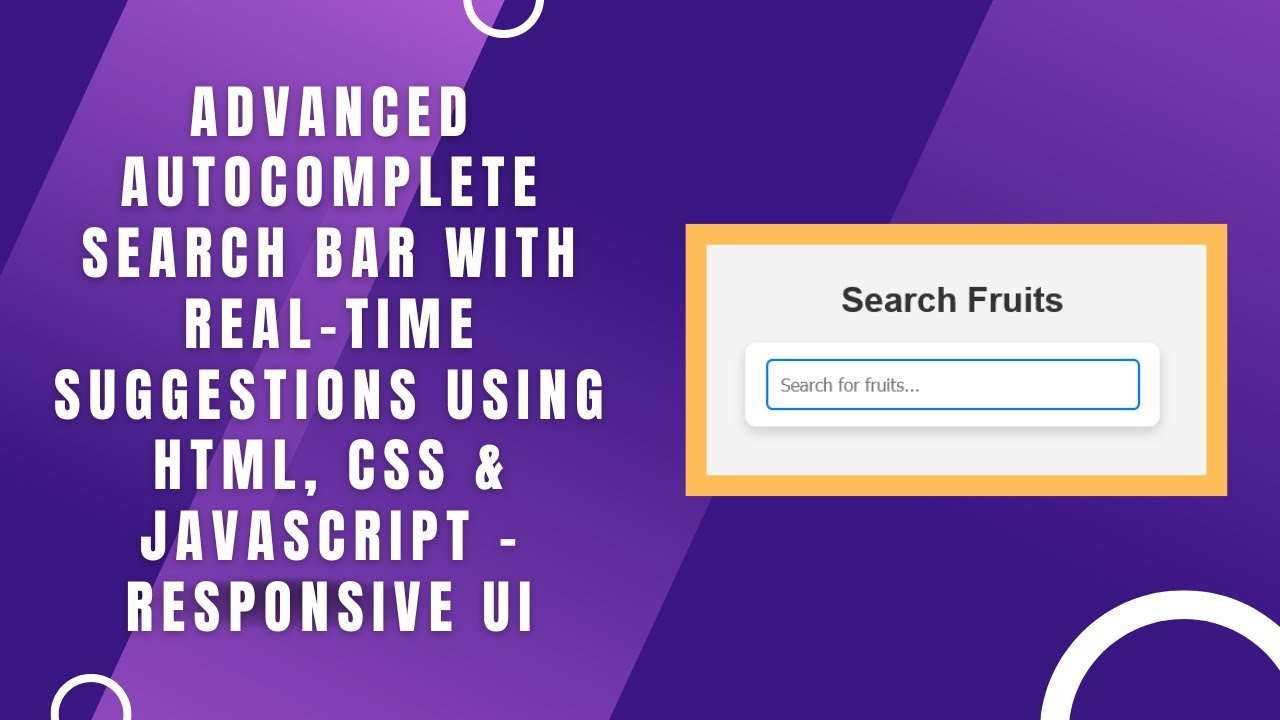
<h1>Search Fruits</h1>
<div class="search-container">
<input type="text" id="searchBox" placeholder="Search for fruits..." oninput="showSuggestions()">
<div class="suggestions" id="suggestionsBox"></div>
</div>
<script src="script.js"></script>
</body>
</html>2. Styling the Search Bar with CSS
The CSS below gives the search bar a modern look with rounded corners, shadow effects, and smooth transitions.
body {
    font-family: Arial, sans-serif;
    background: #f4f4f4;
    text-align: center;
    padding: 50px;
}

h1 {
    color: #333;
    margin-bottom: 20px;
}

.search-container {
    position: relative;
    width: 350px;
    margin: auto;
    background: white;
    padding: 15px;
    border-radius: 10px;
    box-shadow: 0px 5px 10px rgba(0, 0, 0, 0.15);
}

input {
    width: 90%;
    padding: 12px;
    border: 2px solid #007BFF;
    border-radius: 6px;
    outline: none;
    font-size: 16px;
}

.suggestions {
    position: absolute;
    width: 100%;
    background: white;
    border: 1px solid #ccc;
    border-top: none;
    max-height: 200px;
    overflow-y: auto;
    display: none;
    border-radius: 6px;
    box-shadow: 0px 5px 10px rgba(0, 0, 0, 0.1);
    z-index: 1000;
}

.suggestions div {
    padding: 15px;
    cursor: pointer;
    transition: background 0.3s ease;
    font-size: 14px;
}

.suggestions div:hover {
    background: #007BFF;
    color: white;
}
3. Adding JavaScript for Autocomplete Functionality
The JavaScript code dynamically filters and displays suggestions as the user types.
const suggestions = ["Apple", "Banana", "Cherry", "Date", "Grape", "Mango", "Orange", "Peach", "Pear", "Pineapple", "Strawberry", "Watermelon"];
const searchBox = document.getElementById("searchBox");
const suggestionsBox = document.getElementById("suggestionsBox");

function showSuggestions() {
    const query = searchBox.value.toLowerCase();
    suggestionsBox.innerHTML = "";
    if (!query) {
        suggestionsBox.style.display = "none";
        return;
    }
    const filteredSuggestions = suggestions.filter(item => item.toLowerCase().includes(query));
    if (filteredSuggestions.length) {
        suggestionsBox.style.display = "block";
        filteredSuggestions.forEach(item => {
            const div = document.createElement("div");
            div.textContent = item;
            div.onclick = () => {
                searchBox.value = item;
                suggestionsBox.style.display = "none";
            };
            suggestionsBox.appendChild(div);
        });
    } else {
        suggestionsBox.style.display = "none";
    }
}

document.addEventListener("click", (event) => {
    if (!event.target.closest(".search-container")) {
        suggestionsBox.style.display = "none";
    }
});
Conclusion
Congratulations! 🎉 You have successfully built an enhanced autocomplete search bar using HTML, CSS, and JavaScript. This feature is great for improving user experience on websites by providing instant search suggestions.
Next Steps
- Expand the search list dynamically from an API.
- Add categories for better organization.
- Implement debounce to optimize performance.
📌 If you found this tutorial helpful, don’t forget to check out more coding resources and subscribe to Madras Academy for more exciting web development tutorials! 🚀
Stay connected!
🔗 GitHub Repository: View Code
#HappyCoding!