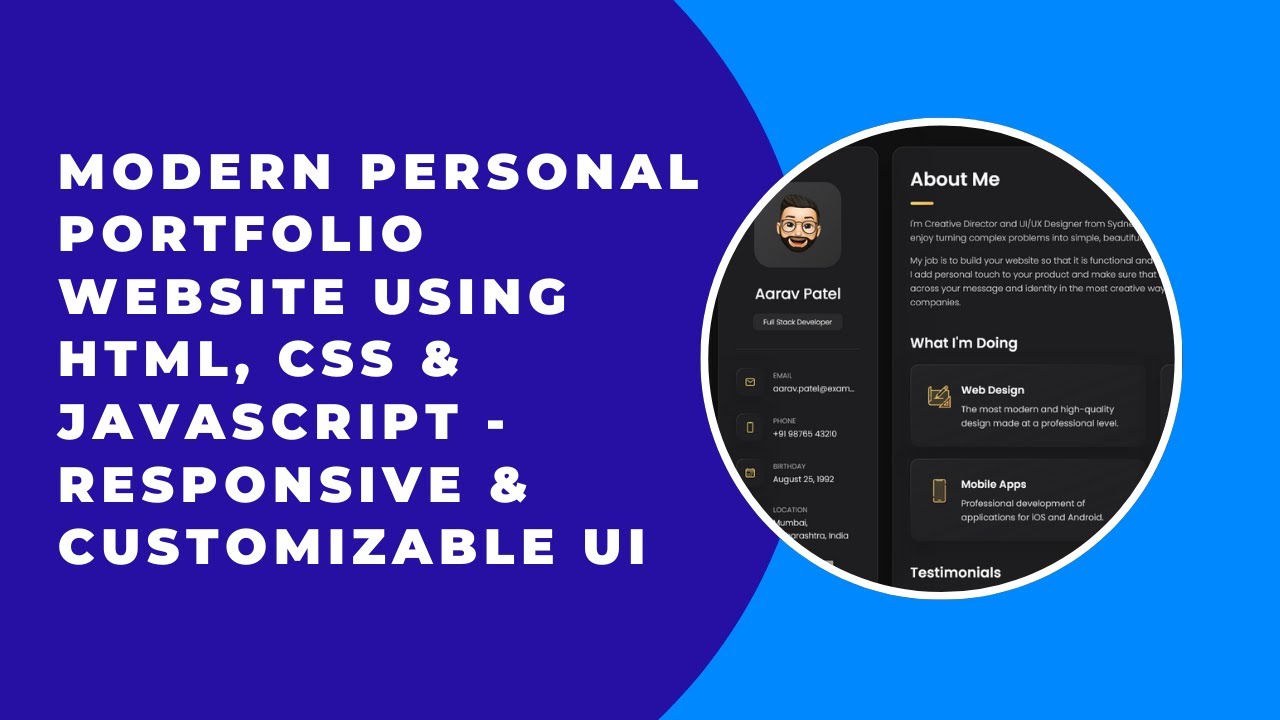
A personal portfolio website is essential for showcasing your skills, projects, and achievements in a professional way. In this guide, we’ll walk you through creating a modern, responsive, and stylish portfolio using HTML, CSS, and JavaScript. By the end of this tutorial, you’ll have a fully functional portfolio to impress potential clients or employers. 🚀
Why Do You Need a Personal Portfolio Website?
A personal portfolio website helps you:
✔️ Showcase your projects and skills professionally.
✔️ Build your personal brand online.
✔️ Improve your chances of getting hired.
✔️ Allow clients and recruiters to contact you easily.
Now, let’s get started with the development! 👨💻🎨
Project Overview
We will build a fully responsive portfolio website that includes:
✅ Home Section – Introduction and profile picture.
✅ About Section – Your skills and experience.
✅ Projects Section – Showcasing your work with images and links.
✅ Contact Section – Contact form and social media links.
Step 1: Setting Up the Basic HTML Structure
Create an index.html file and add the following basic structure:
htmlCopyEdit<!DOCTYPE html>
<html lang="en">
<head>
    <meta charset="UTF-8">
    <meta name="viewport" content="width=device-width, initial-scale=1.0">
    <title>My Portfolio</title>
    <link rel="stylesheet" href="style.css">
</head>
<body>
    <header>
        <h1>Welcome to My Portfolio</h1>
        <nav>
            <ul>
                <li><a href="#about">About</a></li>
                <li><a href="#projects">Projects</a></li>
                <li><a href="#contact">Contact</a></li>
            </ul>
        </nav>
    </header>

    <section id="about">
        <h2>About Me</h2>
        <p>Hello! I'm a web developer passionate about building creative and functional websites.</p>
    </section>

    <section id="projects">
        <h2>My Projects</h2>
        <div class="project">
            <img src="project1.jpg" alt="Project 1">
            <p>Project description goes here.</p>
        </div>
    </section>

    <section id="contact">
        <h2>Contact Me</h2>
        <form>
            <input type="text" placeholder="Your Name">
            <input type="email" placeholder="Your Email">
            <textarea placeholder="Your Message"></textarea>
            <button type="submit">Send</button>
        </form>
    </section>

    <script src="script.js"></script>
</body>
</html>
Step 2: Styling with CSS for a Modern Look
Now, create a style.css file and add styles to make the portfolio look clean and professional.
cssCopyEditbody {
    font-family: Arial, sans-serif;
    text-align: center;
    margin: 0;
    padding: 0;
    background: #f4f4f4;
}

header {
    background: #007BFF;
    color: white;
    padding: 20px;
}

nav ul {
    list-style: none;
    padding: 0;
}

nav ul li {
    display: inline;
    margin: 0 15px;
}

nav ul li a {
    color: white;
    text-decoration: none;
}

section {
    margin: 50px;
    padding: 20px;
    background: white;
    border-radius: 10px;
    box-shadow: 0px 5px 10px rgba(0, 0, 0, 0.15);
}

button {
    background: #007BFF;
    color: white;
    border: none;
    padding: 10px;
    cursor: pointer;
}
Step 3: Adding JavaScript for Interactivity
Create a script.js file to handle interactive elements like form validation and smooth scrolling.
jsCopyEditdocument.querySelectorAll('nav ul li a').forEach(anchor => {
    anchor.addEventListener('click', function(event) {
        event.preventDefault();
        const section = document.querySelector(this.getAttribute('href'));
        section.scrollIntoView({ behavior: 'smooth' });
    });
});
This script ensures smooth scrolling when navigating between sections.
Step 4: Making the Website Responsive
To ensure your portfolio looks great on all devices, add the following CSS styles for responsiveness:
cssCopyEdit@media screen and (max-width: 768px) {
    nav ul {
        display: flex;
        flex-direction: column;
    }

    .project img {
        width: 100%;
        height: auto;
    }
}
Now your website will be mobile-friendly and adapt to different screen sizes. 📱
Step 5: Deploying Your Portfolio Online
Once your portfolio is ready, you can host it for free using:
- GitHub Pages (Best for beginners)
- Netlify (Great for quick deployment)
- Vercel (Perfect for frontend projects)
To deploy on GitHub Pages, simply:
1️⃣ Push your code to GitHub.
2️⃣ Go to Settings > Pages in your repository.
3️⃣ Select the main branch and save.
Your portfolio will be live at https://yourusername.github.io/portfolio/ 🚀
📺 Watch the Full Tutorial on YouTube
Final Thoughts
Congratulations! 🎉 You’ve built a fully functional personal portfolio website using HTML, CSS, and JavaScript. You can customize it further by:
✅ Adding more sections (Skills, Testimonials, etc.)
✅ Integrating a working contact form with PHP or Firebase
✅ Animating elements using CSS transitions or JavaScript libraries
If you found this guide helpful, share it with others, and feel free to ask any questions in the comments! 👇
🔗 Code Repository:
GitHub – Portfolio Website
Happy coding! 🚀🎨

