
Have you ever wondered how to simulate a traffic light system in Python? In this tutorial, we’ll walk you through creating a traffic light simulation using Tkinter, Python’s popular GUI library. This project cycles through red, yellow, and green lights, mimicking real-world traffic signals, and is perfect for beginners who want to explore GUI programming in Python! 🚗🌟
By the end of this tutorial, you’ll have a fully functional traffic light system that visually changes lights in real-time. Let’s dive in!
What You’ll Learn:
- Setting up a graphical interface using Tkinter 🎨
- Drawing and controlling shapes on a canvas 📍
- Using time delays to animate traffic light changes ⏳
- Implementing the after() method for smoother animations 🚀
- Enhancing your Python skills with interactive simulations 🎯
Step 1: Import Libraries and Create Window
We begin by importing the necessary libraries (tkinter for GUI and time for delays). Then, we create the main window where the traffic light will be displayed.
import tkinter as tk
import time

window = tk.Tk()
window.title("Traffic Light Simulation")
window.geometry("200x400")
Step 2: Set Up the Canvas and Draw Traffic Light
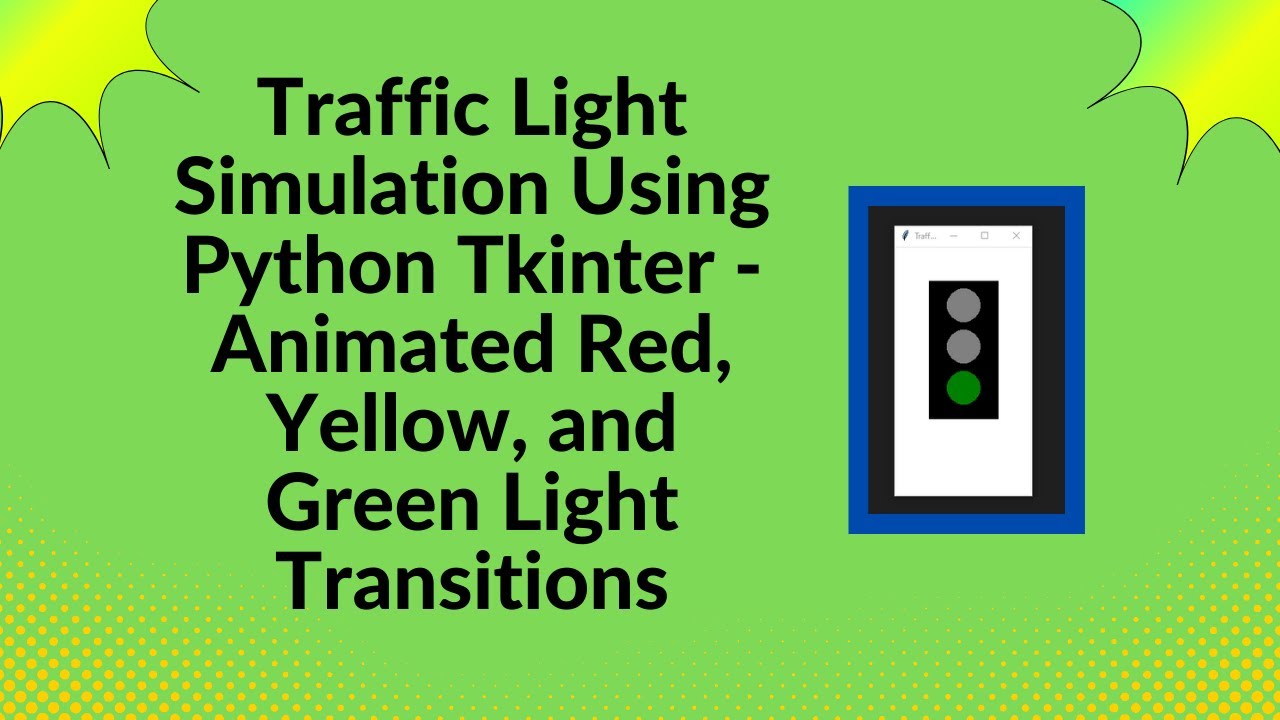
The Tkinter canvas is where we’ll draw the traffic light. We’ll create a black rectangle to represent the casing of the traffic light and three ovals to represent the red, yellow, and green lights.
canvas = tk.Canvas(window, width=200, height=400, bg="white")
canvas.pack()

canvas.create_rectangle(50, 50, 150, 250, fill="black")

red_light = canvas.create_oval(75, 60, 125, 110, fill="gray")
yellow_light = canvas.create_oval(75, 120, 125, 170, fill="gray")
green_light = canvas.create_oval(75, 180, 125, 230, fill="gray")
Step 3: Define the Traffic Light Change Function
Now, we’ll write a function that changes the color of the traffic light. The change_light() function will cycle through the lights—red for 3 seconds, yellow for 1 second, and green for 3 seconds. The color of each light will be updated using canvas.itemconfig().
def change_light():
    while True:
        canvas.itemconfig(red_light, fill="red")
        canvas.itemconfig(yellow_light, fill="gray")
        canvas.itemconfig(green_light, fill="gray")
        window.update()
        time.sleep(3)

        canvas.itemconfig(red_light, fill="gray")
        canvas.itemconfig(yellow_light, fill="yellow")
        window.update()
        time.sleep(1)

        canvas.itemconfig(yellow_light, fill="gray")
        canvas.itemconfig(green_light, fill="green")
        window.update()
        time.sleep(3)

        canvas.itemconfig(green_light, fill="gray")
        canvas.itemconfig(yellow_light, fill="yellow")
        window.update()
        time.sleep(1)
Step 4: Start the Traffic Light Simulation
To initiate the light-changing loop, we’ll use the after() method. This method ensures that the change_light() function is called after a brief delay. The mainloop() is used to keep the window open and running.
window.after(100, change_light)
window.mainloop()
Conclusion
With just a few lines of code, you’ve created a traffic light simulation that animates the light changes in real time. This project is a great way to practice Tkinter and animation in Python while building a simple yet interactive simulation.
Watch the Full Tutorial
For a more detailed walkthrough of the process, watch the full video tutorial:
Code Repository
You can access the complete source code on GitHub:
GitHub – Traffic Light Simulation
This guide gives you everything you need to build your own traffic light simulation with Python and Tkinter. If you found this tutorial helpful, don’t forget to like, comment, and subscribe for more Python projects and tutorials!