
Introduction
Want to test your reaction speed? This fun and interactive project will challenge you to click as fast as possible when the screen turns green! Perfect for improving reflexes and practicing JavaScript event handling.
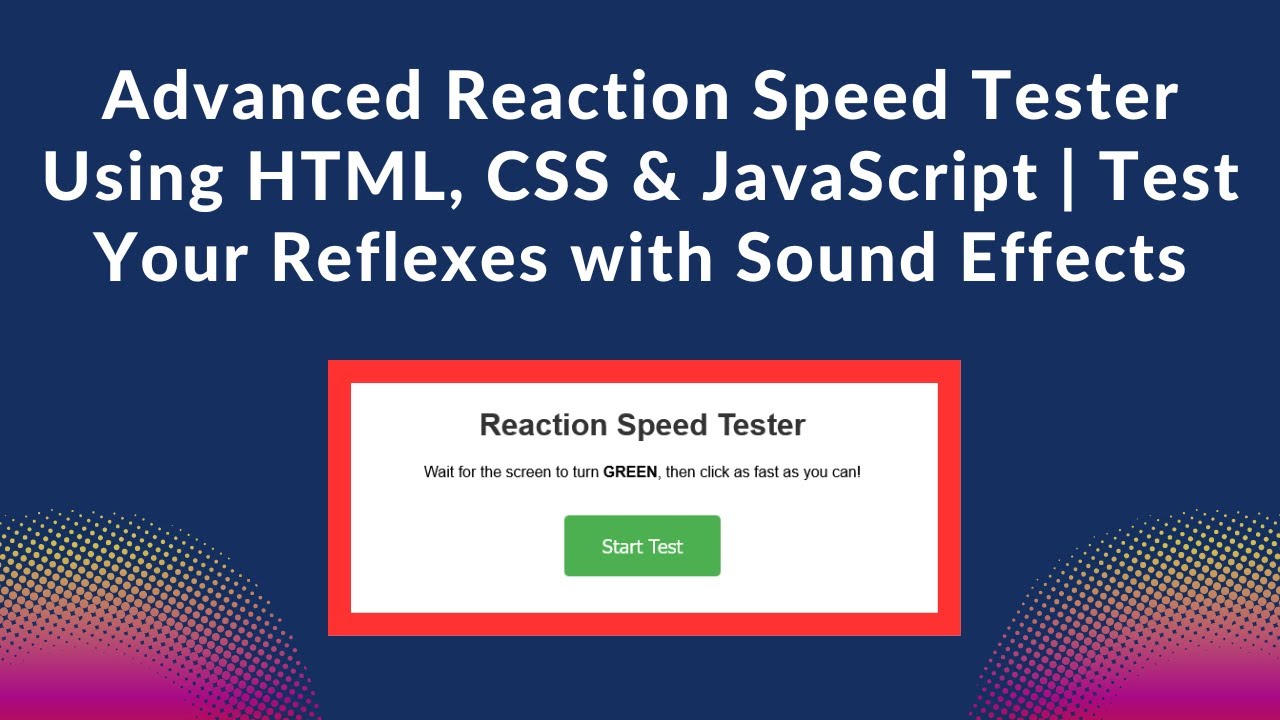
In this tutorial, we’ll build a Reaction Speed Tester using HTML, CSS, and JavaScript. By the end, you’ll have a fully functional reaction time game that you can customize and enhance.
📌 What You’ll Learn
✅ Creating an interactive UI with HTML & CSS 🎨
✅ Implementing event listeners in JavaScript for real-time interaction ⏳
✅ Using setTimeout() to introduce a random delay ⏲️
✅ Calculating reaction time and displaying results dynamically 📊
✅ Adding sound effects for a more engaging experience 🔊
🛠️ Step 1: HTML Structure
First, let’s create the basic structure of our Reaction Speed Tester.
<!DOCTYPE html>
<html lang="en">
<head>
    <meta charset="UTF-8">
    <meta name="viewport" content="width=device-width, initial-scale=1.0">
    <title>Reaction Speed Tester</title>
    <link rel="stylesheet" href="styles.css">
</head>
<body>
    <div class="container">
        <h1>Reaction Speed Tester</h1>
        <p>Wait for the screen to turn <strong>GREEN</strong>, then click as fast as you can!</p>
        <button id="startButton" class="button">Start Test</button>
        <div id="result" class="result"></div>
        <div id="averageTime" class="score"></div>
    </div>
    <script src="script.js"></script>
</body>
</html>
✔ Creates a simple layout with a button and result display.
✔ The button changes color when it’s time to click.
🎨 Step 2: CSS for Styling
Now, let’s style our reaction speed tester for a modern look.
body {
    font-family: Arial, sans-serif;
    text-align: center;
    background-color: #f0f0f0;
    margin: 0;
    padding: 20px;
}

.container {
    max-width: 600px;
    margin: auto;
    padding: 20px;
    background: white;
    border-radius: 10px;
    box-shadow: 0px 0px 10px rgba(0, 0, 0, 0.1);
}

h1 {
    color: #333;
}

.button {
    display: inline-block;
    padding: 20px 40px;
    font-size: 20px;
    color: white;
    background-color: #4CAF50;
    border: none;
    border-radius: 5px;
    cursor: pointer;
    margin: 20px;
}

.button:disabled {
    background-color: #ccc;
    cursor: not-allowed;
}

.result {
    font-size: 20px;
    margin-top: 10px;
}

.score {
    margin-top: 20px;
    font-size: 22px;
    font-weight: bold;
    color: #ff5733;
}
✔ Creates a clean UI with a simple color scheme.
✔ Styles the button and result display.
💻 Step 3: JavaScript for Interactivity
The core logic of our reaction speed tester is handled with JavaScript.
let startButton = document.getElementById('startButton');
let resultDiv = document.getElementById('result');
let averageDiv = document.getElementById('averageTime');
let startTime, endTime;
let reactionTimes = [];
let testInProgress = false;
let timeout;

// Sound Effects
let successSound = new Audio('https://www.fesliyanstudios.com/play-mp3/387'); // Success sound
let failSound = new Audio('https://www.fesliyanstudios.com/play-mp3/421'); // Fail sound

function startTest() {
    if (testInProgress) return;

    resultDiv.textContent = "Wait for GREEN...";
    resultDiv.style.color = "#333";
    startButton.style.backgroundColor = "#FF5733"; // Red color
    startButton.textContent = "Wait...";
    startButton.disabled = true;
    testInProgress = true;

    // Random delay before green (between 2 and 5 seconds)
    let waitTime = Math.random() * 3000 + 2000;

    timeout = setTimeout(() => {
        startButton.style.backgroundColor = "#4CAF50"; // Green color
        startButton.textContent = "CLICK NOW!";
        startTime = new Date().getTime();
        startButton.disabled = false;
    }, waitTime);
}

function handleClick() {
    if (!testInProgress) return;

    endTime = new Date().getTime();

    if (!startTime) {
        // Clicked too early!
        clearTimeout(timeout);
        resultDiv.textContent = "Too Early! Try again.";
        resultDiv.style.color = "red";
        failSound.play();
        resetTest();
        return;
    }

    let reactionTime = endTime - startTime;
    reactionTimes.push(reactionTime);
    resultDiv.textContent = `Your reaction time: ${reactionTime} ms`;
    resultDiv.style.color = "green";
    successSound.play();

    // Calculate and display average reaction time
    let avgTime = Math.round(reactionTimes.reduce((a, b) => a + b, 0) / reactionTimes.length);
    averageDiv.textContent = `Average Reaction Time: ${avgTime} ms`;

    resetTest();
}

function resetTest() {
    testInProgress = false;
    startTime = null;
    startButton.textContent = "Start Test";
    startButton.style.backgroundColor = "#4CAF50";
    startButton.disabled = false;
}

// Event listeners
startButton.addEventListener('click', () => {
    if (startButton.textContent === "Start Test") {
        startTest();
    } else {
        handleClick();
    }
});
✔ Handles button clicks and reaction time calculation.
✔ Uses setTimeout() for a random delay before turning green.
✔ Plays a sound effect when the user clicks.
✔ Tracks reaction times and calculates an average reaction time.
📱 Making It More Fun
To enhance the user experience, consider adding:
- Leaderboard system to track the fastest times 🏆
- Different difficulty levels with shorter reaction windows ⏳
- Animations when the button changes color 🎨
- Mobile-friendly UI for touch devices 📱
🎥 Watch the Full Video Tutorial
✅ Subscribe to Madras Academy for more coding tutorials!
👍 Like & Share if this helped you!
💬 Comment below with your fastest reaction time!
📂 Access the Complete Source Code
🔗 GitHub Repository: Reaction Speed Tester Code
🚀 Final Thoughts
With HTML, CSS, and JavaScript, we’ve built an interactive reaction speed tester that you can customize and improve. Try tweaking the timing, UI, and features to make it even more exciting! 🎯
📢 Stay Connected!
💻 #HTML #CSS #JavaScript #WebDevelopment #ReactionTime #InteractiveGame #Coding #JavaScriptProjects 🚀