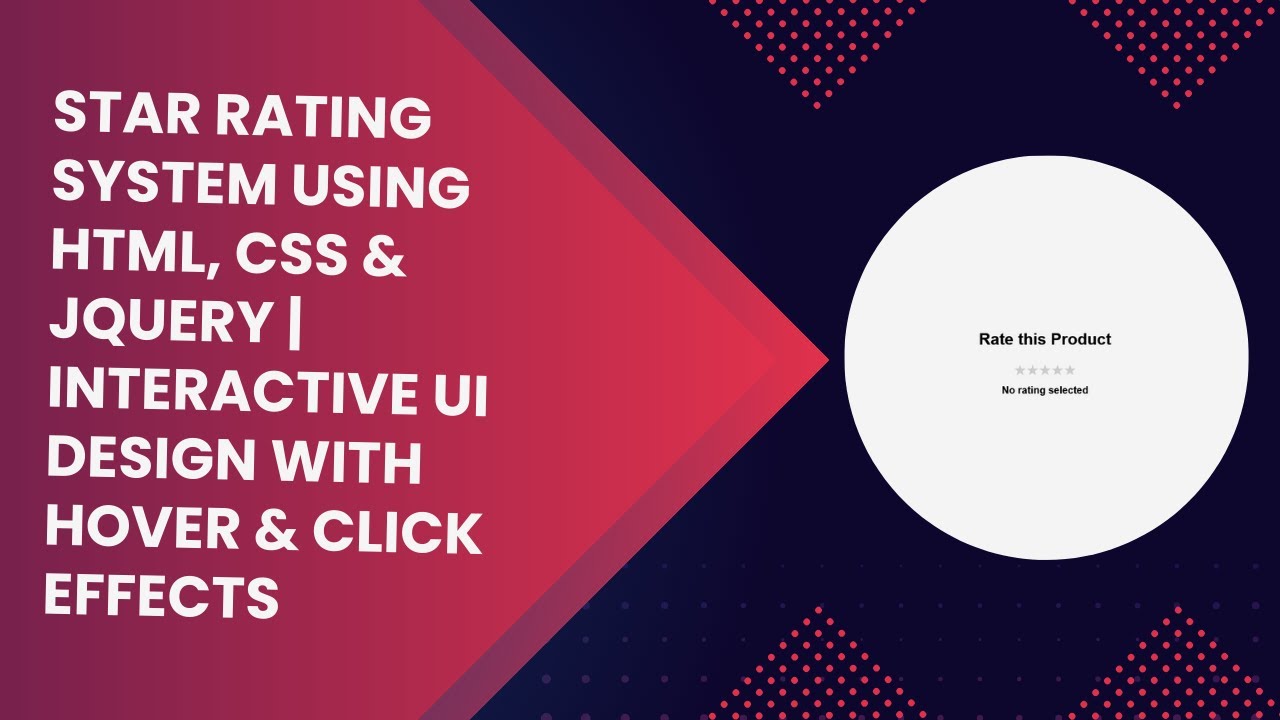
A star rating system is a great way to let users provide feedback on products, services, or content. In this tutorial, we’ll create an interactive Star Rating System using HTML, CSS, and jQuery. Users can select a rating from 1 to 5 stars, and the selected rating will be displayed dynamically.
Why Use a Star Rating System?
✅ Enhances user engagement by allowing feedback ⭐ ✅ Simple and intuitive interface for users 🖱️ ✅ Can be used for product reviews, testimonials, and surveys 📊 ✅ Easy to implement and customize 🎨
1. HTML Structure
First, we’ll create the basic structure for the rating system using radio buttons and labels.
<!DOCTYPE html>
<html lang="en">
<head>
    <meta charset="UTF-8">
    <meta name="viewport" content="width=device-width, initial-scale=1.0">
    <title>Star Rating System</title>
    <link rel="stylesheet" href="styles.css">
    <script src="https://cdnjs.cloudflare.com/ajax/libs/jquery/3.6.0/jquery.min.js"></script>
    <script src="script.js" defer></script>
</head>
<body>
    <h1>Rate this Product</h1>
    <div class="rating">
        <input type="radio" id="star5" name="rating" value="5"><label for="star5">★</label>
        <input type="radio" id="star4" name="rating" value="4"><label for="star4">★</label>
        <input type="radio" id="star3" name="rating" value="3"><label for="star3">★</label>
        <input type="radio" id="star2" name="rating" value="2"><label for="star2">★</label>
        <input type="radio" id="star1" name="rating" value="1"><label for="star1">★</label>
    </div>
    <div id="rating-value">No rating selected</div>
</body>
</html>
2. CSS Styling
To style the rating stars, we use flexbox for alignment and the hover effect to highlight stars dynamically.
body {
    font-family: Arial, sans-serif;
    display: flex;
    justify-content: center;
    align-items: center;
    height: 100vh;
    background-color: #f4f4f4;
    flex-direction: column;
}
.rating {
    display: flex;
    flex-direction: row-reverse;
    justify-content: center;
}
.rating input {
    display: none;
}
.rating label {
    font-size: 30px;
    color: #ccc;
    cursor: pointer;
    transition: color 0.3s;
}
.rating input:checked ~ label,
.rating input:hover ~ label,
.rating label:hover ~ label {
    color: gold;
}
#rating-value {
    margin-top: 10px;
    font-size: 20px;
    font-weight: bold;
}
3. Adding jQuery for Interaction
To capture the user’s selected rating, we use jQuery to detect the click event and display the rating value dynamically.
$(document).ready(function() {
    $('.rating input').click(function() {
        let rating = $(this).val();
        $('#rating-value').text('You rated: ' + rating + ' stars');
    });
});
Final Output
With all the code combined, our star rating system will allow users to select a rating, highlight the stars dynamically, and display the selected rating in real-time.
Video Tutorial 🎥
Watch the full tutorial here:
Source Code 📂
Get the complete source code on GitHub: GitHub Repository
If you found this tutorial helpful, don’t forget to like, share, and subscribe to Madras Academy for more exciting web development tutorials! 🚀

