
In this tutorial, we’ll build an interactive file manager UI using HTML, CSS, and jQuery. This file manager allows users to easily navigate through folders, and it features a smooth sliding effect for expanding and collapsing folder contents. This simple design is perfect for organizing files, managing documents, or adding functionality to personal projects. Let’s dive in!
What You’ll Learn:
- How to Structure a File Manager Layout Using HTML 📂
- Styling Folders and Files for a Clean and Modern Look with CSS 🎨
- Using jQuery to Toggle Folder Visibility Dynamically 🔄
- Implementing Smooth Animations for a Better User Experience ✨
- Customizing the File Manager to Fit Your Project’s Needs 🎯
Steps to Create the Interactive File Manager UI:
Step 1: HTML Structure
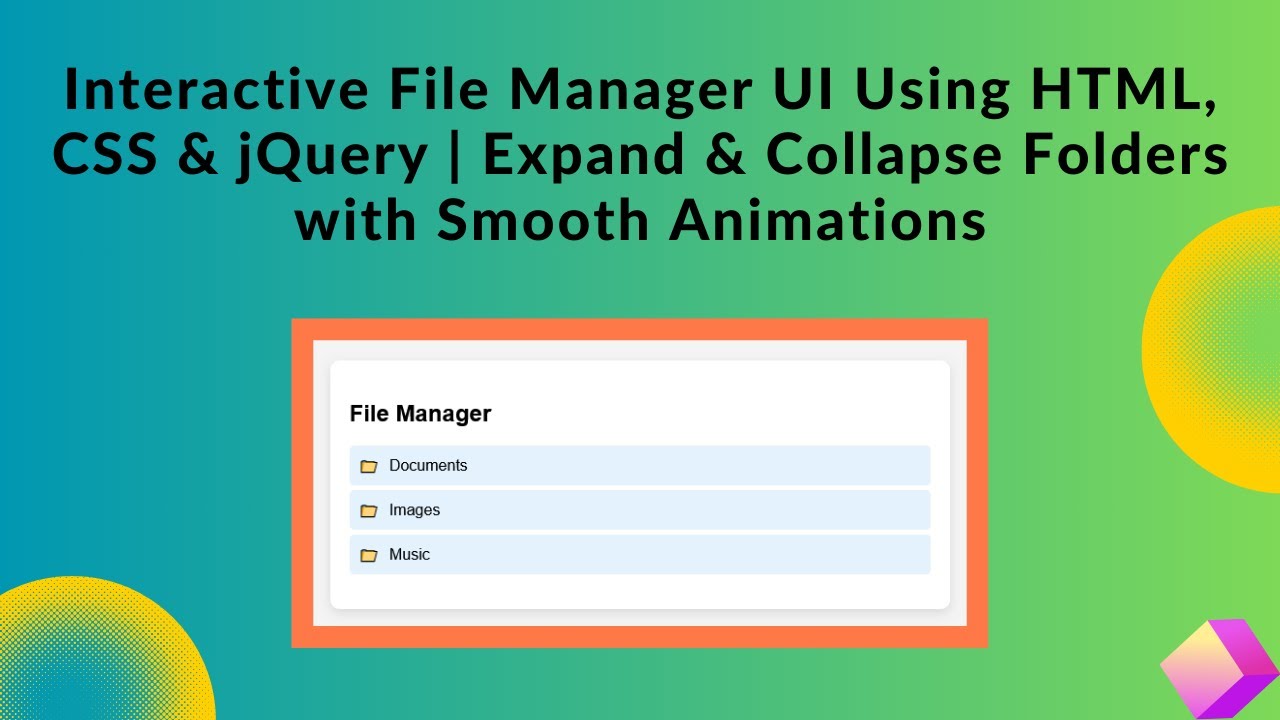
Start by creating the basic HTML structure. We’ll use unordered lists to represent folders and files, with a nested class for the files that will be hidden initially.
<div class="file-manager">
    <h2>File Manager</h2>
    <ul class="folder-list">
        <li class="folder">📁 <span>Documents</span>
            <ul class="nested">
                <li class="file">📄 Resume.pdf</li>
                <li class="file">📄 Report.docx</li>
            </ul>
        </li>
        <li class="folder">📁 <span>Images</span>
            <ul class="nested">
                <li class="file">🖼️ Photo1.jpg</li>
                <li class="file">🖼️ Photo2.png</li>
            </ul>
        </li>
        <li class="folder">📁 <span>Music</span>
            <ul class="nested">
                <li class="file">🎵 Song1.mp3</li>
                <li class="file">🎵 Song2.wav</li>
            </ul>
        </li>
    </ul>
</div>
Step 2: CSS Styling
Next, let’s style the UI to make it look modern and clean. We’ll use background colors, padding, and borders to separate folders and files. We also add a hover effect for a more interactive feel.
body {
    font-family: Arial, sans-serif;
    display: flex;
    justify-content: center;
    align-items: center;
    height: 100vh;
    background-color: #f4f4f4;
}

.file-manager {
    width: 60%;
    max-width: 600px;
    background: white;
    padding: 20px;
    border-radius: 10px;
    box-shadow: 0px 4px 10px rgba(0, 0, 0, 0.1);
}

.folder {
    cursor: pointer;
    padding: 10px;
    margin: 5px 0;
    background: #e3f2fd;
    border-radius: 5px;
    display: flex;
    align-items: center;
}

.folder span {
    margin-left: 10px;
}

.folder-list {
    list-style: none;
    padding: 0;
}

.file {
    padding: 8px;
    margin-left: 20px;
    background: #fff3e0;
    border-radius: 5px;
}
Step 3: jQuery for Interactivity
Now, let’s add the jQuery functionality that makes the folders interactive. When a user clicks on a folder, it will toggle the visibility of the files inside it using a smooth sliding effect.
$(document).ready(function() {
    $('.nested').hide(); // Hide nested files by default
    $('.folder').click(function(e) {
        e.stopPropagation(); // Prevent event from bubbling up
        $(this).children('.nested').slideToggle(); // Toggle folder visibility
    });
});
How It Works:
- The HTML structure uses
<ul>and<li>elements to represent folders and files. - The CSS styles create a clean and modern look with background colors, padding, and hover effects.
- The jQuery script adds interactivity, allowing users to click on folders to reveal or hide the files inside them.
Customizing the File Manager:
You can easily customize the file manager by adjusting the folder structure, changing icons, or adding more advanced features like file uploads, sorting, or renaming. The current structure is flexible and can be adapted for different use cases.
Demo & Code Repository:
You can watch the live demo of this interactive file manager UI below:
To access the full source code, visit the following GitHub repository:
Complete Source Code on GitHub
If you enjoyed this tutorial, make sure to like, comment, and subscribe to stay updated with more exciting web development tutorials! 🚀
#HTML #CSS #JavaScript #jQuery #FileManager #WebDesign #FrontendDevelopment #WebDevelopment #TechTutorial #InteractiveDesign #UIUX