
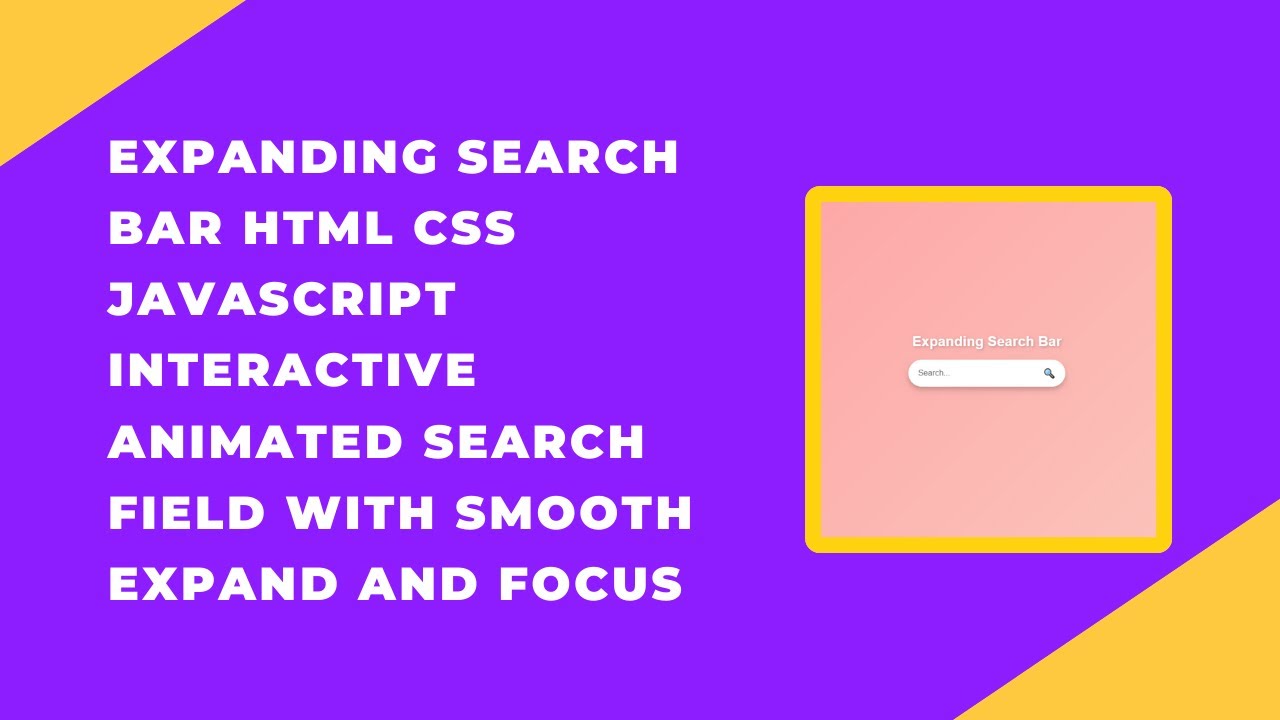
In this tutorial, we’ll show you how to create an Expanding Search Bar using HTML, CSS, and JavaScript. The search bar starts as a minimal button and smoothly expands when clicked, providing a sleek and interactive user experience. This design can elevate the usability and aesthetics of your website, making it both functional and modern. 🚀🔎
What You’ll Learn:
- How to Create a Search Bar with HTML 🏗️
- Styling the Search Bar with CSS for a clean and professional look 🎨
- Using JavaScript to add a click-to-expand effect 🖱️
- Implementing Smooth Transitions and animations for a better UX 🌟
- Customizing the Search Bar to match your website’s theme 🎯
Step-by-Step Guide:
1. HTML Structure for the Search Bar 🏗️
We’ll start by creating a basic HTML structure with an input field and a button. The input field will be hidden initially, expanding when the button is clicked.
<!DOCTYPE html>
<html lang="en">
<head>
    <meta charset="UTF-8">
    <meta name="viewport" content="width=device-width, initial-scale=1.0">
    <title>Expanding Search Bar</title>
    <style>
        /* Your CSS goes here */
    </style>
</head>
<body>
    <h1>Expanding Search Bar</h1>
    <div class="search-container" id="searchBox">
        <input type="text" class="search-input" placeholder="Search...">
        <button class="search-button" onclick="toggleSearch()">🔍</button>
    </div>

    <script>
        function toggleSearch() {
            document.getElementById('searchBox').classList.toggle('active');
        }
    </script>
</body>
</html>
2. CSS Styling for the Search Bar 🎨
Next, we’ll style the search bar. The .search-container will hold the input and the button, while the input will expand in width when the container receives the .active class.
* {
    margin: 0;
    padding: 0;
    box-sizing: border-box;
    font-family: Arial, sans-serif;
}

body {
    display: flex;
    flex-direction: column;
    justify-content: center;
    align-items: center;
    height: 100vh;
    background: linear-gradient(135deg, #ff9a9e, #fad0c4);
}

h1 {
    margin-bottom: 20px;
    font-size: 28px;
    color: #fff;
    text-shadow: 2px 2px 4px rgba(0, 0, 0, 0.2);
}

.search-container {
    position: relative;
    display: flex;
    align-items: center;
    background: white;
    border-radius: 30px;
    padding: 5px;
    box-shadow: 0px 4px 6px rgba(0, 0, 0, 0.1);
    transition: all 0.3s ease-in-out;
}

.search-input {
    width: 0;
    border: none;
    outline: none;
    padding: 10px;
    font-size: 16px;
    transition: width 0.3s ease-in-out;
    border-radius: 30px;
}

.search-container.active {
    padding: 5px 10px;
    box-shadow: 0px 6px 10px rgba(0, 0, 0, 0.2);
}

.search-container.active .search-input {
    width: 250px;
}

.search-button {
    background: transparent;
    border: none;
    cursor: pointer;
    font-size: 18px;
    padding: 10px;
    transition: transform 0.2s ease-in-out;
}

.search-button:hover {
    transform: scale(1.1);
}
3. JavaScript to Toggle the Search Bar 🖱️
Now, let’s add the JavaScript functionality. When the search button is clicked, we toggle the .active class on the search container. This will make the input field expand.
function toggleSearch() {
    document.getElementById('searchBox').classList.toggle('active');
}
This simple function adds or removes the .active class from the .search-container, triggering the CSS transition that causes the search input to expand.
Final Thoughts:
By following this tutorial, you’ve created an Expanding Search Bar that starts as a compact button and smoothly expands into a search field when clicked. The use of transitions and animations enhances the user experience, making your website’s interface sleek and interactive.
This design pattern can be easily customized to fit the theme and branding of your website, adding both functionality and style.
Watch the Full Tutorial: For a more detailed explanation, check out the full video tutorial on YouTube:
Access the Code: You can access the complete source code for this expanding search bar on GitHub: GitHub Repo – Expanding Search Bar
If you found this tutorial helpful, don’t forget to like, comment, and subscribe to Madras Academy for more exciting web development tutorials! 🚀