
In this tutorial, we’ll guide you through creating a Notes App with Categories using HTML, CSS, and JavaScript. This interactive app allows users to add, categorize, and delete notes efficiently. Whether you’re building a personal task manager, a study organizer, or simply adding a note-taking feature to your website, this tutorial is perfect for you! 🖋️✨
What You’ll Learn:
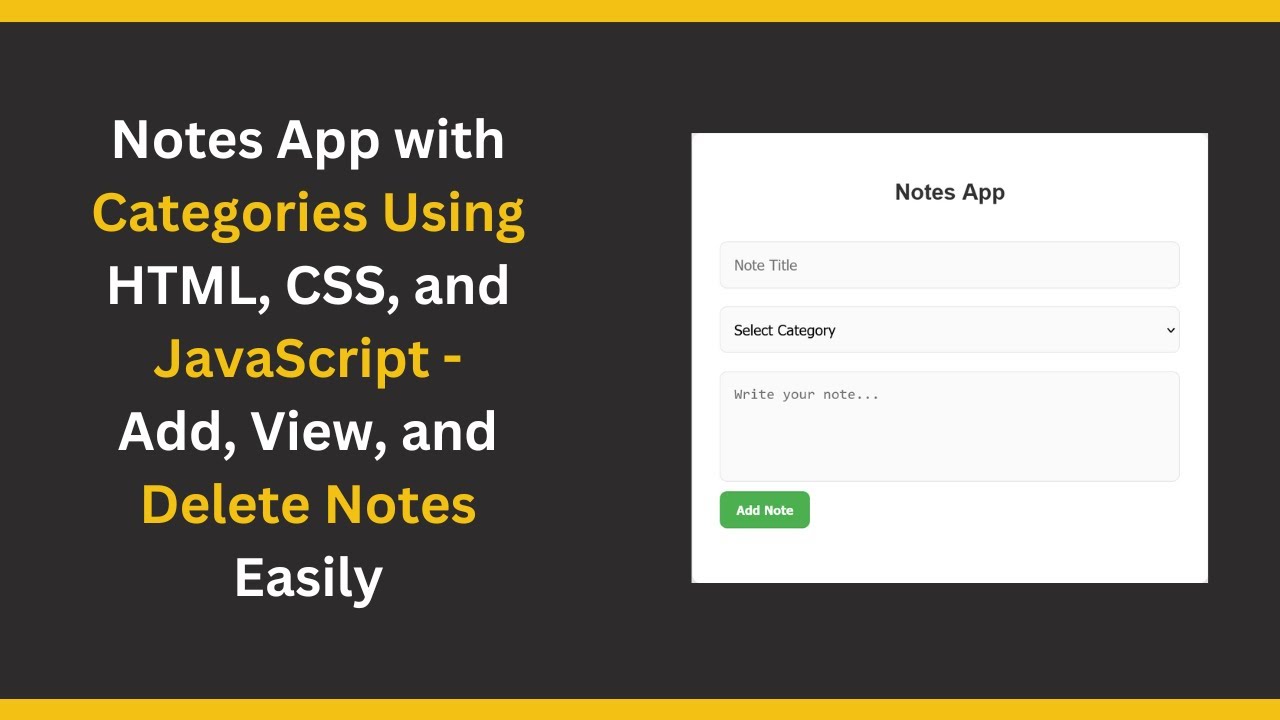
- Building the Notes Form with HTML: Create the note-taking form where users can input titles, categories, and content. 📝
- Styling the App and Notes List with CSS: Apply a clean and user-friendly design to the note list and form, making it visually appealing. 🎨
- Using JavaScript for Storing and Managing Notes: Learn how to store and retrieve notes in localStorage to persist them across page reloads. 💻
- Implementing Categories: Offer users the ability to categorize their notes as Work, Personal, Study, or Other. 📂
- Adding and Deleting Notes: Allow users to add new notes and delete them easily. 🗑️
Key Features of the App:
- Categorized Notes: Users can select categories like Work, Personal, Study, and Other for each note.
- Persistent Storage: Notes are saved in localStorage, so they persist even when the page is reloaded.
- Add & Delete Notes: Users can quickly add new notes and delete existing ones.
- Clean & Responsive Design: The app has a modern and responsive design, ensuring it works smoothly on both desktop and mobile devices.
Let’s Break Down the Code:
1. HTML Structure:
The structure consists of a form where users can input a note’s title, category, and content. The list of notes will display below the form.
<input type="text" id="note-title" placeholder="Note Title" />
<select id="note-category">
    <option value="">Select Category</option>
    <option value="Work">Work</option>
    <option value="Personal">Personal</option>
    <option value="Study">Study</option>
    <option value="Other">Other</option>
</select>
<textarea id="note-content" placeholder="Write your note..." rows="4"></textarea>
<button onclick="addNote()">Add Note</button>
2. CSS Styling:
The app uses a clean and modern design with card-like note containers, responsive layout, and hover effects to improve user interaction.
body {
    font-family: Arial, sans-serif;
    background: #f0f0f0;
    height: 100vh;
    margin: 0;
    display: flex;
    justify-content: center;
    align-items: flex-start;
    padding-top: 50px;
}
3. JavaScript Functionality:
- loadNotes(): This function retrieves notes from localStorage and displays them.
- addNote(): Adds a new note and saves it to localStorage.
- deleteNote(): Deletes a note from localStorage when the delete button is clicked.
// Function to load notes from local storage
function loadNotes() {
    const notes = JSON.parse(localStorage.getItem("notes")) || [];
    const noteList = document.getElementById("note-list");
    noteList.innerHTML = "";
    notes.forEach((note, index) => {
        const noteElement = document.createElement("div");
        noteElement.classList.add("note");
        noteElement.innerHTML = `
            <div class="note-title">${note.title}</div>
            <div class="note-category">Category: ${note.category}</div>
            <div class="note-content">${note.content}</div>
            <button class="delete-btn" onclick="deleteNote(${index})">Delete</button>
        `;
        noteList.appendChild(noteElement);
    });
}

// Function to add a new note
function addNote() {
    const title = document.getElementById("note-title").value;
    const category = document.getElementById("note-category").value;
    const content = document.getElementById("note-content").value;

    if (!title || !category || !content) {
        alert("Please fill out all fields.");
        return;
    }

    const note = { title, category, content };
    let notes = JSON.parse(localStorage.getItem("notes")) || [];
    notes.push(note);
    localStorage.setItem("notes", JSON.stringify(notes));
    loadNotes();

    // Clear the form fields
    document.getElementById("note-title").value = "";
    document.getElementById("note-category").value = "";
    document.getElementById("note-content").value = "";
}

// Function to delete a note
function deleteNote(index) {
    let notes = JSON.parse(localStorage.getItem("notes")) || [];
    notes.splice(index, 1);
    localStorage.setItem("notes", JSON.stringify(notes));
    loadNotes();
}

// Load notes when the page loads
window.onload = loadNotes;
Final Thoughts:
By following this tutorial, you’ll have a fully functional Notes App with categories that you can integrate into your own web projects. It’s a great way to manage tasks, organize ideas, or create a personal study planner. Plus, you’ll gain experience with localStorage, form handling, and JavaScript DOM manipulation.
Watch the Tutorial:
To see the full step-by-step process, check out the tutorial video:
GitHub Repository:
Access the complete source code and try it for yourself on GitHub: