
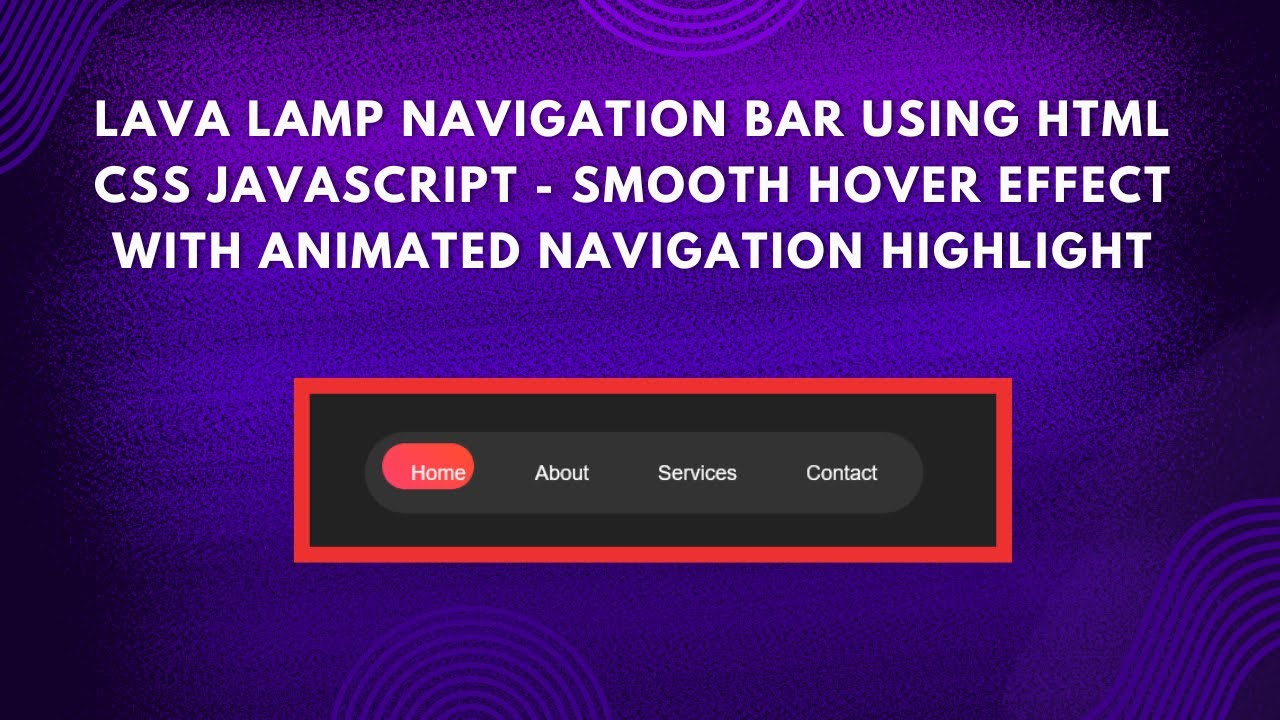
Want to create an eye-catching, interactive navigation bar for your website? In this tutorial, you’ll learn how to build a Lava Lamp Navigation Bar using HTML, CSS, and JavaScript. This dynamic navbar features a smooth-moving glowing effect that follows your mouse as you hover over links, adding a sleek and modern touch to your web design! 🎨🚀
Why Use a Lava Lamp Effect?
🔹 Creates a fluid, animated hover effect for navigation links.
🔹 Makes your website stand out with an interactive UI.
🔹 Uses CSS gradients for a smooth glowing transition.
🔹 Lightweight and easy to integrate into any web project.
What You’ll Learn
✅ How to build a responsive navigation bar with HTML 📌
✅ Styling the navbar and glowing effect using CSS gradients 🎨
✅ Using JavaScript to create the lava lamp hover animation 🏮
✅ Adding smooth transitions for a sleek, fluid effect ⚡
✅ Customizing the navigation bar for your website’s theme 🎯
Step 1: HTML – Creating the Navigation Bar Structure
We’ll start by setting up the HTML structure for the navigation menu.
<!DOCTYPE html>
<html lang="en">
<head>
    <meta charset="UTF-8">
    <meta name="viewport" content="width=device-width, initial-scale=1.0">
    <title>Lava Lamp Navigation Bar</title>
    <link rel="stylesheet" href="style.css">
</head>
<body>
    <div class="nav">
        <div class="lamp"></div>
        <a href="#" onmouseover="moveLamp(this)">Home</a>
        <a href="#" onmouseover="moveLamp(this)">About</a>
        <a href="#" onmouseover="moveLamp(this)">Services</a>
        <a href="#" onmouseover="moveLamp(this)">Contact</a>
    </div>
    <script src="script.js"></script>
</body>
</html>
Step 2: CSS – Styling the Navigation Bar & Lava Lamp Effect
The CSS styles will create a modern, dark-themed navbar with a glowing hover effect that follows the mouse.
body {
    margin: 0;
    font-family: Arial, sans-serif;
    display: flex;
    justify-content: center;
    align-items: center;
    height: 100vh;
    background: #222;
}
.nav {
    position: relative;
    display: flex;
    background: #333;
    padding: 10px;
    border-radius: 50px;
}
.nav a {
    position: relative;
    color: white;
    text-decoration: none;
    padding: 15px 30px;
    font-size: 18px;
    z-index: 2;
}
.nav .lamp {
    position: absolute;
    width: 80px;
    height: 40px;
    background: linear-gradient(45deg, #ff416c, #ff4b2b);
    border-radius: 20px;
    transition: 0.4s;
    top: 10px;
    left: 15px;
    z-index: 1;
}
Step 3: JavaScript – Making the Lava Lamp Move on Hover
Now, we’ll use JavaScript to detect which navigation link the mouse is over and move the lava lamp smoothly.
function moveLamp(element) {
    let lamp = document.querySelector(".lamp");
    let rect = element.getBoundingClientRect();
    let navRect = document.querySelector(".nav").getBoundingClientRect();
    lamp.style.left = rect.left - navRect.left + "px";
    lamp.style.width = rect.width + "px";
}
How It Works
1️⃣ User hovers over a navigation link (e.g., “Home”, “About”).
2️⃣ The JavaScript function calculates the position of the hovered link.
3️⃣ The lava lamp moves smoothly to match the hovered link.
4️⃣ The CSS gradient effect creates a glowing hover transition.
Watch the Full Video Tutorial 🎥
📌 Source Code on GitHub:
🔗 View Complete Code
Why Use This Effect in Your Website?
✔️ Enhances UI/UX – Provides a visually appealing hover effect.
✔️ Engages Users – Interactive animations keep visitors interested.
✔️ Customizable – Easily modify colors, sizes, and animations.
✔️ Lightweight – Uses only HTML, CSS, and JavaScript (no external libraries).
Final Thoughts
This Lava Lamp Navigation Bar is an excellent way to improve your website’s navigation with a dynamic, modern, and engaging effect.
💡 Try integrating this effect into your projects today!
👉 Liked this tutorial? Share your thoughts in the comments below!
📢 Subscribe to Madras Academy for More Web Development Tutorials! 🚀
🔹 YouTube: Madras Academy
🔹 GitHub: Madras Academy Repositories
#HTML #CSS #JavaScript #LavaLampEffect #NavigationBar #WebDesign #FrontendDevelopment #InteractiveUI #WebDevelopment #Coding #TechTutorial 🚀🔥