
Creating custom forms can be time-consuming, but with a drag & drop form builder, you can design forms effortlessly—without writing a single line of code! In this tutorial, we’ll walk you through building an interactive form designer using HTML, jQuery, and Bootstrap.
🚀 What You’ll Learn
- How to implement a drag & drop form builder
- Dynamically adding and arranging form elements
- Editing form fields on the fly
- Generating the HTML structure for your form
🛠️ Technologies Used
- HTML & CSS for the layout and styling
- jQuery UI for drag-and-drop functionality
- Bootstrap for responsive design
📌 Step-by-Step Guide
1️⃣ Setting Up the Project
First, include the necessary dependencies in your HTML file:
<link href="https://cdn.jsdelivr.net/npm/bootstrap@5.3.0/dist/css/bootstrap.min.css" rel="stylesheet">
<script src="https://code.jquery.com/jquery-3.6.0.min.js"></script>
<script src="https://code.jquery.com/ui/1.12.1/jquery-ui.js"></script>
2️⃣ Creating the Layout
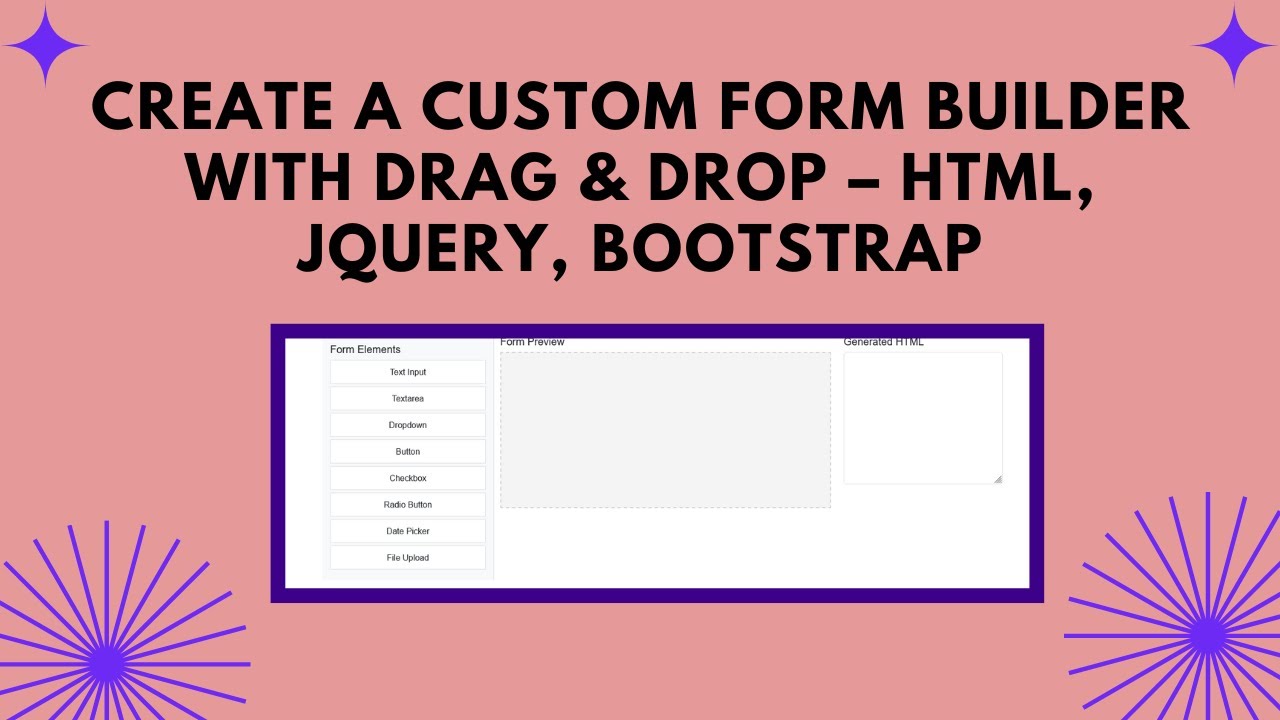
We’ll divide the page into three sections:
- Sidebar: Contains draggable form elements
- Form Preview: Displays the built form
- Generated HTML: Shows the form’s code
<div class="container mt-4">
    <div class="row">
        <div class="col-md-3 sidebar">
            <h5>Form Elements</h5>
            <div class="draggable" data-type="text">Text Input</div>
            <div class="draggable" data-type="textarea">Textarea</div>
            <div class="draggable" data-type="select">Dropdown</div>
            <div class="draggable" data-type="button">Button</div>
        </div>
        <div class="col-md-6">
            <h5>Form Preview</h5>
            <div id="formPreview" class="form-preview"></div>
        </div>
        <div class="col-md-3">
            <h5>Generated HTML</h5>
            <textarea id="generatedHtml" class="form-control" rows="10" readonly></textarea>
        </div>
    </div>
</div>
3️⃣ Implementing Drag & Drop Functionality
Using jQuery UI, we enable drag-and-drop interaction:
$(function() {
    $(".draggable").draggable({ helper: "clone" });

    $("#formPreview").droppable({
        accept: ".draggable",
        drop: function(event, ui) {
            let elementType = ui.helper.data("type");
            let newElement = `<div class='form-element'><label>${elementType}</label><input type='${elementType}' class='form-control'><button class='remove-btn'>X</button></div>`;
            $("#formPreview").append(newElement);
            updateHtml();
        }
    });

    $(document).on("click", ".remove-btn", function() {
        $(this).parent().remove();
        updateHtml();
    });
});

function updateHtml() {
    let html = $("#formPreview").html();
    $("#generatedHtml").val(html);
}
4️⃣ Enhancing the Editor
- Reorder elements using
sortable() - Edit field labels with inline text editing
- Remove fields easily with a delete button
$("#formPreview").sortable({ update: function() { updateHtml(); } });🎬 Demo Video
Watch the complete tutorial on YouTube:
📜 Download the Source Code
Get the full project on GitHub: Click Here
🔔 Stay Updated!
If you found this tutorial helpful, like, share, and subscribe to Madras Academy for more web development content!
#MadrasAcademy #DragDropForm #FormBuilder #jQuery #Bootstrap #WebDevelopment #FormDesign