
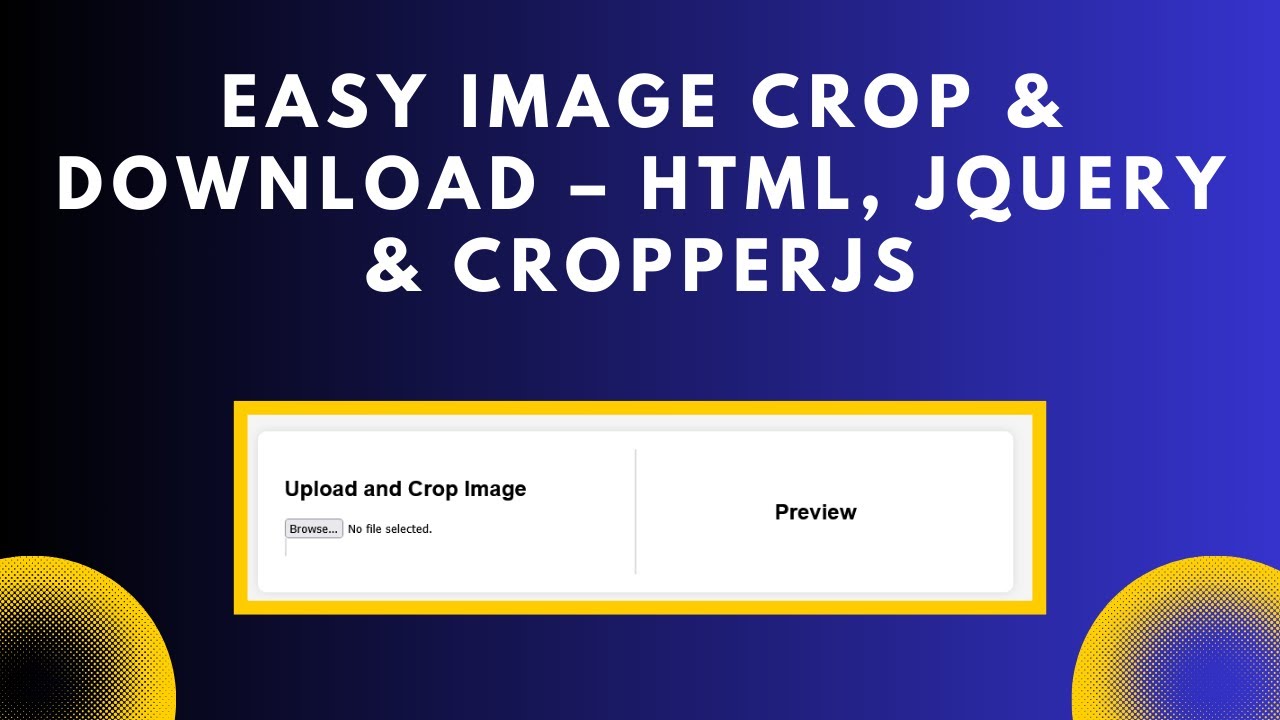
Image cropping is an essential feature in many web applications, especially for profile pictures, thumbnails, and other user-uploaded images. In this guide, we will walk you through how to use jQuery Cropper.js to crop and download images seamlessly. Let’s get started! 🚀
Why Use Cropper.js?
✅ Easy to integrate – Works smoothly with jQuery ✅ Feature-rich – Provides zoom, rotate, and aspect ratio control ✅ Lightweight – Optimized for performance ✅ Downloadable images – Allows users to save cropped images
Step 1: Include Required Libraries
First, include jQuery and Cropper.js in your project. You can use CDN links for quick setup.
<!DOCTYPE html>
<html lang="en">
<head>
    <meta charset="UTF-8">
    <meta name="viewport" content="width=device-width, initial-scale=1.0">
    <title>Crop and Download Images</title>
    <link rel="stylesheet" href="https://cdnjs.cloudflare.com/ajax/libs/cropperjs/1.5.12/cropper.min.css">
    <script src="https://code.jquery.com/jquery-3.6.0.min.js"></script>
    <script src="https://cdnjs.cloudflare.com/ajax/libs/cropperjs/1.5.12/cropper.min.js"></script>
</head>
<body>
Step 2: Add an Image Upload Section
Let’s create an interface where users can upload an image and preview it.
<input type="file" id="imageInput" accept="image/*">
<div>
    <img id="previewImage" src="" alt="Preview Image" style="max-width:100%;">
</div>
<button id="cropButton">Crop & Download</button>
Step 3: Implement Cropper.js Functionality
Now, initialize Cropper.js when an image is uploaded.
$(document).ready(function() {
    let cropper;
    $("#imageInput").on("change", function(e) {
        const file = e.target.files[0];
        if (file) {
            const reader = new FileReader();
            reader.onload = function(event) {
                $("#previewImage").attr("src", event.target.result);
                if (cropper) {
                    cropper.destroy();
                }
                cropper = new Cropper(document.getElementById("previewImage"), {
                    aspectRatio: 1,
                    viewMode: 1
                });
            };
            reader.readAsDataURL(file);
        }
    });
Step 4: Crop and Download the Image
We add functionality to crop the image and allow users to download it.
    $("#cropButton").on("click", function() {
        if (cropper) {
            const croppedCanvas = cropper.getCroppedCanvas();
            const croppedImage = croppedCanvas.toDataURL("image/png");
            const link = document.createElement("a");
            link.href = croppedImage;
            link.download = "cropped-image.png";
            link.click();
        }
    });
});
Final Thoughts
By following this guide, you’ve learned how to: ✅ Upload an image 📸 ✅ Use Cropper.js for cropping 🖼️ ✅ Download the cropped image 💾
This feature is perfect for profile picture uploads, document cropping, and other image editing needs in web applications. You can enhance this by integrating server-side upload functionality using PHP, Node.js, or Python.
🚀 Want the full source code? Check out the GitHub repository: GitHub Link
If you found this tutorial helpful, don’t forget to like, share, and subscribe to Madras Academy for more exciting web development tutorials! 🎥🔥
#jQuery #CropperJS #WebDevelopment #ImageCropping #Frontend #JavaScript #ImageProcessing #TechTutorial