
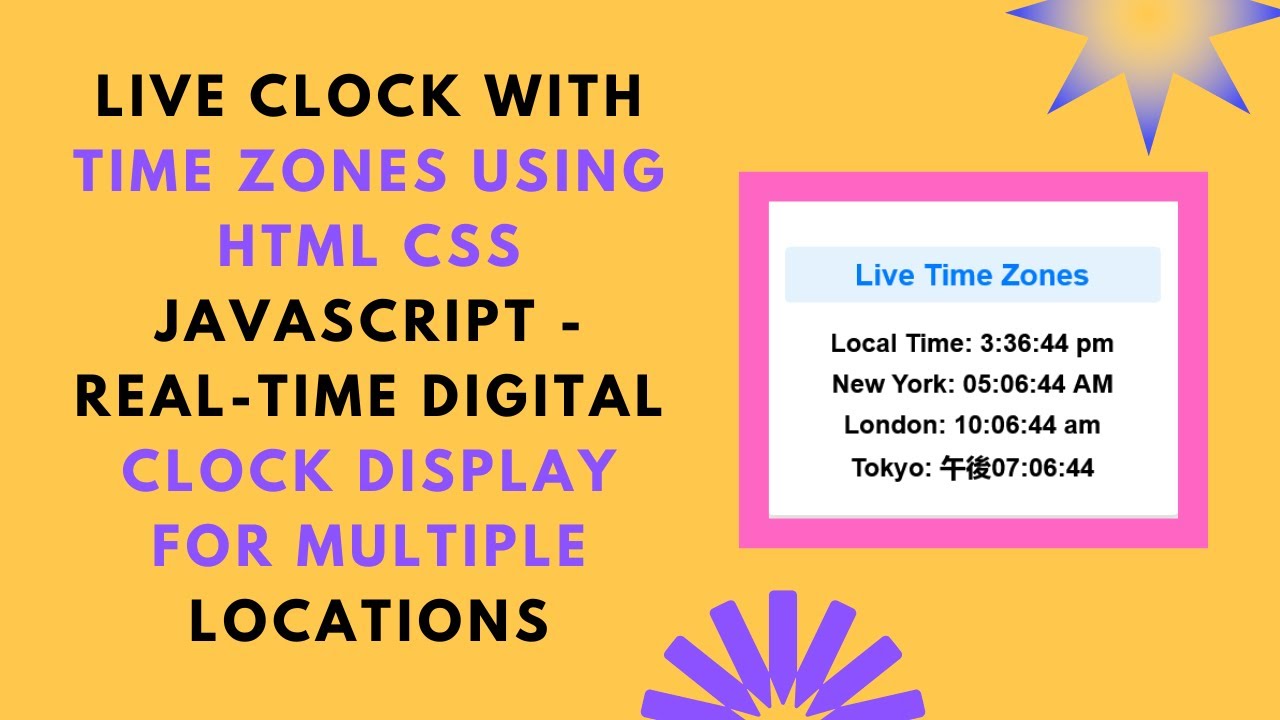
Are you looking to add a real-time clock that displays multiple time zones to your website? In this step-by-step guide, you’ll learn how to create a live digital clock using HTML, CSS, and JavaScript. This clock automatically updates every second and shows the current time in various locations, including local time, New York, London, and Tokyo.
This tutorial is perfect for international websites, remote teams, or anyone who wants to keep track of different time zones in real time!
🚀 What You’ll Learn
✅ How to display a real-time digital clock using JavaScript 🕰️
✅ How to format time correctly for different time zones 🌎
✅ Using CSS to style the clock for a modern, sleek design 🎨
✅ How JavaScript’s Date API dynamically fetches the time ⏲️
✅ How to create an auto-updating clock for a smooth user experience ⌛
📌 Step-by-Step Guide
1️⃣ HTML Structure
First, we create a simple HTML file with a structured layout to display multiple time zones.
📄 Code: HTML
<!DOCTYPE html>
<html lang="en">
<head>
    <meta charset="UTF-8">
    <meta name="viewport" content="width=device-width, initial-scale=1.0">
    <title>Live Clock with Time Zones</title>
    <link rel="stylesheet" href="styles.css">
</head>
<body>
    <div class="clock-container">
        <h2>Live Time Zones</h2>
        <div class="clock" id="localTime">Local Time: --:--:--</div>
        <div class="clock" id="newYorkTime">New York: --:--:--</div>
        <div class="clock" id="londonTime">London: --:--:--</div>
        <div class="clock" id="tokyoTime">Tokyo: --:--:--</div>
    </div>
    <script src="script.js"></script>
</body>
</html>
🎨 Code: CSS (styles.css)
The CSS ensures that the clock looks modern and clean with a responsive layout.
body {
    font-family: Arial, sans-serif;
    background-color: #f4f4f4;
    display: flex;
    justify-content: center;
    align-items: center;
    height: 100vh;
    flex-direction: column;
}
.clock-container {
    background: white;
    padding: 20px;
    border-radius: 10px;
    box-shadow: 0 4px 6px rgba(0, 0, 0, 0.1);
    text-align: center;
    width: 350px;
}
h2 {
    font-size: 28px;
    color: #007BFF;
    background: #E3F2FD;
    padding: 10px;
    border-radius: 5px;
}
.clock {
    font-size: 24px;
    font-weight: bold;
    margin: 10px 0;
}
🛠️ Code: JavaScript (script.js)
The JavaScript code dynamically updates the clock every second.
function updateTime() {
    const now = new Date();
    document.getElementById("localTime").textContent = "Local Time: " + now.toLocaleTimeString();

    const newYorkTime = new Date().toLocaleTimeString("en-US", {
        timeZone: "America/New_York",
        hour12: true,
        hour: '2-digit',
        minute: '2-digit',
        second: '2-digit'
    });
    document.getElementById("newYorkTime").textContent = "New York: " + newYorkTime;

    const londonTime = new Date().toLocaleTimeString("en-GB", {
        timeZone: "Europe/London",
        hour12: true,
        hour: '2-digit',
        minute: '2-digit',
        second: '2-digit'
    });
    document.getElementById("londonTime").textContent = "London: " + londonTime;

    const tokyoTime = new Date().toLocaleTimeString("ja-JP", {
        timeZone: "Asia/Tokyo",
        hour12: true,
        hour: '2-digit',
        minute: '2-digit',
        second: '2-digit'
    });
    document.getElementById("tokyoTime").textContent = "Tokyo: " + tokyoTime;
}

setInterval(updateTime, 1000);
updateTime();
🎯 Why This Project Is Useful
✅ Enhances user experience with real-time updates
✅ Useful for global users tracking multiple time zones
✅ Simple yet effective example of JavaScript’s Date API
✅ Can be integrated into websites, dashboards, and business applications
📌 Live Demo & GitHub Repository
🔗 Live Demo:
💻 GitHub Source Code: View on GitHub
🎥 Watch the Full Tutorial
Want a detailed walkthrough? Watch the full tutorial on Madras Academy’s YouTube channel:
📺 Live Clock with Multiple Time Zones Tutorial
📌 Don’t forget to like, comment, and subscribe to Madras Academy for more exciting web development tutorials! 🚀
🔥 Stay Updated with More Web Development Tips
Follow us for more HTML, CSS, and JavaScript tutorials:
📌 #HTML #CSS #JavaScript #LiveClock #RealTime #TimeZones #WebDevelopment #FrontendDevelopment #Coding #TechTutorial #DigitalClock 🕒🔧
🚀 Start building your own real-time clock today! Let me know in the comments if you have any questions. Happy coding! 💻🎉