
In this tutorial, we’ll walk you through how to create a simple blogging platform using HTML, CSS, and JavaScript. This interactive blog allows users to write, edit, and delete posts dynamically using local storage. Whether you’re a beginner or someone looking to brush up on your skills, this tutorial is perfect for getting hands-on with a basic content management system! 🚀💡
What You’ll Learn:
- ✅ How to structure a blogging platform with HTML 📄
- ✅ Styling the blog interface with CSS for a clean and modern look 🎨
- ✅ Using JavaScript to create, store, and manage blog posts 🔥
- ✅ Implementing local storage to save posts even after a page refresh 💾
- ✅ Adding editable content fields for easy post modifications ✍️
By the end of this tutorial, you’ll have a fully functional blogging system where users can add, edit, and delete posts with ease. You’ll also learn how to use local storage to persist the blog data. Let’s dive in!
Step 1: HTML Structure
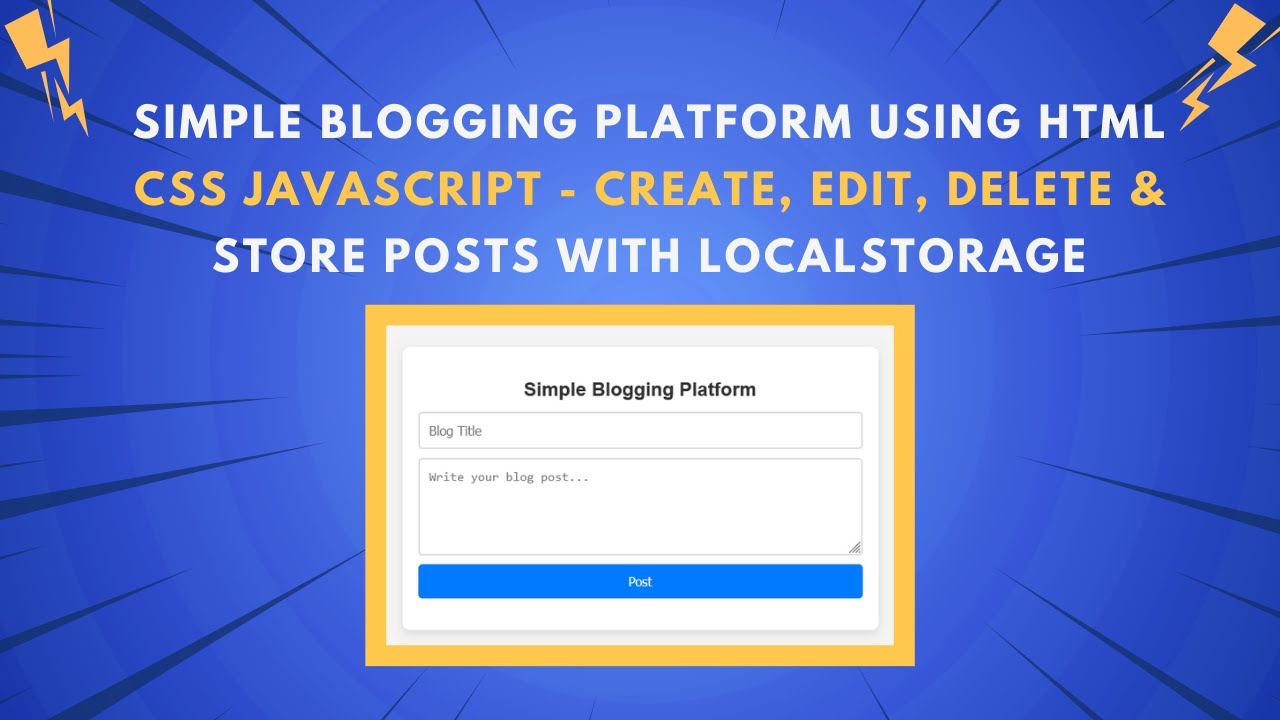
The first step is to create the basic HTML structure for the blog. This will include an input field for the title of the post, a textarea for the content, and a button to submit the post. Below the input section, we will also display a list of saved posts.
<!DOCTYPE html>
<html lang="en">
<head>
    <meta charset="UTF-8">
    <meta name="viewport" content="width=device-width, initial-scale=1.0">
    <title>Simple Blogging Platform</title>
    <link rel="stylesheet" href="styles.css">
</head>
<body>
    <div class="container">
        <h2>Simple Blogging Platform</h2>
        <div class="input-container">
            <input type="text" id="title" placeholder="Blog Title">
            <textarea id="content" rows="5" placeholder="Write your blog post..."></textarea>
            <button onclick="addPost()">Post</button>
        </div>
        <div class="posts-container" id="posts"></div>
    </div>
    <script src="script.js"></script>
</body>
</html>
Step 2: CSS Styling
Now, let’s add some basic CSS to style the blog’s layout. We’ll give the blog a clean and modern design with flexible input areas and a neat post display.
body {
    font-family: 'Arial', sans-serif;
    background: #f4f4f4;
    padding: 20px;
    display: flex;
    justify-content: center;
    align-items: center;
    height: 100vh;
    flex-direction: column;
}

.container {
    max-width: 600px;
    width: 100%;
    background: white;
    padding: 20px;
    border-radius: 10px;
    box-shadow: 0 4px 10px rgba(0, 0, 0, 0.1);
    text-align: center;
    box-sizing: border-box;
}

.input-container {
    display: flex;
    flex-direction: column;
    gap: 10px;
    width: 100%;
}

input, textarea {
    width: 100%;
    max-width: 100%;
    padding: 12px;
    font-size: 16px;
    border: 2px solid #ddd;
    border-radius: 5px;
    transition: 0.3s;
    outline: none;
    box-sizing: border-box;
}

button {
    background: #007BFF;
    color: white;
    border: none;
    padding: 12px;
    cursor: pointer;
    border-radius: 5px;
    font-size: 16px;
    transition: background 0.3s ease, transform 0.2s;
}

button:hover {
    background: #0056b3;
    transform: scale(1.05);
}

.posts-container {
    margin-top: 20px;
}

.post {
    background: #fff;
    padding: 15px;
    margin: 10px 0;
    border-left: 5px solid #007BFF;
    border-radius: 10px;
    position: relative;
    box-shadow: 0 4px 6px rgba(0, 0, 0, 0.1);
}

.delete {
    background: #ff4d4d;
}

.delete:hover {
    background: #e60000;
}
Step 3: JavaScript Logic
Next, we’ll use JavaScript to handle the functionality of adding, editing, and deleting blog posts. We will utilize local storage to ensure that the posts persist even when the page is refreshed.
document.addEventListener("DOMContentLoaded", loadPosts);

function addPost() {
    let title = document.getElementById("title").value;
    let content = document.getElementById("content").value;

    if (title && content) {
        let posts = JSON.parse(localStorage.getItem("posts")) || [];
        posts.push({ title, content });
        localStorage.setItem("posts", JSON.stringify(posts));
        loadPosts();
        document.getElementById("title").value = "";
        document.getElementById("content").value = "";
    }
}

function loadPosts() {
    let posts = JSON.parse(localStorage.getItem("posts")) || [];
    let postsContainer = document.getElementById("posts");
    postsContainer.innerHTML = "";

    posts.forEach((post, index) => {
        let postDiv = document.createElement("div");
        postDiv.classList.add("post");
        postDiv.innerHTML = `
            <h3 contenteditable="true" onblur="editPost(${index}, this, 'title')">${post.title}</h3>
            <p contenteditable="true" onblur="editPost(${index}, this, 'content')">${post.content}</p>
            <div class="actions">
                <button class="delete" onclick="deletePost(${index})">Delete</button>
            </div>
        `;
        postsContainer.appendChild(postDiv);
    });
}

function editPost(index, element, field) {
    let posts = JSON.parse(localStorage.getItem("posts")) || [];
    posts[index][field] = element.innerText;
    localStorage.setItem("posts", JSON.stringify(posts));
}

function deletePost(index) {
    let posts = JSON.parse(localStorage.getItem("posts")) || [];
    posts.splice(index, 1);
    localStorage.setItem("posts", JSON.stringify(posts));
    loadPosts();
}
Step 4: Testing and Final Touches
Once you’ve set up the HTML, CSS, and JavaScript files, simply open your HTML file in a browser to test your blogging platform. You’ll be able to:
- Add posts with titles and content.
- Edit the title or content of each post.
- Delete posts with the delete button.
Conclusion
Congratulations! 🎉 You’ve now created a simple blogging platform where you can add, edit, and delete posts with the power of HTML, CSS, and JavaScript. By using local storage, your posts will persist even after refreshing the page.
Video Tutorial
For a more in-depth guide, check out the :
Code Repository
Access the complete source code for this tutorial on GitHub:
GitHub Repository
If you found this tutorial helpful, don’t forget to like, comment, and subscribe to Madras Academy for more exciting web development tutorials! 🚀