Are you looking to create an interactive table that users can generate dynamically? In this tutorial, we’ll walk you through building a Dynamic Table Generator using HTML, CSS, and JavaScript. This project allows users to enter the number of rows and columns, generating a table instantly. It’s a great way to practice JavaScript DOM manipulation while improving your front-end development skills!
✨ Features of This Dynamic Table Generator
- Users can input the number of rows and columns.
- The table is generated dynamically based on user input.
- Modern UI with a glassmorphism effect using CSS.
- Input validation to prevent incorrect entries.
- Fully responsive and interactive design.
🛠️ Step-by-Step Guide to Building the Dynamic Table Generator
1️⃣ HTML Structure
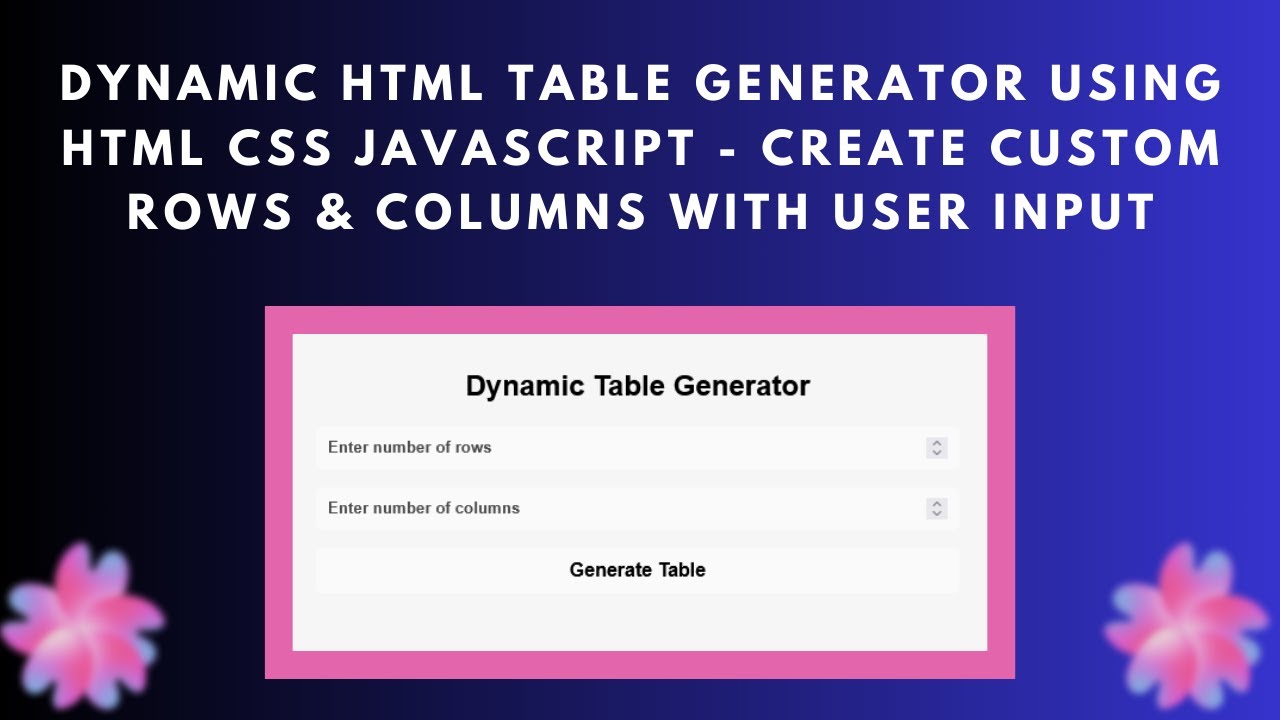
The HTML structure consists of an input section for entering the number of rows and columns, a button to generate the table, and a container to display the table.
<!DOCTYPE html>
<html lang="en">
<head>
    <meta charset="UTF-8">
    <meta name="viewport" content="width=device-width, initial-scale=1.0">
    <title>Dynamic Table Generator</title>
</head>
<body>
    <div class="container">
        <h2>Dynamic Table Generator</h2>
        <input type="number" id="rows" placeholder="Enter number of rows">
        <input type="number" id="cols" placeholder="Enter number of columns">
        <button onclick="generateTable()">Generate Table</button>
        <div id="table-container"></div>
    </div>
</body>
</html>
2️⃣ Styling with CSS
To make the UI visually appealing, we apply a modern glassmorphism design with a blurred background.
body {
    display: flex;
    justify-content: center;
    align-items: center;
    height: 100vh;
    background: #f4f4f4;
}
.container {
    width: 90%;
    max-width: 600px;
    padding: 30px;
    border-radius: 15px;
    background: rgba(255, 255, 255, 0.2);
    backdrop-filter: blur(10px);
    box-shadow: 0 0 10px rgba(0, 0, 0, 0.2);
    text-align: center;
}
button {
    background: rgba(255, 255, 255, 0.5);
    padding: 10px;
    border-radius: 5px;
    cursor: pointer;
}
table {
    width: 100%;
    border-collapse: collapse;
    background: rgba(255, 255, 255, 0.6);
}
th, td {
    padding: 10px;
    border: 1px solid black;
    text-align: center;
}
3️⃣ JavaScript Functionality
The JavaScript function retrieves user input, validates it, and generates a table dynamically inside the container.
function generateTable() {
    let rows = document.getElementById('rows').value;
    let cols = document.getElementById('cols').value;
    let tableContainer = document.getElementById('table-container');

    if (rows <= 0 || cols <= 0) {
        alert("Please enter valid row and column numbers.");
        return;
    }

    let table = '<table>';
    for (let i = 0; i < rows; i++) {
        table += '<tr>';
        for (let j = 0; j < cols; j++) {
            table += `<td>Row ${i + 1}, Col ${j + 1}</td>`;
        }
        table += '</tr>';
    }
    table += '</table>';

    tableContainer.innerHTML = table;
}
🎯 What You’ll Learn From This Project
✅ How to use JavaScript DOM manipulation to create dynamic elements. ✅ Handling user inputs and adding validation. ✅ Styling a table with CSS glassmorphism effects. ✅ Creating a responsive UI for dynamic table generation.
🚀 Conclusion
By the end of this tutorial, you have built a Dynamic Table Generator that allows users to create tables instantly. This project is perfect for enhancing your JavaScript, CSS, and HTML skills while learning how to handle user input and dynamically manipulate the DOM.
If you enjoyed this guide, be sure to check out our full tutorial on YouTube!
📺 Watch the Full Video Tutorial:
💻 Get the Complete Code on GitHub: GitHub Repository
Don’t forget to like, comment, and subscribe for more exciting web development tutorials! 🚀🎨
#HTML #CSS #JavaScript #DynamicTable #WebDevelopment #FrontendDevelopment #InteractiveUI #Coding #TechTutorial #WebDesign