🔐 Enhance Web Security with 2FA
Two-Factor Authentication (2FA) is a crucial security measure that adds an extra layer of protection to online accounts. In this tutorial, you’ll learn how to build a simple yet effective 2FA system using HTML, CSS, and JavaScript. This system generates a 6-digit OTP (One-Time Password) that expires after 1 minute, ensuring secure authentication.
🚀 What You’ll Learn
✅ How to generate a random OTP using JavaScript 🔢
✅ Displaying the OTP dynamically and managing its expiration time ⏳
✅ Creating an interactive input field for OTP verification 🔐
✅ Implementing error handling for expired or incorrect OTPs 🚨
✅ Styling the authentication system for a modern UI 🎨
By the end of this guide, you’ll have a working Two-Factor Authentication system that enhances security for any web application.
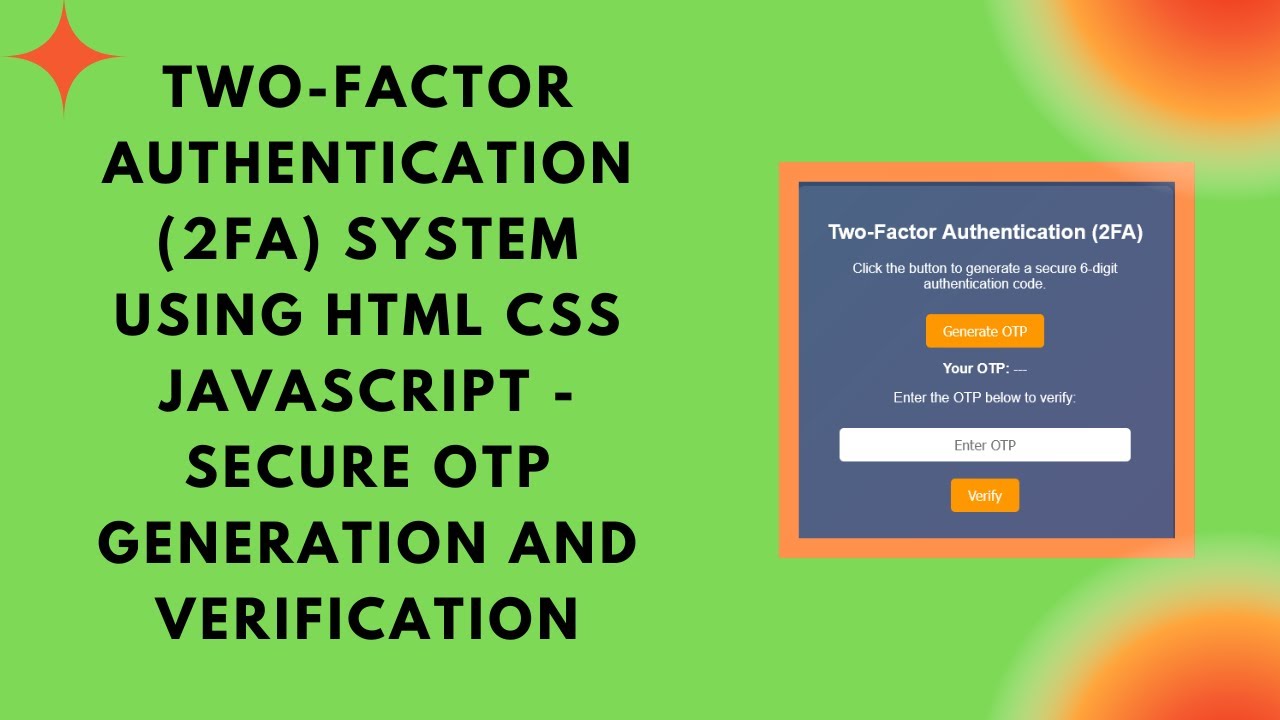
🛠️ How the 2FA System Works
The authentication system consists of: 1️⃣ A button to generate an OTP.
2️⃣ A display field to show the OTP.
3️⃣ An input field for user verification.
4️⃣ A verification function to validate the OTP.
1️⃣ Generating a Random OTP
We use JavaScript to generate a 6-digit OTP and display it on the screen.
function generateOTP() {
    generatedOTP = Math.floor(100000 + Math.random() * 900000).toString();
    document.getElementById("otp").innerText = generatedOTP;
    document.getElementById("message").innerText = "";
    otpExpiry = Date.now() + 60000; // OTP valid for 1 minute
    setTimeout(() => {
        generatedOTP = "";
        document.getElementById("otp").innerText = "Expired";
    }, 60000);
}
2️⃣ OTP Expiration Handling
To improve security, the OTP is automatically deleted after 1 minute to prevent reuse.
3️⃣ Verifying the OTP
The user enters the OTP, and JavaScript validates it against the generated code.
function verifyOTP() {
    let userOTP = document.getElementById("otpInput").value;
    let messageElement = document.getElementById("message");

    if (generatedOTP === "") {
        messageElement.innerText = "OTP expired. Generate a new one.";
        messageElement.style.color = "red";
        return;
    }
    if (userOTP === generatedOTP && Date.now() < otpExpiry) {
        messageElement.innerText = "✅ OTP Verified Successfully!";
        messageElement.style.color = "lightgreen";
    } else {
        messageElement.innerText = "❌ Invalid OTP. Try again.";
        messageElement.style.color = "red";
    }
}
🎨 Styling the 2FA System
To give the authentication system a clean and modern look, we apply CSS styling:
body {
    font-family: Arial, sans-serif;
    text-align: center;
    background: linear-gradient(135deg, #2b5876, #4e4376);
    color: white;
    padding: 20px;
}
.container {
    background: rgba(255, 255, 255, 0.1);
    padding: 20px;
    border-radius: 10px;
    box-shadow: 0 5px 15px rgba(0, 0, 0, 0.3);
    display: inline-block;
    width: 80%;
    max-width: 400px;
}
input {
    width: 80%;
    padding: 10px;
    margin: 10px 0;
    border: none;
    border-radius: 5px;
    font-size: 16px;
    text-align: center;
}
🔥 Why Implement 2FA?
Adding Two-Factor Authentication significantly improves the security of user accounts by requiring a second authentication factor beyond just a password. This helps protect against:
- Phishing attacks 🎣
- Stolen passwords 🔑
- Unauthorized access 🚫
By implementing OTP-based authentication, you can make your web applications more secure and reliable.
🚀 Get Started with the 2FA System
This 2FA system is easy to implement and can be customized further to integrate with email or SMS OTP delivery.
💡 Want to see the full source code? Check out the GitHub repository here: GitHub Repo
📺 Prefer a step-by-step video tutorial? Watch it on YouTube:
If you found this tutorial helpful, like, share, and subscribe for more security-focused web development guides! 🚀🔐
📌 Final Thoughts
Implementing Two-Factor Authentication is a smart way to enhance security in your web applications. By following this guide, you’ve built a simple but effective 2FA system that can be expanded with SMS or email-based authentication.
Stay secure online, and protect your users! 🔒
#HTML #CSS #JavaScript #TwoFactorAuthentication #OTPVerification #WebSecurity #Coding #FrontendDevelopment #SecureLogin #TechTutorial