Are you looking for a way to save user input and autofill forms effortlessly? In this tutorial, we’ll guide you through creating a Smart Autofill Form using HTML, CSS, and JavaScript. This form allows users to store and retrieve their details seamlessly using local storage, enhancing the user experience in web applications. 🚀📄
Why Use an Autofill Form?
🔹 Saves users from repeatedly entering their details.
🔹 Provides a better user experience by remembering past inputs.
🔹 Uses local storage, which means no database required.
🔹 Works offline since the data is stored in the browser.
What You’ll Learn in This Tutorial
✅ How to create a form with input fields using HTML 🏗️
✅ Styling the form for a modern look with CSS 🎨
✅ Using JavaScript to store user input in local storage 🔄
✅ Implementing a load function to autofill data quickly ⏳
✅ Making the form interactive and user-friendly 🌟
Step 1: HTML – Creating the Form Structure
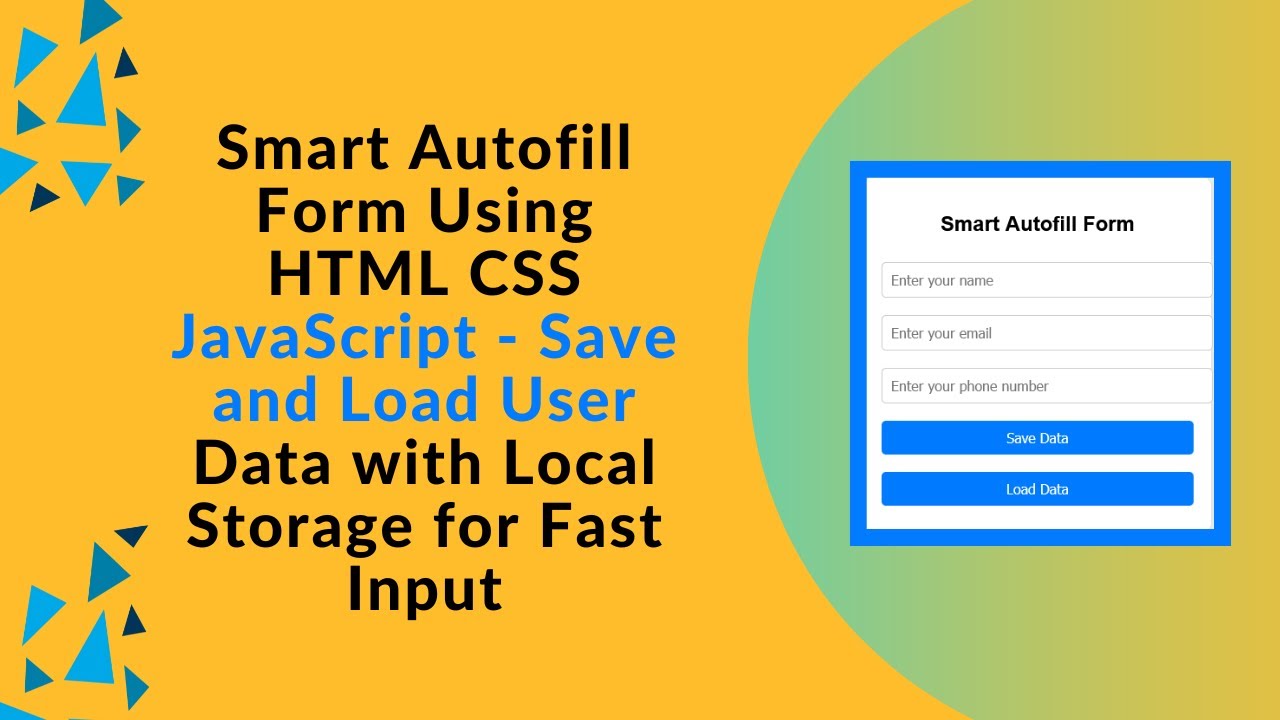
The form contains input fields for name, email, and phone number, along with two buttons – Save Data and Load Data.
<!DOCTYPE html>
<html lang="en">
<head>
    <meta charset="UTF-8">
    <meta name="viewport" content="width=device-width, initial-scale=1.0">
    <title>Smart Autofill Form</title>
    <link rel="stylesheet" href="style.css">
</head>
<body>
    <div class="container">
        <h2>Smart Autofill Form</h2>
        <form id="userForm">
            <input type="text" id="name" placeholder="Enter your name" required>
            <input type="email" id="email" placeholder="Enter your email" required>
            <input type="tel" id="phone" placeholder="Enter your phone number" required>
            <button type="button" onclick="saveUserData()">Save Data</button>
            <button type="button" onclick="loadUserData()">Load Data</button>
        </form>
    </div>
    <script src="script.js"></script>
</body>
</html>
Step 2: CSS – Styling the Form for a Clean Look
We’ll make the form look modern and user-friendly using CSS.
body {
    font-family: Arial, sans-serif;
    max-width: 400px;
    margin: auto;
    padding: 20px;
    text-align: center;
    background: #f0f0f0;
}
.container {
    background: #fff;
    padding: 20px;
    border-radius: 10px;
    box-shadow: 0 0 10px rgba(0, 0, 0, 0.1);
}
input, button {
    width: 100%;
    padding: 10px;
    margin: 10px 0;
    border: 1px solid #ccc;
    border-radius: 5px;
    font-size: 16px;
}
button {
    background: #007bff;
    color: white;
    border: none;
    cursor: pointer;
    transition: 0.3s;
}
button:hover {
    background: #0056b3;
}
Step 3: JavaScript – Saving & Loading Data with Local Storage
We’ll use JavaScript to save and retrieve user data from the browser’s local storage.
function saveUserData() {
    let userData = {
        name: document.getElementById("name").value,
        email: document.getElementById("email").value,
        phone: document.getElementById("phone").value
    };
    localStorage.setItem("userData", JSON.stringify(userData));
    alert("User data saved!");
}

function loadUserData() {
    let storedData = localStorage.getItem("userData");
    if (storedData) {
        let userData = JSON.parse(storedData);
        document.getElementById("name").value = userData.name;
        document.getElementById("email").value = userData.email;
        document.getElementById("phone").value = userData.phone;
    } else {
        alert("No saved data found.");
    }
}
How It Works
1️⃣ User enters their details (Name, Email, Phone).
2️⃣ Clicks “Save Data”, which stores the input in local storage.
3️⃣ When the user revisits the page or clicks “Load Data”, their information is retrieved and autofilled in the form.
Watch the Full Video Tutorial 🎥
📌 Source Code on GitHub:
🔗 View Complete Code
Why Use Local Storage for Forms?
✔️ Fast & Lightweight – No need for databases.
✔️ Offline Support – Data stays even if the user refreshes or closes the tab.
✔️ Better User Experience – Users don’t have to re-enter details repeatedly.
✔️ Simple & Secure – No external dependencies, everything stays in the browser.
Final Thoughts
This Smart Autofill Form is perfect for registration forms, contact pages, and feedback systems where users may need to store and reuse their information.
💡 Try implementing this in your projects today!
👉 Liked this tutorial? Share your thoughts in the comments below!
📢 Subscribe to Madras Academy for More Exciting Web Development Tutorials! 🚀
🔹 YouTube: Madras Academy
🔹 GitHub: Madras Academy Repositories
#HTML #CSS #JavaScript #LocalStorage #WebDevelopment #Frontend #SmartForms #InteractiveUI #Coding #TechTutorial 🚀🎉