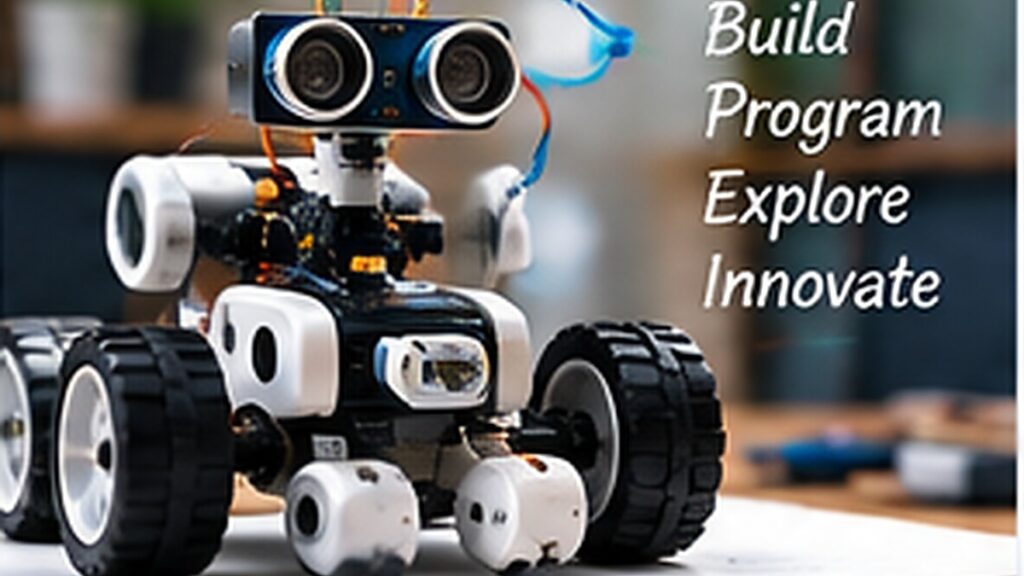
An obstacle-avoiding robot is an excellent beginner robotics project because the result is easy to observe: the robot moves forward, detects an object, stops and changes direction. The project combines ultrasonic sensing, motor control and simple decision logic.
This guide focuses on practical learning: understand the idea, try a small version, test it, document what happens and improve it. That approach is more useful for students than collecting isolated facts without applying them.
How the robot works
An HC-SR04 ultrasonic sensor measures distance. When the distance becomes smaller than the chosen threshold, the controller stops the motors and performs an avoidance movement.
- Sensor measures distance
- Arduino compares it with a threshold
- motor driver controls motors
- robot turns and resumes
Components
A simple two-wheel robot is enough for the first version.
- Arduino Uno/Nano
- HC-SR04 ultrasonic sensor
- motor driver
- 2 geared DC motors
- 2 wheels and caster
- chassis
- battery pack
- switch
Motor-driver wiring
DC motors require more current than Arduino pins can safely provide, so use a motor driver and suitable motor power source.
Ultrasonic sensor wiring
Connect VCC, GND, TRIG and ECHO correctly, then verify distance readings before integrating movement.
Basic avoidance logic
Start with a fixed threshold. Advanced versions can mount the sensor on a servo and compare left/right distances.
read_distance();
if (distance > safe_distance) move_forward();
else { stop(); move_backward(); turn_right(); }
Calibration and testing
Start at low speed and test with large flat obstacles. Observe the limitations of ultrasound on soft or angled surfaces.
- test sensor alone
- test each motor direction
- test stop distance
- test turning
- secure loose wires
Optional improvements
Add a servo-mounted sensor, side sensors, wheel encoders or a more advanced avoidance strategy.
Build sequence
- Assemble the chassis.
- Test forward, reverse, left and right.
- Display ultrasonic distance readings.
- Add stop behaviour.
- Add reverse and turning.
- Test several obstacle positions.
- Tune speed and turn timing.
- Secure wiring and prepare the demo.
Common mistakes to avoid
- Connecting motors directly to Arduino
- Testing the full robot before motor directions
- Setting the threshold too small
- Using high speed during initial testing
- Expecting one sensor to detect every object shape
Frequently asked questions
Why use an ultrasonic sensor?
It provides inexpensive non-contact distance measurement.
Can the robot choose left or right automatically?
Yes. Use a servo-mounted sensor or side sensors.
Why does my robot reset when motors start?
Check power capacity, motor-driver setup, grounding and electrical noise.
Can I add Bluetooth control?
Yes, but build autonomous avoidance first.
Final thoughts
Treat this as three small projects—distance sensor, motor control and decision logic—then combine them. That makes robotics easier to troubleshoot.
Madras Academy tip: keep photos, diagrams, code links, test notes and a short explanation for every project or learning activity. A clear portfolio makes progress visible and helps students explain what they actually learned.