
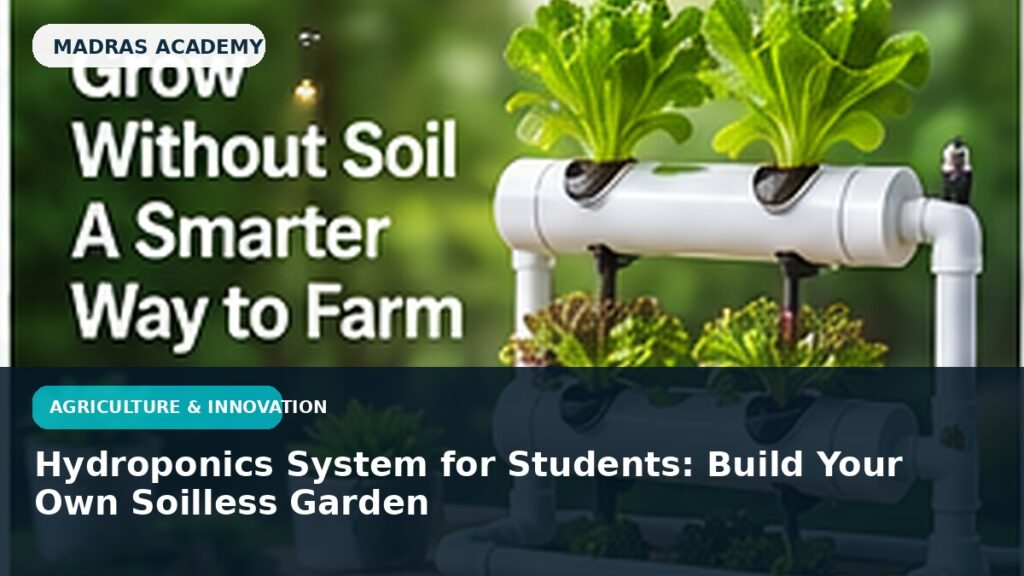
Hydroponics is a method of growing plants without traditional soil, using water that contains suitable nutrients. A student model can demonstrate plant support, nutrient solution, water circulation and the importance of light and oxygen.
This tutorial is designed for students who want to understand the project rather than only copy a finished model. Build one part at a time, test each section, record what changes and prepare a short explanation of the science or engineering principle.
How hydroponics works
Plant roots receive water, dissolved nutrients and oxygen directly. Different hydroponic methods deliver the solution in different ways, but a simple classroom model can focus on a small recirculating or passive setup.
Choose a beginner-friendly design
For a demonstration, use food-safe containers and small leafy plants. A passive wick system is simplest. A small recirculating system with a low-voltage pump is more visual.
- Reservoir
- plant cups/net pots
- growing medium
- nutrient solution
- tubing
- small pump for active systems
What students can measure
A stronger project records plant height, leaf count, water level or pH over time. Compare two conditions only if you can keep the other variables reasonably similar.
- Plant height
- leaf count
- solution level
- pH
- light duration
Safety and hygiene
Use clean containers and suitable commercial hydroponic nutrients according to instructions. Do not improvise nutrient mixtures from unknown chemicals.
Step-by-step build
- Choose a small reservoir and clean it thoroughly.
- Cut openings for plant cups or create a wick-support arrangement.
- Add a suitable inert growing medium.
- Fill the reservoir with correctly prepared nutrient solution.
- Place young plants so the roots can access moisture and oxygen.
- If using a pump, test circulation and prevent leaks.
- Place the system in appropriate light and record observations.
- Add labels showing root zone, nutrient reservoir and water path.
Common mistakes to avoid
- Using ordinary garden fertiliser without checking suitability
- Allowing roots to remain oxygen-starved
- Changing several growing conditions at once
- Ignoring cleanliness and algae growth
- Making scientific claims from only one plant and one short observation
Frequently asked questions
Is hydroponics the same as aquaponics?
No. Hydroponics uses prepared nutrient solution, while aquaponics combines plant growing with an aquatic animal system and biological nutrient cycling.
Do plants really need no soil?
Plants need water, nutrients, oxygen, light and physical support. Soil is one way to provide some of these, but hydroponics supplies them differently.
Which plants are easiest for a student model?
Small leafy plants and herbs are generally easier than large fruiting crops for a classroom-scale demonstration.
Conclusion
A good hydroponics project is a living experiment. Keep the design small, measure changes over time and explain both the advantages and the maintenance requirements.
Madras Academy project tip: add a block diagram, component labels, photos of testing, a simple results table and two or three viva answers. That makes the project easier to explain and shows genuine understanding.