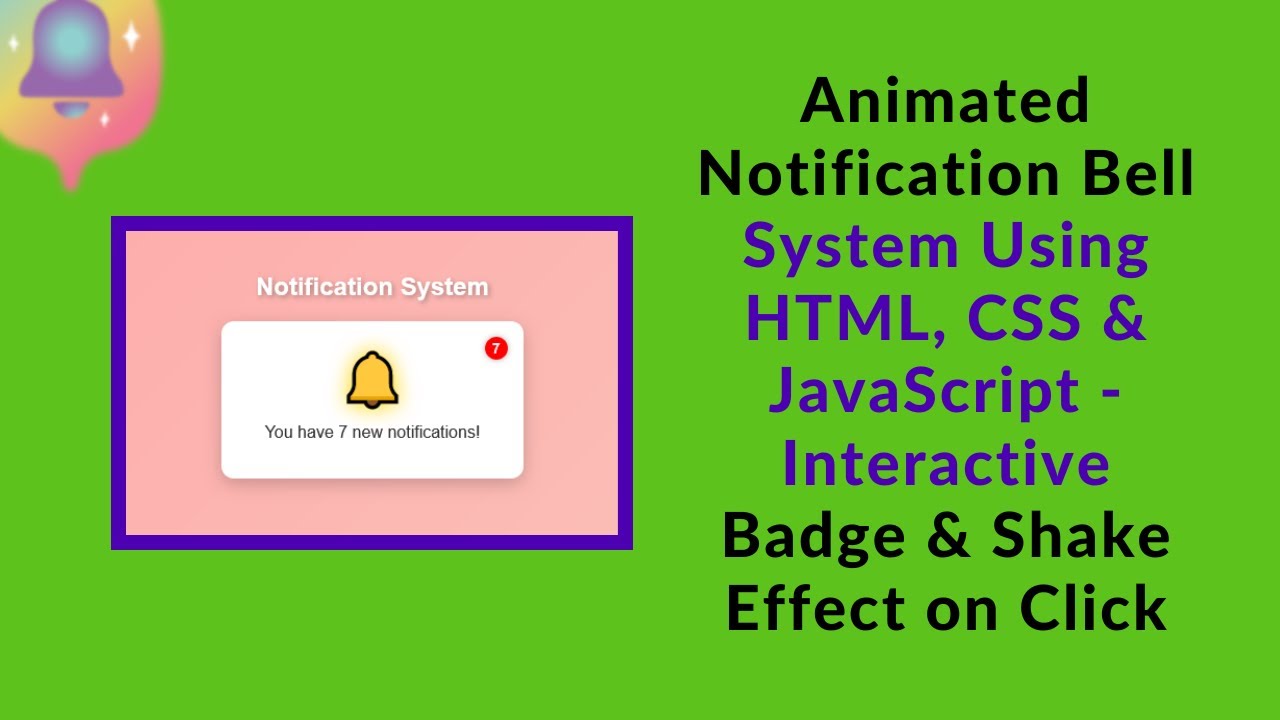
In this tutorial, you’ll learn how to create an Animated Notification Bell using HTML, CSS, and JavaScript. This interactive feature will shake and glow when new notifications arrive, providing an engaging UI experience for your website.
What You’ll Learn:
- How to create a notification bell using HTML
- Adding stylish animations with CSS for a smooth shake effect
- Using JavaScript to dynamically update notifications
- Implementing a reset function to clear notifications
- Enhancing user experience with real-time notification updates
By the end of this tutorial, you’ll have a fully functional notification system that you can integrate into any web project.
Step 1: Setting Up the HTML Structure
First, let’s create the basic HTML structure for our notification system.
<!DOCTYPE html>
<html lang="en">
<head>
    <meta charset="UTF-8">
    <meta name="viewport" content="width=device-width, initial-scale=1.0">
    <title>Animated Notification Bell</title>
    <link rel="stylesheet" href="styles.css">
</head>
<body>
    <h1>Notification System</h1>
    <div class="card">
        <div class="notification-container" onclick="resetNotifications()">
            <span class="bell">🔔</span>
            <span class="badge" id="notification-count">0</span>
        </div>
        <p class="message" id="notification-text">No new notifications</p>
    </div>
    <script src="script.js"></script>
</body>
</html>
Step 2: Styling with CSS
Now, let’s add some styles to make our notification system look attractive.
body {
    font-family: Arial, sans-serif;
    display: flex;
    flex-direction: column;
    justify-content: center;
    align-items: center;
    height: 100vh;
    background: linear-gradient(135deg, #ff9a9e, #fad0c4);
    margin: 0;
}

.card {
    background: white;
    padding: 20px;
    border-radius: 12px;
    box-shadow: 0px 5px 15px rgba(0, 0, 0, 0.2);
    text-align: center;
    width: 250px;
}

.notification-container {
    position: relative;
    font-size: 50px;
    cursor: pointer;
}

.bell {
    transition: transform 0.3s, filter 0.3s;
}

.shake {
    animation: shake 0.5s ease-in-out;
}

.glow {
    filter: drop-shadow(0px 0px 10px gold);
}

@keyframes shake {
    0% { transform: rotate(0deg); }
    25% { transform: rotate(-10deg); }
    50% { transform: rotate(10deg); }
    75% { transform: rotate(-10deg); }
    100% { transform: rotate(0deg); }
}
Step 3: Adding JavaScript for Interactivity
Now, let’s write JavaScript to make our notification bell interactive.
let notificationCount = 0;
const bell = document.querySelector(".bell");
const badge = document.getElementById("notification-count");
const notificationText = document.getElementById("notification-text");

function newNotification() {
    notificationCount++;
    badge.textContent = notificationCount;
    notificationText.textContent = `You have ${notificationCount} new notifications!`;
    bell.classList.add("shake", "glow");
    setTimeout(() => {
        bell.classList.remove("shake");
    }, 500);
}

function resetNotifications() {
    notificationCount = 0;
    badge.textContent = notificationCount;
    notificationText.textContent = "No new notifications";
    bell.classList.remove("glow");
}

// Simulate receiving a new notification every 4 seconds
setInterval(newNotification, 4000);
Enhancements and Customization
This notification bell system can be further improved by integrating it with real-time data sources such as WebSockets or APIs to fetch live notifications. You can also customize the animation speed, colors, or add sound effects to make the notifications more engaging.
For better accessibility, consider adding ARIA attributes and keyboard interactions. Users should be able to navigate and interact with the notification system using keyboard shortcuts.
Final Thoughts
With this implementation, you have a dynamic and interactive notification bell system that adds a touch of modern UI/UX design to your website. You can customize the styles, animations, and behavior to fit your project’s needs.
Watch the Tutorial Video Here:
Code Repository:
Access the complete source code on GitHub: GitHub Repository
For more exciting web development tutorials, don’t forget to like, comment, and subscribe to Madras Academy!

