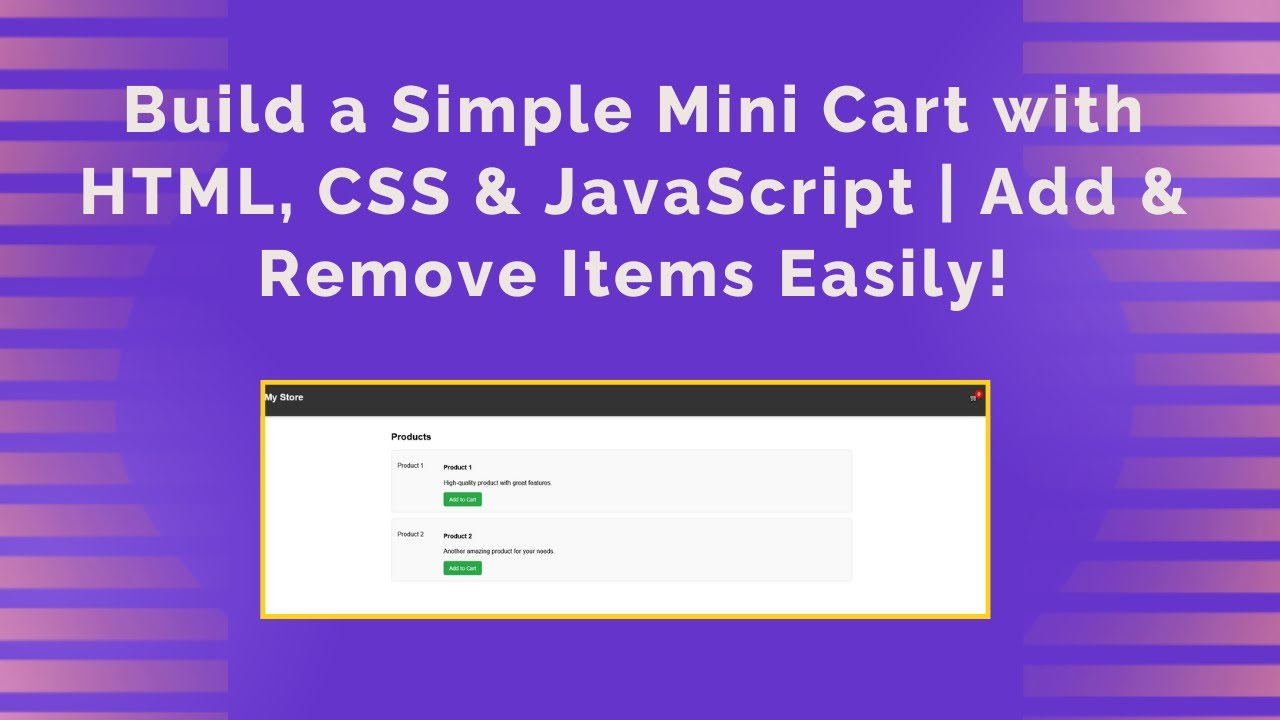
Are you looking to create a simple mini shopping cart using HTML, CSS, and JavaScript? This tutorial will guide you through building a fully functional shopping cart that allows users to add and remove items dynamically. Perfect for beginners who want to improve their front-end development skills! 🚀
Why Build a Mini Cart?
✅ Helps understand DOM manipulation in JavaScript 🔄
✅ Improves UI/UX by creating a responsive shopping experience 🛒
✅ Enhances JavaScript skills with real-world applications
✅ A great feature for e-commerce websites 🛍️
Features of Our Mini Cart
✔ Add and remove products dynamically
✔ Real-time cart count update
✔ Toggle the cart popup with a click
✔ Simple and clean UI with CSS
Step 1: Setting Up the HTML Structure
We start by creating a basic product listing with an add-to-cart button and a cart popup to display selected items.
<!DOCTYPE html>
<html lang="en">
<head>
    <meta charset="UTF-8">
    <meta name="viewport" content="width=device-width, initial-scale=1.0">
    <title>Mini Cart</title>
    <link rel="stylesheet" href="style.css">
</head>
<body>
    <div class="header">
        <h2>My Store</h2>
        <div class="cart-icon" onclick="toggleCart()">
            🛒 <span class="cart-count" id="cartCount">0</span>
        </div>
    </div>

    <div class="container">
        <h2>Products</h2>
        <div class="product">
            <img src="https://via.placeholder.com/100" alt="Product 1">
            <div class="product-info">
                <h4>Product 1</h4>
                <p>High-quality product with great features.</p>
                <button class="cart-btn" onclick="addToCart('Product 1')">Add to Cart</button>
            </div>
        </div>
    </div>

    <div class="cart-popup" id="cartPopup">
        <h3>Mini Cart</h3>
        <div id="cartItems"></div>
        <button class="close-btn" onclick="closeCart()">Close</button>
    </div>

    <script src="script.js"></script>
</body>
</html>
Step 2: Styling with CSS
To enhance the visual appeal, we’ll use CSS for a clean and responsive design.
body {
    font-family: Arial, sans-serif;
    margin: 0;
    padding: 0;
}

.header {
    display: flex;
    justify-content: space-between;
    padding: 15px;
    background: #333;
    color: white;
}

.cart-icon {
    cursor: pointer;
    position: relative;
}

.cart-count {
    position: absolute;
    top: -5px;
    right: -10px;
    background: red;
    color: white;
    font-size: 12px;
    padding: 3px 7px;
    border-radius: 50%;
}

.product {
    display: flex;
    align-items: center;
    border: 1px solid #ddd;
    padding: 15px;
    margin: 15px;
    border-radius: 8px;
    background: #f9f9f9;
}

.cart-popup {
    position: fixed;
    top: 60px;
    right: 20px;
    background: white;
    padding: 20px;
    border: 1px solid #ccc;
    display: none;
    width: 300px;
    box-shadow: 0px 4px 8px rgba(0, 0, 0, 0.2);
}
Step 3: Adding JavaScript for Functionality
Now, let’s make our cart interactive using JavaScript.
let cart = [];

function addToCart(product) {
    cart.push(product);
    updateCart();
    document.getElementById("cartPopup").style.display = "block";
}

function removeFromCart(index) {
    cart.splice(index, 1);
    updateCart();
}

function updateCart() {
    let cartContainer = document.getElementById("cartItems");
    cartContainer.innerHTML = "";
    cart.forEach((item, index) => {
        cartContainer.innerHTML += `<div class='cart-item'>${item} <button class='remove-btn' onclick='removeFromCart(${index})'>X</button></div>`;
    });
    document.getElementById("cartCount").textContent = cart.length;
}

function closeCart() {
    document.getElementById("cartPopup").style.display = "none";
}

function toggleCart() {
    let cartPopup = document.getElementById("cartPopup");
    cartPopup.style.display = cartPopup.style.display === "block" ? "none" : "block";
}
How It Works
1️⃣ User clicks “Add to Cart” to add an item to the mini cart.
2️⃣ Cart count updates in real time to show the number of items.
3️⃣ Clicking the cart icon toggles the cart popup where items are displayed.
4️⃣ Users can remove items from the cart dynamically.
Live Demo & Source Code
📹 Watch the full video tutorial:
💻 Source Code on GitHub:
🔗 View Complete Code
Why Use This Mini Cart?
✔️ Enhances the shopping experience
✔️ Easy to integrate into any website
✔️ Uses only HTML, CSS & JavaScript (No backend required)
✔️ Beginner-friendly & customizable
Final Thoughts
Building a mini cart is a great way to practice JavaScript DOM manipulation, event handling, and UI design. You can expand this project by adding a checkout system, local storage support, or API integration for a real e-commerce experience. 🛍️🚀
💡 Did you find this tutorial helpful? Let us know in the comments!
📢 Subscribe to Madras Academy for More Web Development Tutorials! 🚀
🔹 YouTube: Madras Academy
🔹 GitHub: Madras Academy Repositories
#MadrasAcademy #MiniCart #JavaScriptCart #ShoppingCart #WebDevelopment #JavaScript #HTML #CSS #CodingTutorial

