Managing product inventory efficiently is essential for any business. In this tutorial, you’ll learn how to create a Product Inventory Management System using HTML, CSS, and JavaScript. This simple yet effective system allows users to add, display, and remove products dynamically. Whether you’re a beginner or looking to enhance your DOM manipulation and event-handling skills, this project is perfect for you! 🛒📊
🚀 What You’ll Learn
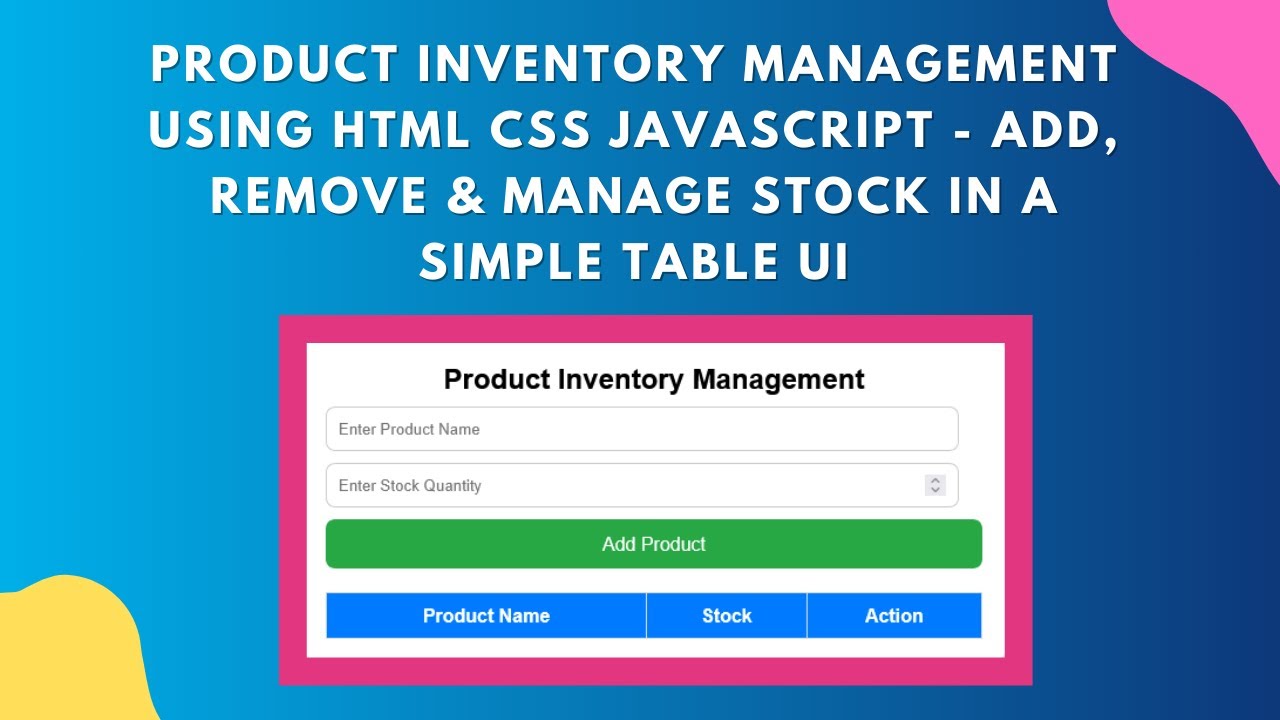
✅ How to create a product inventory system using HTML 📄
✅ Styling the form and table with CSS for a clean UI 🎨
✅ Adding products dynamically with JavaScript and DOM manipulation 🖥️
✅ Implementing a delete function to remove products easily ❌
✅ Creating a fully functional and interactive inventory table 📋
By the end of this tutorial, you’ll have a working inventory management system that you can further customize and expand based on your needs.
📌 Step 1: Create the HTML Structure
The first step is to set up the HTML structure for the inventory management system. This includes an input form for adding new products and a table to display the inventory.
<!DOCTYPE html>
<html lang="en">
<head>
    <meta charset="UTF-8">
    <meta name="viewport" content="width=device-width, initial-scale=1.0">
    <title>Product Inventory Management</title>
    <link rel="stylesheet" href="styles.css">
</head>
<body>
    <div class="container">
        <h2>Product Inventory Management</h2>
        <input type="text" id="productName" placeholder="Enter Product Name">
        <input type="number" id="productStock" placeholder="Enter Stock Quantity">
        <button onclick="addProduct()">Add Product</button>
        <table>
            <thead>
                <tr>
                    <th>Product Name</th>
                    <th>Stock</th>
                    <th>Action</th>
                </tr>
            </thead>
            <tbody id="productTable">
            </tbody>
        </table>
    </div>
    <script src="script.js"></script>
</body>
</html>
🎨 Step 2: Style the Inventory System with CSS
To enhance the user experience, we’ll style the form and table using CSS. This makes the interface clean and visually appealing.
* {
    margin: 0;
    padding: 0;
    box-sizing: border-box;
    font-family: 'Arial', sans-serif;
}

body {
    display: flex;
    flex-direction: column;
    align-items: center;
    height: 100vh;
    background: #f4f4f9;
    padding: 20px;
}

.container {
    width: 100%;
    max-width: 600px;
    background: #fff;
    padding: 20px;
    border-radius: 12px;
    box-shadow: 0 5px 15px rgba(0, 0, 0, 0.2);
    text-align: center;
    margin-bottom: 20px;
}

input {
    width: calc(100% - 20px);
    padding: 10px;
    margin: 10px 0;
    border: 1px solid #ccc;
    border-radius: 8px;
    display: block;
}

button {
    width: 100%;
    padding: 12px;
    border: none;
    border-radius: 8px;
    background: #28a745;
    color: white;
    font-size: 16px;
    cursor: pointer;
    transition: background 0.3s;
}

button:hover {
    background: #218838;
}

table {
    width: 100%;
    border-collapse: collapse;
    margin-top: 20px;
}

table, th, td {
    border: 1px solid #ddd;
}

th, td {
    padding: 10px;
    text-align: center;
}

th {
    background: #007BFF;
    color: white;
}
🖥️ Step 3: Implement JavaScript for Dynamic Functionality
Now, let’s add JavaScript to dynamically add and remove products from the table.
function addProduct() {
    let name = document.getElementById("productName").value;
    let stock = document.getElementById("productStock").value;
    if (name.trim() !== "" && stock.trim() !== "") {
        let table = document.getElementById("productTable");
        let row = table.insertRow();
        row.innerHTML = `<td>${name}</td><td>${stock}</td><td><button onclick="removeProduct(this)">Remove</button></td>`;
        document.getElementById("productName").value = "";
        document.getElementById("productStock").value = "";
    }
}

function removeProduct(button) {
    let row = button.parentNode.parentNode;
    row.parentNode.removeChild(row);
}
🎯 Final Thoughts
Congratulations! 🎉 You’ve successfully built a Product Inventory Management System using HTML, CSS, and JavaScript. This project taught you how to:
✅ Create an inventory layout using HTML 📄
✅ Style it with CSS for a modern UI 🎨
✅ Use JavaScript for adding and removing products dynamically 🖥️
This system is a great starting point for more advanced inventory management projects. You can further enhance it by:
- Adding local storage to save product data persistently 🗄️
- Implementing editable stock values ✏️
- Integrating with a database for large-scale applications 🛢️
🚀 Next Steps: Customize and expand this project to suit your needs!
📌 Watch the Video Tutorial:
💾 Get the Complete Code on GitHub:
👉 Access the Repository
If you enjoyed this tutorial, don’t forget to like, comment, and subscribe to Madras Academy for more web development tutorials! 🚀🎥
#HTML #CSS #JavaScript #InventoryManagement #WebDevelopment #FrontendDevelopment #Coding #TechTutorial #WebDesign #InteractiveUI #ProductManagement 🚀🎯