
Introduction
Want to build a fun and interactive game using HTML, CSS, and JavaScript? In this tutorial, we’ll walk you through creating a Whack-a-Mole Game, where players score points by clicking on moles that randomly pop up. This project is a great way to practice DOM manipulation, event handling, and animations! 🚀
By the end of this tutorial, you will learn how to: ✅ Create a grid-based game layout using CSS 🎨
✅ Use JavaScript to handle random mole pop-ups 🎲
✅ Implement click events to increase the score 🖱️
✅ Add game timers and a game-over message ⏳
✅ Enhance the experience with smooth animations ✨
Let’s get started! 🚀
Step 1: Setting Up the Game Layout
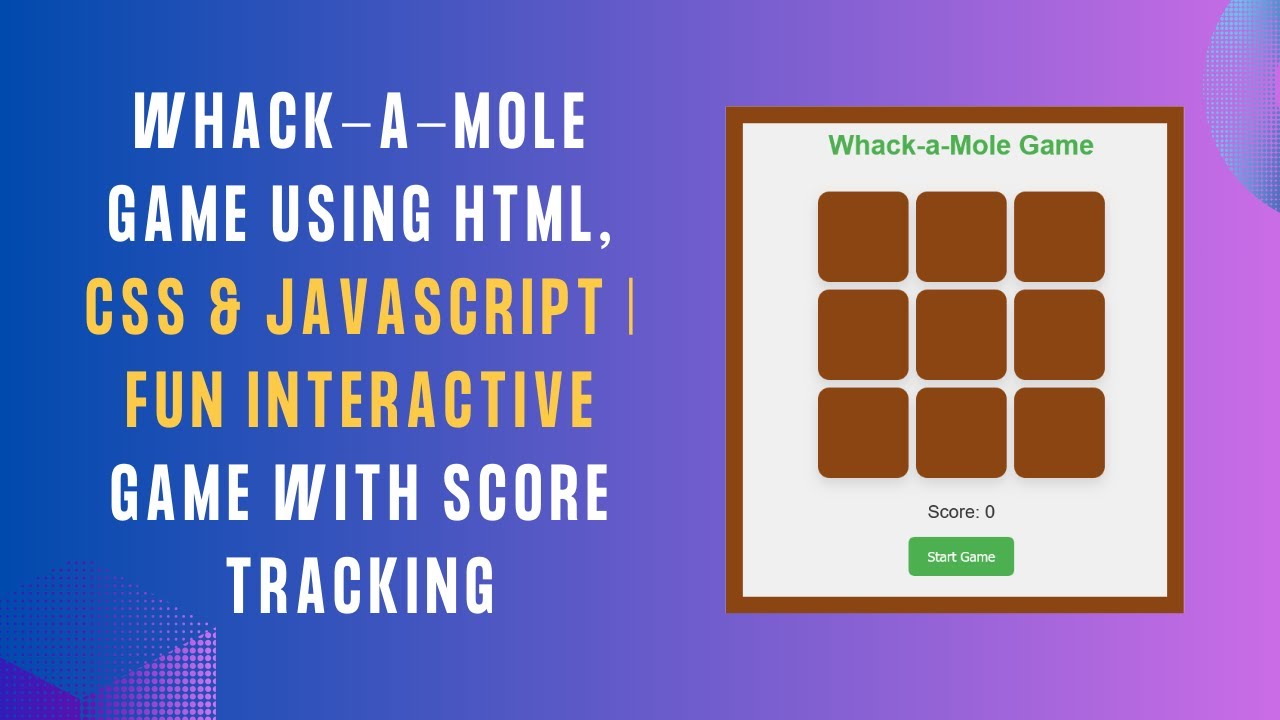
First, let’s create the basic HTML structure for our Whack-a-Mole game. We need a grid container with holes, a score display, and a start button.
<!DOCTYPE html>
<html lang="en">
<head>
    <meta charset="UTF-8">
    <meta name="viewport" content="width=device-width, initial-scale=1.0">
    <title>Whack-a-Mole Game</title>
</head>
<body>
    <h1>Whack-a-Mole Game</h1>
    <div id="game-container">
        <div class="hole"><div class="mole"></div></div>
        <div class="hole"><div class="mole"></div></div>
        <div class="hole"><div class="mole"></div></div>
        <div class="hole"><div class="mole"></div></div>
        <div class="hole"><div class="mole"></div></div>
        <div class="hole"><div class="mole"></div></div>
        <div class="hole"><div class="mole"></div></div>
        <div class="hole"><div class="mole"></div></div>
        <div class="hole"><div class="mole"></div></div>
    </div>
    <div class="scoreboard">Score: <span id="score">0</span></div>
    <button class="start-btn" onclick="startGame()">Start Game</button>
    <div class="game-over" id="gameOverMessage" style="display: none;"></div>
</body>
</html>
Step 2: Styling the Game with CSS
Now, let’s make the game visually appealing using CSS. We’ll style the game board, holes, and moles.
body {
    font-family: Arial, sans-serif;
    text-align: center;
    background-color: #f0f0f0;
}
#game-container {
    display: grid;
    grid-template-columns: repeat(3, 120px);
    grid-gap: 10px;
    justify-content: center;
    margin-top: 40px;
}
.hole {
    width: 120px;
    height: 120px;
    background-color: #8B4513;
    border-radius: 15px;
    position: relative;
}
.mole {
    width: 100px;
    height: 100px;
    background-color: #228B22;
    border-radius: 50%;
    position: absolute;
    bottom: 10px;
    left: 10px;
    display: none;
}
Step 3: Adding JavaScript Logic
Now, let’s write the JavaScript code to control the mole’s appearance, handle clicks, and track the score.
let score = 0;
let gameInterval;
const moles = document.querySelectorAll('.mole');
const holes = document.querySelectorAll('.hole');
const scoreDisplay = document.getElementById('score');
const gameOverMessage = document.getElementById('gameOverMessage');

function randomMole() {
    const randomIndex = Math.floor(Math.random() * holes.length);
    const mole = moles[randomIndex];
    mole.style.display = 'block';
    mole.addEventListener('click', function() {
        if (mole.style.display === 'block') {
            score++;
            scoreDisplay.textContent = score;
            mole.style.display = 'none';
        }
    });
    setTimeout(() => mole.style.display = 'none', 1000);
}

function startGame() {
    score = 0;
    scoreDisplay.textContent = score;
    gameOverMessage.style.display = 'none';
    gameInterval = setInterval(randomMole, 1500);
    setTimeout(() => {
        clearInterval(gameInterval);
        gameOverMessage.style.display = 'block';
        gameOverMessage.textContent = 'Game Over! Your final score is ' + score;
    }, 20000);
}
Step 4: Enhancing the Game
To improve the experience, let’s add animations when the moles pop up.
@keyframes popUp {
    0% { bottom: -50px; opacity: 0; }
    50% { bottom: 10px; opacity: 1; }
    100% { bottom: 10px; opacity: 1; }
}
.mole {
    animation: popUp 1s ease-in-out;
}
Demo Video 🎥
Watch the full tutorial here:
Conclusion
Congratulations! 🎉 You’ve successfully built a Whack-a-Mole Game using HTML, CSS, and JavaScript. This project helps you improve your skills in JavaScript events, animations, and game logic.
Next Steps:
💡 Add sound effects when a mole is clicked 🎵
💡 Introduce difficulty levels (faster mole appearance) 🔥
💡 Create a leaderboard to track high scores 🏆
👉 Source Code: GitHub Repository
If you enjoyed this tutorial, like, comment, and share! Subscribe to Madras Academy for more web development tutorials! 🚀
#HTML #CSS #JavaScript #GameDevelopment #WhackAMole #WebDevelopment #Coding #TechTutorial #FunProjects