
In web development, a clipboard copy feature is a simple but powerful tool that enhances user experience. It allows users to copy text to their clipboard with just a click of a button, saving them time and effort. In this tutorial, we will walk through how to create a clipboard copy button using HTML, CSS, and JavaScript. You’ll also learn how to add a visual feedback animation for better user interaction.
What You Will Learn:
- How to create a copy-to-clipboard input field with a button 🖥️
- Styling the copy button with modern CSS effects for a smooth, interactive UI 🎨
- Using the JavaScript Clipboard API to copy text to the clipboard 📋
- Adding an animation for visual feedback when text is copied ✨
- Customizing the design to suit different themes and UI styles 🎯
Step 1: Create the HTML Structure
First, let’s create the basic HTML structure for the input field and the copy button. The user will be able to click the button to copy the text inside the input field.
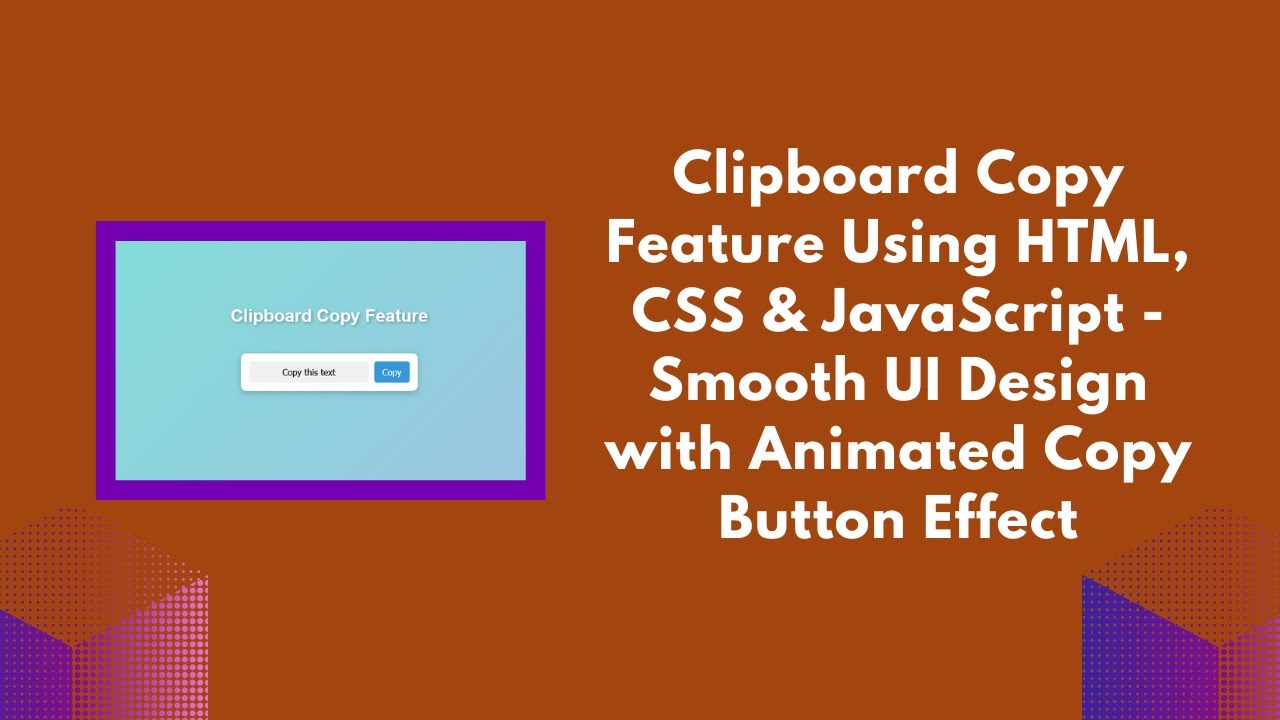
htmlCopyEdit<h1>Clipboard Copy Feature</h1>
<div class="container">
    <input type="text" id="copyText" value="Copy this text" readonly>
    <button onclick="copyToClipboard()">Copy</button>
</div>
Here’s what we’re doing:
- Input field: The text we want to copy is placed inside an input field with the
readonlyattribute, so users can’t modify the text but can easily copy it. - Button: We added a button that triggers the copying function when clicked.
Step 2: Add CSS Styling
Now, let’s make the button and input field visually appealing. The CSS will also include an animation effect that will notify the user when the text has been copied.
cssCopyEditbody {
    display: flex;
    flex-direction: column;
    align-items: center;
    justify-content: center;
    height: 100vh;
    background: linear-gradient(135deg, #74ebd5, #acb6e5);
    font-family: Arial, sans-serif;
}

h1 {
    color: white;
    margin-bottom: 50px;
    text-shadow: 2px 2px 4px rgba(0, 0, 0, 0.3);
}

.container {
    display: flex;
    align-items: center;
    gap: 10px;
    background: white;
    padding: 15px;
    border-radius: 10px;
    box-shadow: 0 4px 10px rgba(0, 0, 0, 0.2);
    margin-bottom: 150px;
}

input {
    padding: 10px;
    font-size: 16px;
    border: none;
    border-radius: 5px;
    outline: none;
    width: 200px;
    background: #f0f0f0;
    text-align: center;
}

button {
    padding: 10px 15px;
    font-size: 16px;
    border: none;
    background: #3498db;
    color: white;
    cursor: pointer;
    border-radius: 5px;
    transition: all 0.3s;
    position: relative;
    overflow: hidden;
}

button::after {
    content: "✔ Copied!";
    position: absolute;
    top: 50%;
    left: 50%;
    transform: translate(-50%, -50%) scale(0);
    background: #2ecc71;
    color: white;
    padding: 5px 10px;
    border-radius: 5px;
    opacity: 0;
    transition: transform 0.3s, opacity 0.3s;
}

button:active::after {
    transform: translate(-50%, -50%) scale(1);
    opacity: 1;
}

button:hover {
    background: #2980b9;
}
Here’s what we did:
- General Layout: The body is centered using Flexbox, and the background uses a gradient to create a visually appealing design.
- Input Field: The input field is styled with padding, a light background, and centered text.
- Button: The button is styled with a blue background, white text, and a smooth hover effect. The
::afterpseudo-element is used to display a “Copied!” message when the button is clicked.
Step 3: Add JavaScript for Copying Functionality
Now comes the core functionality! We’ll use the Clipboard API to copy the text from the input field when the user clicks the “Copy” button.
javascriptCopyEditfunction copyToClipboard() {
    const copyText = document.getElementById("copyText");
    copyText.select();
    copyText.setSelectionRange(0, 99999); // For mobile devices
    navigator.clipboard.writeText(copyText.value); // Copy the text to clipboard
}
Here’s how the JavaScript works:
- We select the input field and use the
select()method to highlight the text. setSelectionRange()ensures the text is selected properly on mobile devices.- The
navigator.clipboard.writeText()method copies the text to the clipboard.
YouTube Tutorial
For a more detailed walkthrough of this clipboard copy feature, check out our YouTube tutorial:
Conclusion
With just a few lines of code, you can create a simple, yet highly interactive copy-to-clipboard feature for your website. Whether you’re building a form, a tutorial, or a documentation page, adding this functionality will make your user interface more efficient and user-friendly.
For the complete source code, check out the GitHub repository:
Code Repository:
GitHub – Clipboard Copy Feature
If you found this tutorial helpful, don’t forget to like, comment, and subscribe for more exciting web development tutorials!