
Creating a Markdown-based blog CMS can be a game-changer for developers who want a simple yet effective way to write and preview blog posts. In this tutorial, we will build a lightweight blog editor using HTML, CSS, and JavaScript.
This CMS will allow you to:
✅ Write blog posts using Markdown
✅ See a real-time preview of your formatted content
✅ Save posts locally for future use
✅ Customize it to fit your blogging needs
Let’s break down the source code and understand its functionality step by step.
🏗️ Breaking Down the Source Code
The Markdown Blog CMS consists of three key components:
1️⃣ HTML – Structure of the CMS (Text area, Preview section, and Save button)
2️⃣ CSS – Styling for a clean and user-friendly UI
3️⃣ JavaScript – Implements live preview and saving functionality
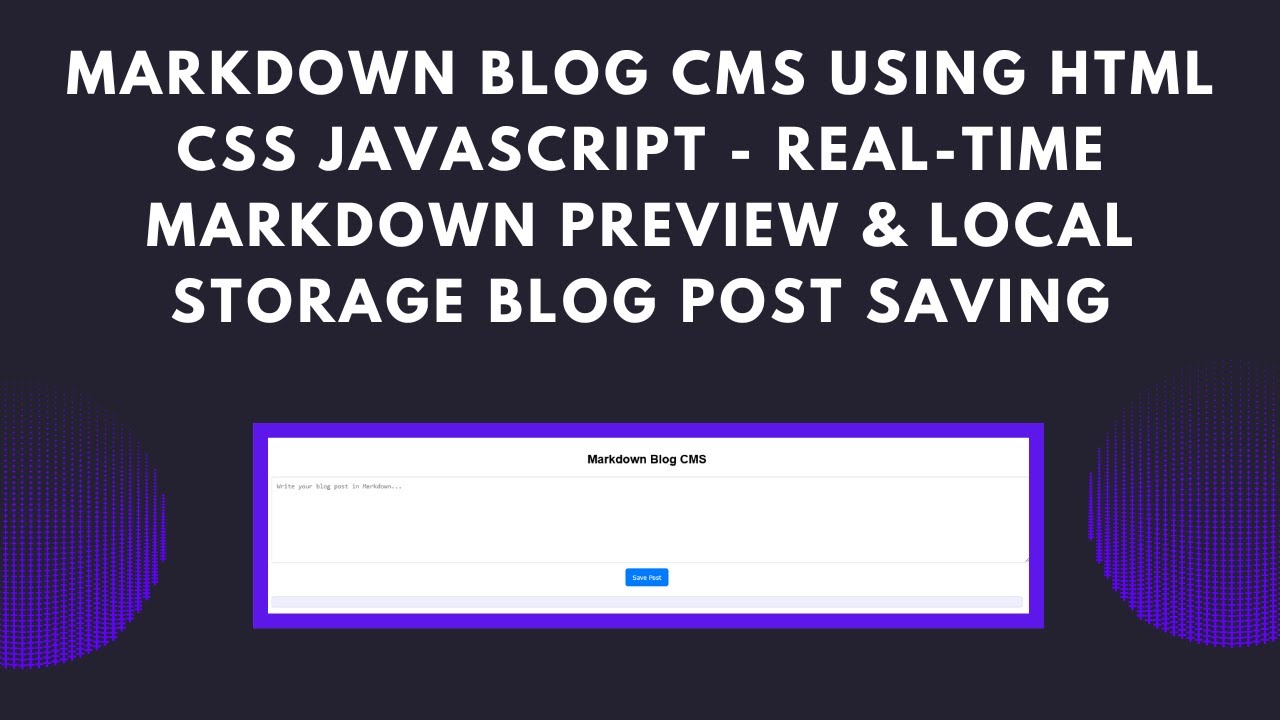
📜 1. HTML Structure (index.html)
This is the core structure of our CMS, containing a textarea for writing Markdown, a preview section, and a Save button.
<!DOCTYPE html>
<html lang="en">
<head>
    <meta charset="UTF-8">
    <meta name="viewport" content="width=device-width, initial-scale=1.0">
    <title>Markdown Blog CMS</title>
    <script src="https://cdnjs.cloudflare.com/ajax/libs/marked/4.0.12/marked.min.js"></script>
    <link rel="stylesheet" href="styles.css">
</head>
<body>
    <div class="container">
        <h2>Markdown Blog CMS</h2>
        <textarea id="markdownInput" placeholder="Write your blog post in Markdown..." oninput="previewMarkdown()"></textarea>
        <button onclick="savePost()">Save Post</button>
        <div id="preview"></div>
    </div>
    <script src="script.js"></script>
</body>
</html>
Explanation:
📌 Loads Marked.js for Markdown parsing
📌 Includes a textarea where users can write Markdown
📌 Displays a preview of the formatted text
📌 A Save button stores the content locally
🎨 2. Styling with CSS (styles.css)
To make the interface clean and user-friendly, we apply some basic styling:
body {
    font-family: Arial, sans-serif;
    background-color: #f4f4f4;
    text-align: center;
    margin: 0;
    padding: 20px;
}

.container {
    width: 80%;
    margin: auto;
    background: white;
    padding: 20px;
    border-radius: 10px;
    box-shadow: 0 0 10px rgba(0, 0, 0, 0.1);
}

textarea {
    width: 100%;
    height: 150px;
    padding: 10px;
    border-radius: 5px;
    border: 1px solid #ddd;
    font-family: monospace;
}

button {
    padding: 10px 15px;
    border: none;
    background: #007bff;
    color: white;
    border-radius: 5px;
    cursor: pointer;
    margin-top: 10px;
    transition: 0.3s;
}

button:hover {
    background: #0056b3;
}

#preview {
    margin-top: 20px;
    text-align: left;
    background: #eef;
    padding: 10px;
    border-radius: 5px;
    border: 1px solid #ddd;
}
Key Features:
🎨 Container Styling – Adds padding and shadow for a neat UI
📜 Textarea Design – Uses a monospace font for better readability
🖱️ Button Effects – Smooth hover transitions
👀 Preview Section – Clearly separates the formatted output
⚡ 3. Adding JavaScript for Live Preview & Saving (script.js)
The JavaScript file enables the Markdown preview and local saving feature.
// Function to preview Markdown in real time
function previewMarkdown() {
    let markdownText = document.getElementById("markdownInput").value;
    document.getElementById("preview").innerHTML = marked.parse(markdownText);
}

// Function to save the Markdown content locally
function savePost() {
    let markdownText = document.getElementById("markdownInput").value;
    localStorage.setItem("savedPost", markdownText);
    alert("Post saved successfully!");
}

// Load saved content when the page loads
window.onload = function() {
    let savedPost = localStorage.getItem("savedPost");
    if (savedPost) {
        document.getElementById("markdownInput").value = savedPost;
        previewMarkdown();
    }
};
How It Works:
✅ Uses Marked.js to convert Markdown to HTML instantly
✅ Saves content in LocalStorage, so it persists even after closing the browser
✅ Retrieves and loads saved content when the page refreshes
🚀 Live Demo & Source Code
🔹 Live Tutorial Video
📂 Complete Source Code 👉 GitHub Repository
🎯 How to Customize the CMS
Want to take this Markdown Blog CMS to the next level? Here are some ideas:
🔹 Add a Dark Mode 🌙
🔹 Enable Export to Markdown/HTML 📂
🔹 Allow Image Uploads & Embeds 🖼️
🔹 Sync with Cloud Storage (Firebase, MongoDB, etc.) ☁️
🎉 Conclusion
You’ve now built a fully functional Markdown Blog CMS that allows you to write, preview, and save blog posts effortlessly! This project is a great starting point for building a simple blogging platform or integrating Markdown into your apps.
Found this useful? Don’t forget to:
👍 Like & Share this tutorial!
💬 Drop a Comment with your thoughts or questions!
🔔 Subscribe to Madras Academy for more web development tutorials! 🚀
#HTML #CSS #JavaScript #Markdown #BlogCMS #WebDevelopment #FrontendDevelopment #Coding #TechTutorial 🚀📝