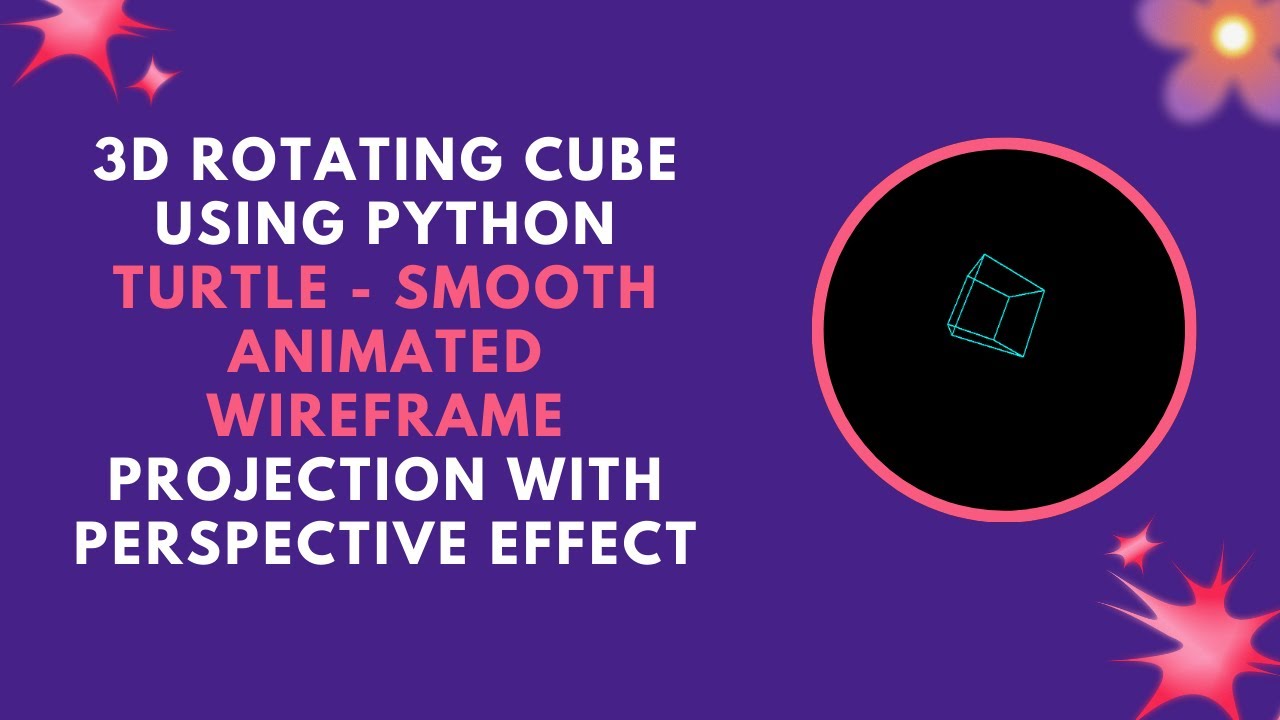
Are you ready to take your Python skills to the next level? In this tutorial, we’ll show you how to create a 3D rotating cube using the Turtle graphics module. This project is an excellent introduction to 3D transformations, including rotation and perspective projection, and will give you hands-on experience in creating smooth animations in Python. 🌟
With this tutorial, you’ll learn how to bring a simple cube to life by rotating it around multiple axes, all while creating a realistic depth effect through perspective projection. This is a great project for beginners interested in computer graphics and animations! 🚀
What You’ll Learn:
- Setting up the Turtle graphics environment for 3D drawing 🎨
- Implementing 3D transformations like rotation and projection 📐
- Using trigonometry functions to animate object movement 🔄
- Creating a perspective effect for realistic depth perception 🔍
- Building a smooth animation loop for continuous rotation 🚀
Step 1: Set Up the Screen and Turtle
We start by setting up the Turtle screen, which will serve as our canvas for the 3D drawing. We also configure the pen turtle to draw the cube and hide the turtle cursor for a cleaner visual experience.
import turtle
import math
import time

# Set up screen
screen = turtle.Screen()
screen.bgcolor("black")
screen.tracer(0)  # Turn off automatic updates

# Create turtle
pen = turtle.Turtle()
pen.speed(0)
pen.pensize(2)
pen.color("cyan")
pen.hideturtle()
Step 2: Define Cube Vertices and Edges
We define the vertices of the cube in 3D space and the edges that connect these vertices to form the cube. The cube will be drawn by connecting these edges.
# Define cube vertices
vertices = [
    [-50, -50, -50], [50, -50, -50], [50, 50, -50], [-50, 50, -50],  # Back face
    [-50, -50, 50], [50, -50, 50], [50, 50, 50], [-50, 50, 50]  # Front face
]

edges = [
    (0, 1), (1, 2), (2, 3), (3, 0),  # Back face
    (4, 5), (5, 6), (6, 7), (7, 4),  # Front face
    (0, 4), (1, 5), (2, 6), (3, 7)  # Connecting edges
]
Step 3: Implement 3D Rotation Functions
The next step is to define two functions for rotating the cube around the X-axis and the Y-axis. These functions use trigonometry to apply the necessary transformations.
def rotate_x(point, angle):
    """Rotate a point around the X-axis"""
    rad = math.radians(angle)
    y = point[1] * math.cos(rad) - point[2] * math.sin(rad)
    z = point[1] * math.sin(rad) + point[2] * math.cos(rad)
    return (point[0], y, z)

def rotate_y(point, angle):
    """Rotate a point around the Y-axis"""
    rad = math.radians(angle)
    x = point[0] * math.cos(rad) + point[2] * math.sin(rad)
    z = -point[0] * math.sin(rad) + point[2] * math.cos(rad)
    return (x, point[1], z)
Step 4: Apply Perspective Projection
We need to project the 3D points onto a 2D screen. This is done by applying a perspective projection that simulates depth, making the cube appear as if it’s rotating in space.
def project_2d(point):
    """Project 3D points to 2D screen"""
    factor = 200 / (point[2] + 200)  # Perspective effect
    x = point[0] * factor
    y = point[1] * factor
    return (x, y)
Step 5: Draw the Cube
Now, we combine everything to draw the rotating cube. We first apply the rotation functions to the vertices, project the transformed vertices into 2D space, and then draw the edges connecting the projected points.
def draw_cube():
    """Draw the rotating 3D cube"""
    global angle
    pen.clear()

    transformed = [rotate_x(p, angle) for p in vertices]
    transformed = [rotate_y(p, angle) for p in transformed]
    projected = [project_2d(p) for p in transformed]

    for edge in edges:
        p1 = projected[edge[0]]
        p2 = projected[edge[1]]
        pen.penup()
        pen.goto(p1)
        pen.pendown()
        pen.goto(p2)

    screen.update()
    angle += 2  # Adjust speed of rotation
Step 6: Animation Loop
Finally, we create an animation loop that continuously updates the cube, rotating it smoothly by incrementing the angle and adding a short delay between frames to create a smooth visual effect.
# Animation loop
while True:
    draw_cube()
    time.sleep(0.05)  # Small delay for smooth animation
Conclusion
With just a few lines of code, you’ve created a 3D rotating cube that uses perspective projection and 3D transformations to simulate rotation. This project introduces key concepts in computer graphics and Python animations, making it a great starting point for anyone interested in visual programming.
Watch the Full Tutorial
If you want to see the tutorial in action, check out the video below:
Code Repository
Access the complete source code on GitHub:
This guide gives you a step-by-step breakdown of how to create a 3D rotating cube using Python Turtle. If you enjoyed this tutorial, don’t forget to like, comment, and subscribe for more exciting Python graphics projects!

