
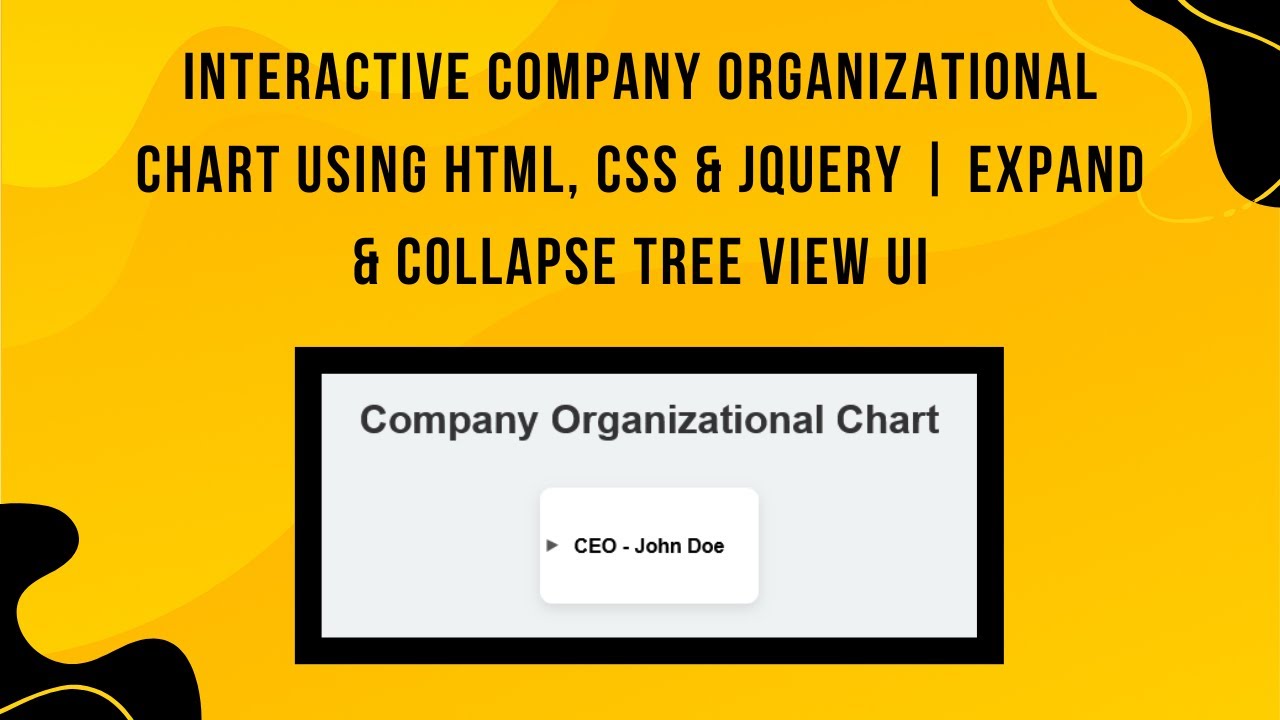
In today’s tutorial, we’re going to build an interactive organizational chart using HTML, CSS, and jQuery. This type of chart is great for visualizing hierarchical structures such as company teams, family trees, or project structures. By the end of this post, you’ll have a dynamic, collapsible chart that users can interact with by clicking on different levels.
What You’ll Learn in This Tutorial:
- How to Structure an Organizational Chart Using HTML 🏢
- Styling the Chart for a Professional and Clean Look with CSS 🎨
- Using jQuery to Toggle Sub-levels Dynamically 🔄
- Implementing Smooth Transitions for Better User Experience 🚀
- Customizing the Chart to Fit Different Hierarchical Structures 🎯
Steps to Create the Interactive Org Chart:
Step 1: HTML Structure
First, we’ll set up the basic HTML structure of the organizational chart. Here’s how you can arrange your chart in a simple unordered list:
<ul class="tree">
    <li>CEO - John Doe
        <ul>
            <li>VP of Sales - Alice Smith
                <ul>
                    <li>Sales Manager - Robert Brown
                        <ul>
                            <li>Sales Executive - Emma Johnson</li>
                            <li>Sales Executive - Liam Williams</li>
                        </ul>
                    </li>
                </ul>
            </li>
            <li>VP of Engineering - David Wilson
                <ul>
                    <li>Software Manager - Michael Clark
                        <ul>
                            <li>Frontend Developer - Sarah Martinez</li>
                            <li>Backend Developer - James Anderson</li>
                            <li>QA Engineer - Olivia Thompson</li>
                        </ul>
                    </li>
                </ul>
            </li>
            <li>VP of HR - Laura Adams
                <ul>
                    <li>HR Manager - Kevin Lewis
                        <ul>
                            <li>Recruiter - Sophia Hall</li>
                            <li>Training Coordinator - Daniel Young</li>
                        </ul>
                    </li>
                </ul>
            </li>
        </ul>
    </li>
</ul>
Step 2: CSS Styling
Next, let’s style the chart to make it look neat and professional. We’ll add some basic styles, including indentation, colors, and hover effects.
body {
    font-family: Arial, sans-serif;
    display: flex;
    flex-direction: column;
    justify-content: center;
    align-items: center;
    height: 100vh;
    background-color: #eef2f3;
}

h1 {
    margin-bottom: 20px;
    color: #333;
}

.tree {
    list-style: none;
    padding: 0;
    background: white;
    padding: 20px;
    border-radius: 10px;
    box-shadow: 0px 4px 10px rgba(0, 0, 0, 0.1);
}

.tree ul {
    margin-left: 20px;
    padding-left: 20px;
    border-left: 2px solid #555;
    display: none;
}

.tree li {
    margin: 10px 0;
    position: relative;
    cursor: pointer;
    font-weight: bold;
    padding: 8px;
    border-radius: 5px;
    transition: background 0.3s;
}

.tree li:hover {
    background: #d3e0ea;
}

.tree li::before {
    content: "▶";
    position: absolute;
    left: -15px;
    font-size: 12px;
    color: #555;
}

.tree li.open > ul {
    display: block;
}

.tree li.open::before {
    content: "▼";
}
Step 3: jQuery for Interactivity
To make the chart interactive, we’ll use jQuery. This will allow us to toggle the visibility of the sub-levels when the user clicks on a node.
$(document).ready(function() {
    $('.tree li').click(function(e) {
        e.stopPropagation();
        $(this).toggleClass('open');
    });
});
How It Works:
- The HTML structure defines the hierarchy of your organizational chart.
- The CSS styles create a professional look, with hover effects and collapsible lines.
- The jQuery script listens for clicks on each chart item, and when clicked, it toggles between opening and closing the sub-levels.
Customizing the Chart:
You can easily adjust this chart to suit different hierarchical structures, like project teams, family trees, or other organizational layouts. The key is to maintain the same structure and adjust the CSS and jQuery based on your needs.
Demo & Code Repository:
You can view a live demo of the interactive organizational chart by clicking the link below:
Feel free to access the complete source code on GitHub:
Complete Source Code on GitHub
If you enjoyed this tutorial, don’t forget to like, comment, and subscribe for more exciting web development tutorials! 🚀
#HTML #CSS #JavaScript #jQuery #OrgChart #WebDesign #FrontendDevelopment #WebDevelopment #UIUX #InteractiveDesign #HierarchyVisualization