
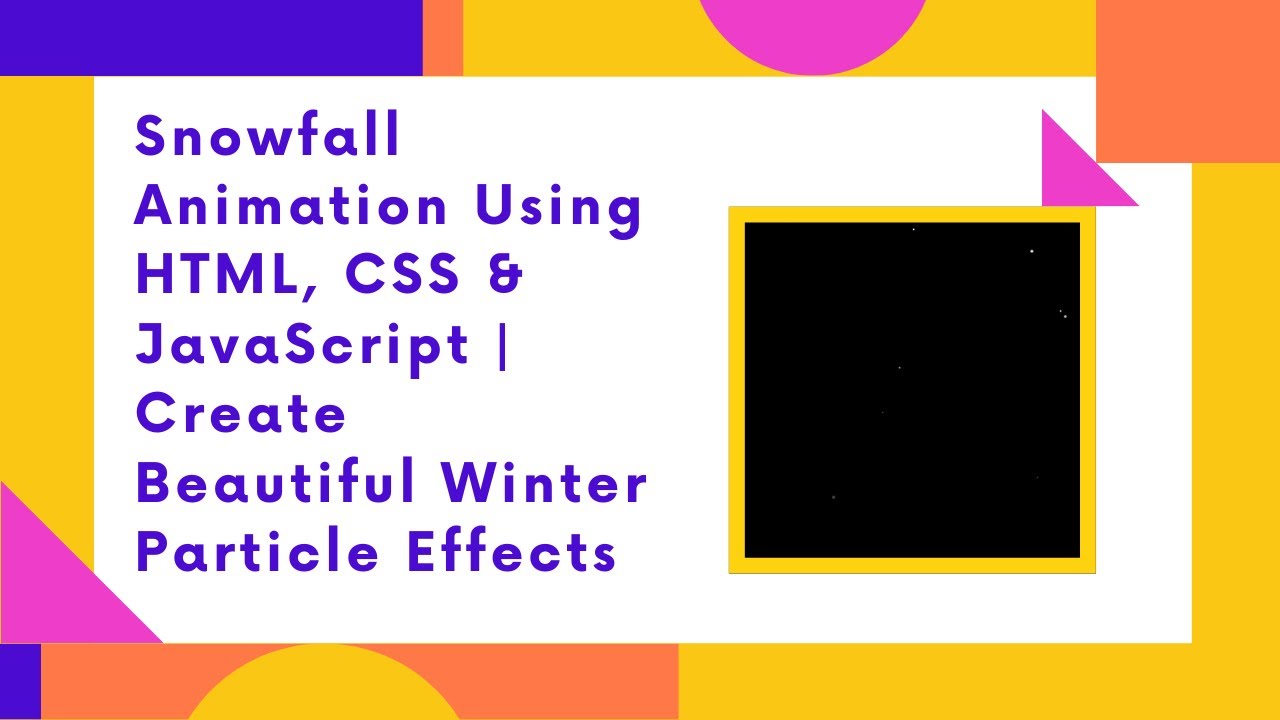
Winter is here! ❄️ In this tutorial, we’ll walk you through how to create a mesmerizing snowfall effect using HTML, CSS, and JavaScript. This simple yet stunning animation adds a wintery touch to your website, making it feel cozy and festive. Perfect for holiday season pages or winter-themed websites! ⛄🎄
What You’ll Learn:
- Creating Falling Snow Particles Using HTML & CSS 🌨️
- Adding Smooth Animation Effects with CSS Keyframes 🎨
- Using JavaScript to Generate Random Snowflakes Dynamically ❄️
- Adjusting the Size, Speed, and Opacity for a Realistic Snowfall Effect 🎥
- Customizing the Snowfall to Match Your Website’s Theme 🎯
Steps to Create the Snowfall Animation:
Step 1: HTML Structure
The HTML structure is minimal, as we will be generating snowflakes dynamically using JavaScript. Here’s how the structure looks:
<body>
    <script>
        function createParticle() {
            let particle = document.createElement("div");
            particle.classList.add("particle");
            document.body.appendChild(particle);

            let size = Math.random() * 5 + 2;
            let startX = Math.random() * window.innerWidth;
            let duration = Math.random() * 3 + 2;

            particle.style.width = `${size}px`;
            particle.style.height = `${size}px`;
            particle.style.left = `${startX}px`;
            particle.style.animationDuration = `${duration}s`;

            setTimeout(() => particle.remove(), duration * 1000);
        }

        setInterval(createParticle, 100);
    </script>
</body>
In this JavaScript, the createParticle() function is responsible for generating snowflake particles at random positions on the screen. Each snowflake will fall at a random speed, size, and opacity, creating a realistic snowfall effect.
Step 2: CSS Styling and Animation
Next, we style the snowflakes and define their movement with CSS. The key part here is the @keyframes fall animation, which makes the snowflakes fall from the top of the screen to the bottom, fading out as they fall. Here’s the CSS:
* {
    margin: 0;
    padding: 0;
    box-sizing: border-box;
}

body {
    background: black;
    overflow: hidden;
    height: 100vh;
    position: relative;
}

.particle {
    position: absolute;
    width: 5px;
    height: 5px;
    background: white;
    border-radius: 50%;
    opacity: 0.8;
    animation: fall linear infinite;
}

@keyframes fall {
    from {
        transform: translateY(0);
        opacity: 1;
    }
    to {
        transform: translateY(100vh);
        opacity: 0;
    }
}
- We use absolute positioning for each snowflake particle, allowing them to float around the screen.
- The falling effect is achieved through the
@keyframesanimation. The snowflakes start at the top and move down the screen, fading out as they reach the bottom.
Step 3: JavaScript for Dynamic Snowflakes
JavaScript handles the creation of snowflakes dynamically. Each time the createParticle() function is called:
- A new snowflake particle is created.
- The size, position, and animation duration are randomized for each snowflake.
- The snowflake is then animated and removed from the DOM once its animation is complete.
The setInterval function ensures a continuous stream of snowflakes, creating an ongoing snowfall effect.
Customizing the Snowfall
You can customize the snowfall effect to better fit your website’s theme:
- Change the snowflake color by modifying the
backgroundproperty. - Adjust the size and speed by tweaking the
sizeanddurationvalues. - Add more particles or adjust the randomness to make the snowfall denser.
Demo & Code Repository
Check out the live demo of this snowfall animation:
You can also access the full source code on GitHub:
Complete Source Code on GitHub
If you enjoyed this tutorial, don’t forget to like, comment, and subscribe for more creative web development tutorials! 🚀🎉
#HTML #CSS #JavaScript #Snowfall #Animation #WebDesign #FrontendDevelopment #WebDevelopment #TechTutorial #CreativeCoding #WinterEffects