
Creating an interactive and user-friendly form is essential for any modern website. In this tutorial, we’ll build an Animated Form Submission using HTML, CSS, and JavaScript, complete with real-time validation, error messages, and a smooth loading animation to enhance user experience.
📚 What You’ll Learn:
✅ How to structure a modern form using HTML 🖥️
✅ Adding smooth and interactive styles using CSS 🎨
✅ Implementing JavaScript validation for user input ⚡
✅ Displaying real-time error messages for better UX ✨
✅ Adding a loading animation when the form is submitted ⏳
📝 Step-by-Step Guide:
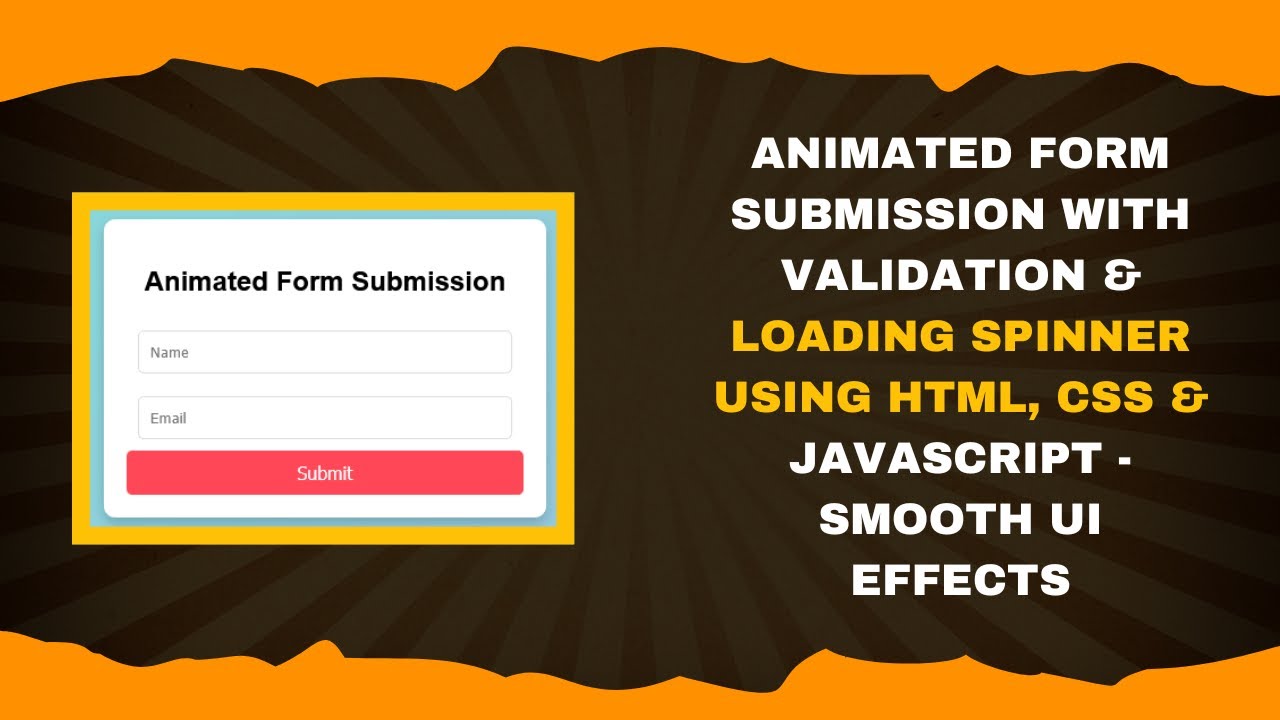
1. Create the HTML Structure
We start by creating a simple form with input fields for Name and Email, along with a submit button.
<!DOCTYPE html>
<html lang="en">
<head>
    <meta charset="UTF-8">
    <meta name="viewport" content="width=device-width, initial-scale=1.0">
    <title>Animated Form Submission</title>
</head>
<body>
    <div class="container">
        <h2>Animated Form Submission</h2>
        <input type="text" id="name" placeholder="Name">
        <div class="error" id="nameError">Name is required</div>

        <input type="email" id="email" placeholder="Email">
        <div class="error" id="emailError">Valid email is required</div>

        <button onclick="validateForm()">Submit</button>
        <div class="loader" id="loader"></div>
    </div>
</body>
</html>
2. Style with CSS
Use CSS to create a clean, modern design and a loading animation.
.loader {
    display: none;
    border: 5px solid #f3f3f3;
    border-top: 5px solid #3498db;
    border-radius: 50%;
    width: 30px;
    height: 30px;
    animation: spin 1s linear infinite;
    margin: 10px auto;
}
@keyframes spin {
    0% { transform: rotate(0deg); }
    100% { transform: rotate(360deg); }
}
3. Add JavaScript for Validation
We validate the form fields and display error messages dynamically.
function validateForm() {
    let name = document.getElementById("name").value.trim();
    let email = document.getElementById("email").value.trim();
    let nameError = document.getElementById("nameError");
    let emailError = document.getElementById("emailError");
    let isValid = true;

    if (name === "") {
        nameError.style.display = "block";
        isValid = false;
    } else {
        nameError.style.display = "none";
    }

    let emailPattern = /^[a-zA-Z0-9._%+-]+@[a-zA-Z0-9.-]+\.[a-zA-Z]{2,}$/;
    if (email === "" || !emailPattern.test(email)) {
        emailError.style.display = "block";
        isValid = false;
    } else {
        emailError.style.display = "none";
    }

    if (isValid) {
        document.getElementById("loader").style.display = "block";
        setTimeout(() => {
            document.getElementById("loader").style.display = "none";
            alert("Form submitted successfully!");
        }, 3000);
    }
}
📹 Video Tutorial
Watch the full tutorial video here:
💪 Code Repository
Get the complete source code on GitHub:
👉 GitHub Repository
If you found this tutorial helpful, don’t forget to like, comment, and subscribe to Madras Academy for more exciting web development tutorials! 🚀🌟
#HTML #CSS #JavaScript #FormValidation #WebDevelopment #FrontendDevelopment #Coding #TechTutorial #InteractiveDesign