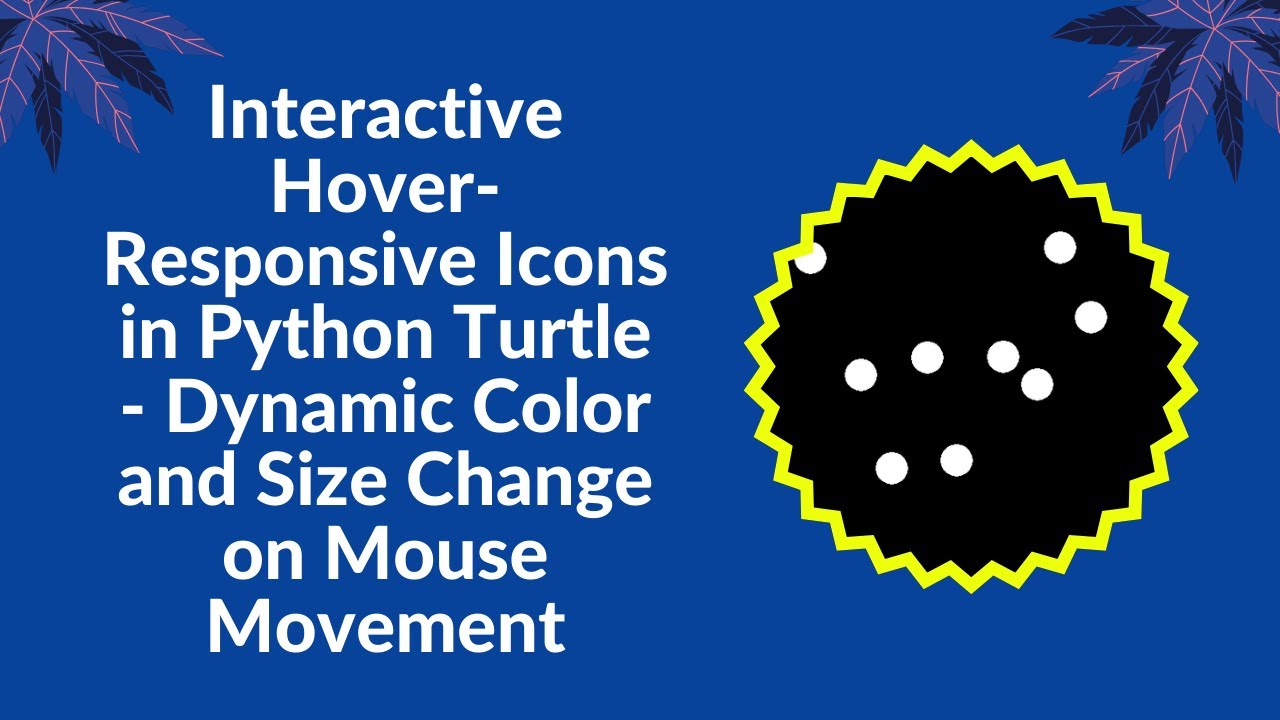
If you’re looking to add some interactive and dynamic elements to your Python GUI projects, hover effects are a great way to enhance user engagement. In this tutorial, you’ll learn how to create interactive hover effects using Python Turtle. This project features multiple icons that change color and size when hovered over, making it a fun and visually appealing project for beginners! 🎨🚀
What You’ll Learn:
- How to create interactive icons using Python Turtle graphics
- Implementing hover effects based on mouse movement
- Dynamically changing the color and size of icons on interaction
- Using random positioning to make the visuals more engaging
- Enhancing your UI elements with Turtle’s built-in functions
Step 1: Set Up the Screen and Create Icons
First, you’ll set up the Turtle graphics screen, and create multiple icon turtles that will move around when hovered over. Each icon will be represented as a white circle that changes size and color on hover.
import turtle
import random

# Set up the screen
screen = turtle.Screen()
screen.setup(600, 600)
screen.bgcolor("black")

# Create icon turtles
icons = []
num_icons = 10  # Number of interactive icons

for _ in range(num_icons):
    icon = turtle.Turtle()
    icon.shape("circle")
    icon.color("white")
    icon.penup()
    icon.goto(random.randint(-250, 250), random.randint(-250, 250))
    icon.shapesize(2)  # Default size
    icons.append(icon)
Step 2: Implement Hover Effects
Next, we define a function that triggers a hover effect when the mouse moves over any of the icons. When hovered, the icon will change color randomly from a set of options, and it will also grow in size to give it a dynamic appearance. If the mouse is no longer near the icon, it will reset to its default appearance.
# Hover effect function
def on_hover(x, y):
    for icon in icons:
        if icon.distance(x, y) < 30:  # If mouse is near an icon
            icon.color(random.choice(["red", "blue", "green", "yellow", "purple", "cyan"]))
            icon.shapesize(3)  # Increase size
        else:
            icon.color("white")
            icon.shapesize(2)  # Reset size
Step 3: Track Mouse Movement
To track mouse movement, we use Turtle’s built-in functions that listen for screen clicks or hover events. In this case, we use onscreenclick to detect when the mouse is near an icon and trigger the hover effects accordingly.
# Track mouse movement
screen.listen()
screen.onscreenclick(on_hover)  # Detect mouse hover
Step 4: Keep the Window Open
Finally, we use screen.mainloop() to keep the window open and interactive until the user closes it.
# Keep window open
screen.mainloop()
Conclusion
By following this tutorial, you’ve created an interactive hover effect in Python using Turtle graphics. You learned how to implement color changes and size adjustments dynamically, enhancing the visual experience of your program. This is a great project for beginners who want to dive into interactive GUI design with Python.
For the complete source code, check out the GitHub repository:
Code Repository:
GitHub – Hover Reactive Icons
Watch the Tutorial on YouTube
If you want a more detailed, step-by-step walkthrough, check out the YouTube tutorial below:
Stay Connected
If you enjoyed this tutorial, don’t forget to like, comment, and subscribe for more exciting Python GUI and animation tutorials! 🚀🎨

