
Recording audio directly from your browser is a useful feature for various applications, from voice memos to online recording tools. In this tutorial, you’ll learn how to build a Custom Audio Recorder using HTML, CSS, and JavaScript. This simple yet powerful tool will allow users to record audio, track the recording duration, and download the audio file seamlessly. Let’s dive in! 🎤💻
🎯 What You Will Learn
✅ How to access the microphone and record audio using JavaScript 🎙️
✅ Implementing a timer to track recording duration ⏱️
✅ Adding start/stop recording buttons for smooth interaction 🖱️
✅ Downloading the recorded audio file 📥
✅ Styling the application for a modern look 🎨
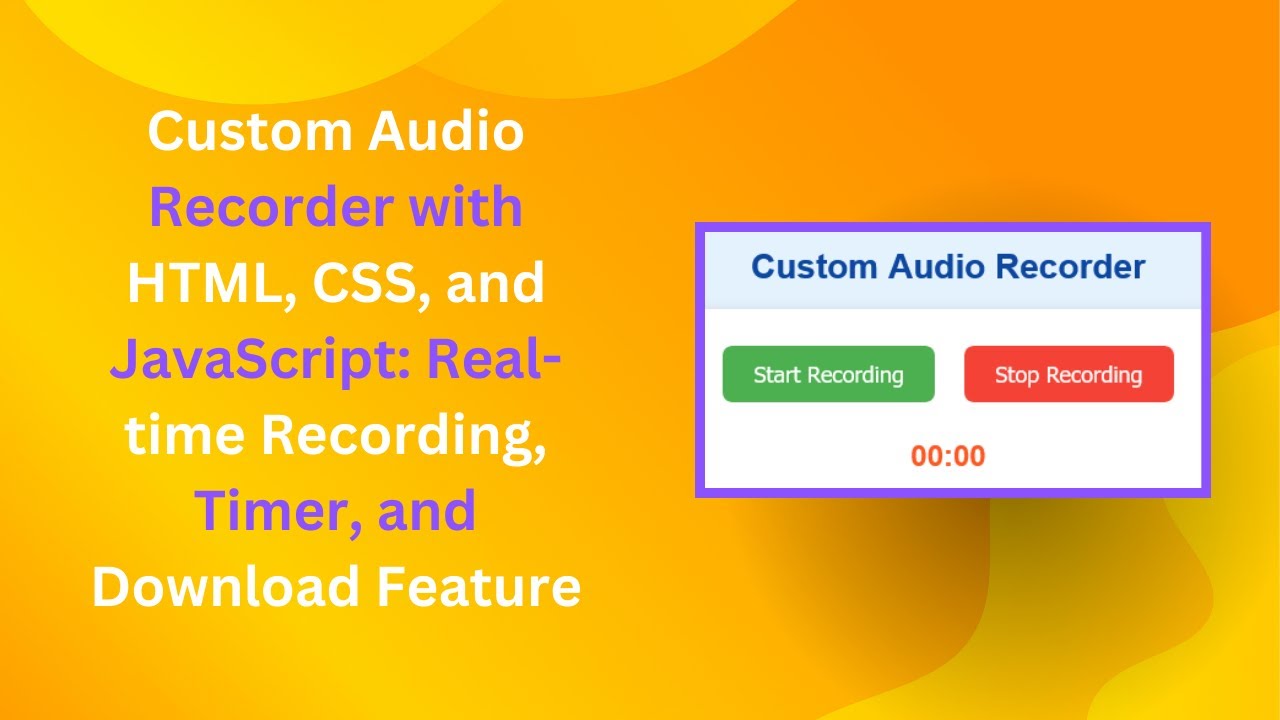
🔹 Setting Up the HTML Structure
First, create a simple HTML layout with buttons for starting and stopping the recording. Add a section to display the timer and a download link after recording is completed.
<!DOCTYPE html>
<html lang="en">
<head>
  <meta charset="UTF-8">
  <meta name="viewport" content="width=device-width, initial-scale=1.0">
  <title>Audio Recorder</title>
  <link rel="stylesheet" href="styles.css">
</head>
<body>
  <h1>Custom Audio Recorder</h1>
  <div class="container">
    <button id="startBtn">Start Recording</button>
    <button id="stopBtn" disabled>Stop Recording</button>
    <div class="timer" id="timer">00:00</div>
    <div class="download-link">
      <a id="downloadLink">Download Audio</a>
    </div>
  </div>
  <script src="script.js"></script>
</body>
</html>
🎨 Styling with CSS
To make the UI more visually appealing, add some CSS to style the buttons, background, and timer.
body {
  font-family: Arial, sans-serif;
  text-align: center;
  background-color: #e3f2fd;
}
.container {
  padding: 20px;
  border-radius: 10px;
  box-shadow: 0 4px 10px rgba(0, 0, 0, 0.2);
  background-color: #ffffff;
  display: inline-block;
}
button {
  padding: 12px 25px;
  font-size: 18px;
  border: none;
  border-radius: 8px;
  cursor: pointer;
  color: #fff;
}
#startBtn { background-color: #4caf50; }
#stopBtn { background-color: #f44336; }
.timer {
  font-size: 24px;
  color: #ff5722;
  font-weight: bold;
  margin-top: 20px;
}
🛠️ JavaScript Logic for Audio Recording
Now, let’s implement JavaScript to handle audio recording, timing, and downloading the file.
let mediaRecorder;
let audioChunks = [];
let timerInterval;
let secondsElapsed = 0;

const startBtn = document.getElementById("startBtn");
const stopBtn = document.getElementById("stopBtn");
const downloadLink = document.getElementById("downloadLink");
const timerElement = document.getElementById("timer");

function startTimer() {
  secondsElapsed = 0;
  timerElement.textContent = "00:00";
  timerInterval = setInterval(() => {
    secondsElapsed++;
    timerElement.textContent = new Date(secondsElapsed * 1000).toISOString().substr(14, 5);
  }, 1000);
}

function stopTimer() {
  clearInterval(timerInterval);
}

startBtn.addEventListener("click", async () => {
  try {
    const stream = await navigator.mediaDevices.getUserMedia({ audio: true });
    mediaRecorder = new MediaRecorder(stream);
    audioChunks = [];

    mediaRecorder.ondataavailable = (event) => {
      audioChunks.push(event.data);
    };

    mediaRecorder.onstop = () => {
      const audioBlob = new Blob(audioChunks, { type: "audio/webm" });
      const audioUrl = URL.createObjectURL(audioBlob);
      downloadLink.href = audioUrl;
      downloadLink.download = "recording.webm";
      downloadLink.style.display = "block";
      stopTimer();
    };

    mediaRecorder.start();
    startBtn.disabled = true;
    stopBtn.disabled = false;
    startTimer();
  } catch (error) {
    alert("Microphone access is required for recording.");
  }
});

stopBtn.addEventListener("click", () => {
  if (mediaRecorder && mediaRecorder.state === "recording") {
    mediaRecorder.stop();
    startBtn.disabled = false;
    stopBtn.disabled = true;
  }
});
🎥 Video Tutorial
Watch the step-by-step video tutorial for a detailed explanation and live demonstration! 📺
📂 Source Code Repository
Get the complete source code from GitHub:
👉 GitHub Repository
🔥 Final Thoughts
By following this tutorial, you’ve successfully built a Custom Audio Recorder with a clean UI, real-time timer, and a download feature. You can now integrate this feature into your web projects or expand it further by adding playback functionality or format conversion.
If you found this tutorial helpful, don’t forget to like, comment, and subscribe to Madras Academy for more web development tutorials! 🚀
#HTML #CSS #JavaScript #WebDevelopment #Coding #AudioRecorder #FrontendDevelopment