
In this tutorial, you’ll learn how to create a simple RSVP system using HTML, CSS, and JavaScript. This project is beginner-friendly and is perfect for learning how to handle user input, dynamically update the content on a web page, and improve user experience with real-time feedback.
What You’ll Learn:
- ✅ How to create a structured RSVP form using HTML
- ✅ Styling the RSVP system with CSS to make it look clean and modern
- ✅ Handling form submissions dynamically with JavaScript
- ✅ Displaying RSVP responses in real-time on the webpage
- ✅ Clearing input fields after submission for a better user experience
By the end of this tutorial, you’ll have a functional RSVP system where users can submit their details and instantly see their RSVP confirmation on the page. Let’s dive in!
Step 1: Setting Up the HTML Structure
First, we will create the basic structure for our RSVP form. This includes input fields for the user’s name and email, along with a button to submit the form. We’ll also create a section to display the submitted RSVPs.
htmlCopy<!DOCTYPE html>
<html lang="en">
<head>
<meta charset="UTF-8">
<meta name="viewport" content="width=device-width, initial-scale=1.0">
<title>Event RSVP System</title>
<link rel="stylesheet" href="styles.css">
</head>
<body>
<div class="container">
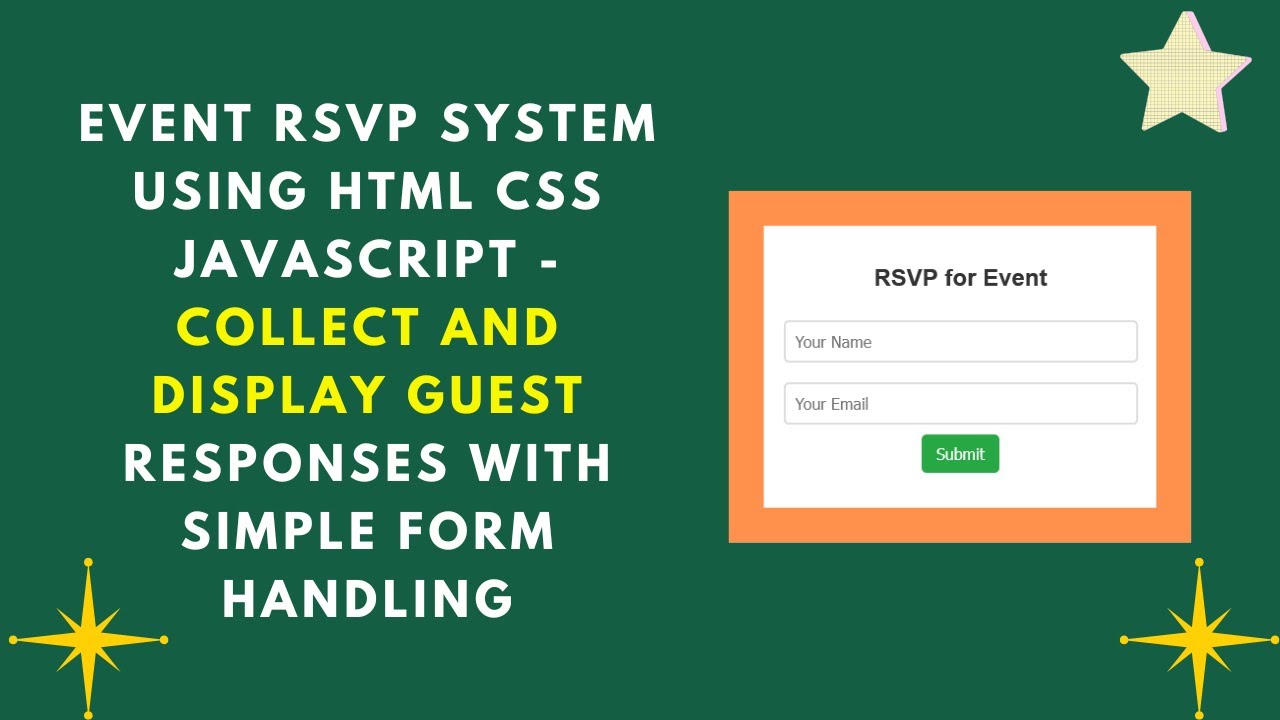
<h2>RSVP for Event</h2>
<input type="text" id="name" placeholder="Your Name">
<input type="email" id="email" placeholder="Your Email">
<button onclick="addRSVP()">Submit</button>
<div class="rsvp-list" id="rsvpList"></div>
</div>
<script src="script.js"></script>
</body>
</html>
Step 2: Styling with CSS
Next, let’s add some CSS to make our form look modern and clean. This will help center our form on the page and give it a nice background and layout.
cssCopybody {
    font-family: Arial, sans-serif;
    background-color: #f4f4f4;
    display: flex;
    justify-content: center;
    align-items: center;
    height: 100vh;
    flex-direction: column;
}

.container {
    max-width: 400px;
    width: 100%;
    background: white;
    padding: 20px;
    border-radius: 10px;
    box-shadow: 0 4px 6px rgba(0, 0, 0, 0.1);
    text-align: center;
}

input {
    width: 100%;
    padding: 10px;
    margin: 10px 0;
    border: 2px solid #ddd;
    border-radius: 5px;
    font-size: 16px;
    outline: none;
}

button {
    background: #28a745;
    color: white;
    padding: 10px 15px;
    border: none;
    border-radius: 5px;
    font-size: 16px;
    cursor: pointer;
}

button:hover {
    background: #218838;
}

.rsvp-list {
    margin-top: 20px;
    text-align: left;
}

.rsvp-list div {
    background: #e9ecef;
    padding: 10px;
    margin: 5px 0;
    border-radius: 5px;
}
Step 3: Handling Form Submissions with JavaScript
Now comes the fun part – adding functionality with JavaScript. We’ll write a script that handles form submissions, dynamically displays the RSVPs, and clears the input fields after submission.
javascriptCopyfunction addRSVP() {
    const name = document.getElementById("name").value.trim();
    const email = document.getElementById("email").value.trim();

    // Validate input
    if (name === "" || email === "") {
        alert("Please enter both name and email!");
        return;
    }

    // Create a new RSVP entry
    const rsvpList = document.getElementById("rsvpList");
    const newEntry = document.createElement("div");
    newEntry.textContent = `${name} - ${email}`;
    rsvpList.appendChild(newEntry);

    // Clear input fields after submission
    document.getElementById("name").value = "";
    document.getElementById("email").value = "";
}
Step 4: How It Works
- HTML:
- We create two input fields: one for the user’s name and one for the email.
- A button allows users to submit the form, which will trigger a JavaScript function.
- CSS:
- The form is centered on the page, with a modern look and feel, including shadows and rounded corners for a clean design.
- JavaScript:
- When the user clicks the “Submit” button, the
addRSVP()function is triggered. - The function first checks if both the name and email are filled. If not, an alert is shown.
- If the inputs are valid, a new entry is created and appended to the RSVP list.
- After submission, the input fields are cleared to allow for new RSVPs.
- When the user clicks the “Submit” button, the
Step 5: Final Result
Once you’ve set everything up, your RSVP system will work in the following way:
- Users will enter their name and email.
- They click the Submit button.
- Their name and email will appear below the form as an RSVP confirmation.
- The input fields are cleared for the next submission.
Conclusion
In this tutorial, we learned how to build a simple RSVP system using HTML, CSS, and JavaScript. This is a beginner-friendly project that showcases how to handle user input and dynamically update content on a webpage.
Feel free to expand this project further:
- Add validation: Ensure the email is in the correct format.
- Store responses: Use localStorage or a backend to save the RSVP data.
- Enhance design: Add animations or more advanced styling for a polished look.
If you enjoyed this tutorial, don’t forget to like, subscribe, and hit the bell icon to stay updated on more web development tutorials!
Code Repository
Access the complete source code on GitHub:
RSVP System Source Code
Happy coding! 👩💻👨💻