
In today’s digital world, e-learning platforms have become essential for online education. Whether you’re an educator, student, or developer looking to create an engaging learning experience, this project will help you build a simple yet powerful e-learning platform using HTML, CSS, and JavaScript.
In this tutorial, we’ll walk through the process of creating an interactive learning platform that allows users to select courses, watch educational videos, and take quizzes to test their knowledge. Let’s dive in! 🎓📖
Features of Our E-Learning Platform
✅ Course Selection System – Users can choose from different courses. ✅ Embedded YouTube Videos – Seamless learning experience with dynamic video integration. ✅ Interactive Quiz System – Engaging quizzes to test knowledge. ✅ JavaScript-Based Course Switching – Smooth transitions between courses. ✅ Enhanced UI/UX – A visually appealing and user-friendly interface.
Step 1: Setting Up the Basic HTML Structure
First, let’s create the foundational structure of our e-learning platform.
<!DOCTYPE html>
<html lang="en">
<head>
<meta charset="UTF-8">
<meta name="viewport" content="width=device-width, initial-scale=1.0">
<title>E-learning Platform</title>
<link rel="stylesheet" href="styles.css">
</head>
<body>
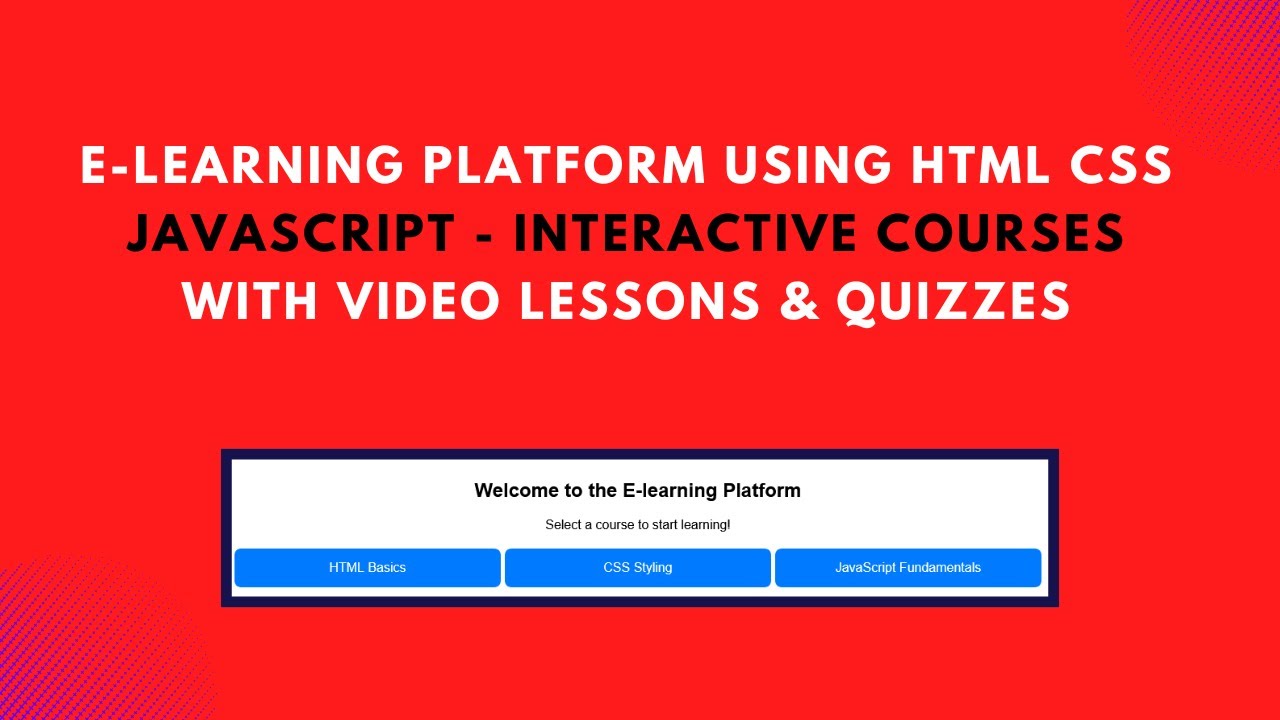
<div class="container">
<h2>Welcome to the E-learning Platform</h2>
<p>Select a course to start learning!</p>
<div class="course-list">
<div class="course" onclick="playVideo('https://www.youtube.com/embed/3JluqTojuME')">HTML Basics</div>
<div class="course" onclick="playVideo('https://www.youtube.com/embed/tgbNymZ7vqY')">CSS Styling</div>
<div class="course" onclick="playVideo('https://youtu.be/XbKpANBsenI?si=5ldfbBlsTu97J-L5')">JavaScript Fundamentals</div>
</div>
<div id="video-section" style="display:none;">
<h3>Now Playing:</h3>
<iframe id="videoPlayer" src="" frameborder="0" allowfullscreen></iframe>
<div class="quiz">
<h3>Quick Quiz</h3>
<div class="question">What does HTML stand for?</div>
<div class="options">
<button onclick="checkAnswer(this, 'wrong')">Hyper Text Making Language</button>
<button onclick="checkAnswer(this, 'correct')">Hyper Text Markup Language</button>
<button onclick="checkAnswer(this, 'wrong')">Hyperlink and Text Marking Language</button>
</div>
</div>
</div>
</div>
<script src="script.js"></script>
</body>
</html>Step 2: Styling with CSS
Enhance the UI/UX by adding styling to make it more visually appealing.
body {
    font-family: Arial, sans-serif;
    background-color: #f4f4f4;
    text-align: center;
}
.container {
    width: 90%;
    max-width: 1000px;
    margin: auto;
    padding: 20px;
    background: white;
    border-radius: 10px;
    box-shadow: 0 0 10px rgba(0, 0, 0, 0.1);
}
.course-list {
    display: flex;
    justify-content: space-between;
    margin-top: 20px;
}
.course {
    width: 30%;
    padding: 15px;
    border-radius: 8px;
    background: #007bff;
    color: white;
    cursor: pointer;
    transition: 0.3s;
}
.course:hover {
    background: #0056b3;
}
iframe {
    width: 100%;
    height: 300px;
    border-radius: 8px;
}
.quiz button.correct { background: green; color: white; }
.quiz button.wrong { background: red; color: white; }
Step 3: Adding JavaScript Functionality
Use JavaScript to dynamically load videos and handle quiz interactions.
function playVideo(url) {
    document.getElementById("video-section").style.display = "block";
    document.getElementById("videoPlayer").src = url;
}

function checkAnswer(btn, status) {
    if (status === "correct") {
        btn.classList.add("correct");
        alert("Correct Answer! 🎉");
    } else {
        btn.classList.add("wrong");
        alert("Wrong Answer! ❌ Try Again.");
    }
}
Final Thoughts
By following this tutorial, you’ve created a simple yet powerful e-learning platform that allows users to:
- Select a course and watch educational videos 📚
- Take an interactive quiz to test their knowledge ✍️
- Experience an engaging and responsive learning interface 🖥️
This project is a great way to practice front-end development and build real-world applications. You can expand on it by adding more courses, implementing a backend for user authentication, or integrating progress tracking.
🚀 Want the full source code? Check out the GitHub repository: GitHub Link
If you found this tutorial helpful, don’t forget to like, share, and subscribe to Madras Academy for more exciting web development tutorials! 🎥🔥
#HTML #CSS #JavaScript #ELearning #WebDevelopment #OnlineCourses #Coding #TechTutorial #FrontendDevelopment #InteractiveLearning #EducationTech #Programming