
Filtering products dynamically enhances user experience, making it easier for customers to browse an online store. In this tutorial, we’ll build a simple and interactive product filter using HTML, CSS, and JavaScript.
By the end, you’ll have a fully functional category-based filtering system that improves navigation and usability—ideal for e-commerce websites! 🚀
🚀 What You’ll Learn
✅ Structuring a product listing page with HTML 📄
✅ Styling the product grid and buttons with CSS 🎨
✅ Implementing category-based filtering with JavaScript ⚡
✅ Adding hover effects and transitions for an interactive feel 🔥
✅ Making the filter responsive for all screen sizes 📱
📌 Step 1: Setting Up the HTML
First, we’ll create the HTML structure for the product listing page. This includes:
- A title section
- Category filter buttons
- A product grid where items are assigned a
data-categoryattribute
📄 index.html
<!DOCTYPE html>
<html lang="en">
<head>
<meta charset="UTF-8">
<meta name="viewport" content="width=device-width, initial-scale=1.0">
<title>Product Filter</title>
<link rel="stylesheet" href="styles.css">
</head>
<body>
<div class="container">
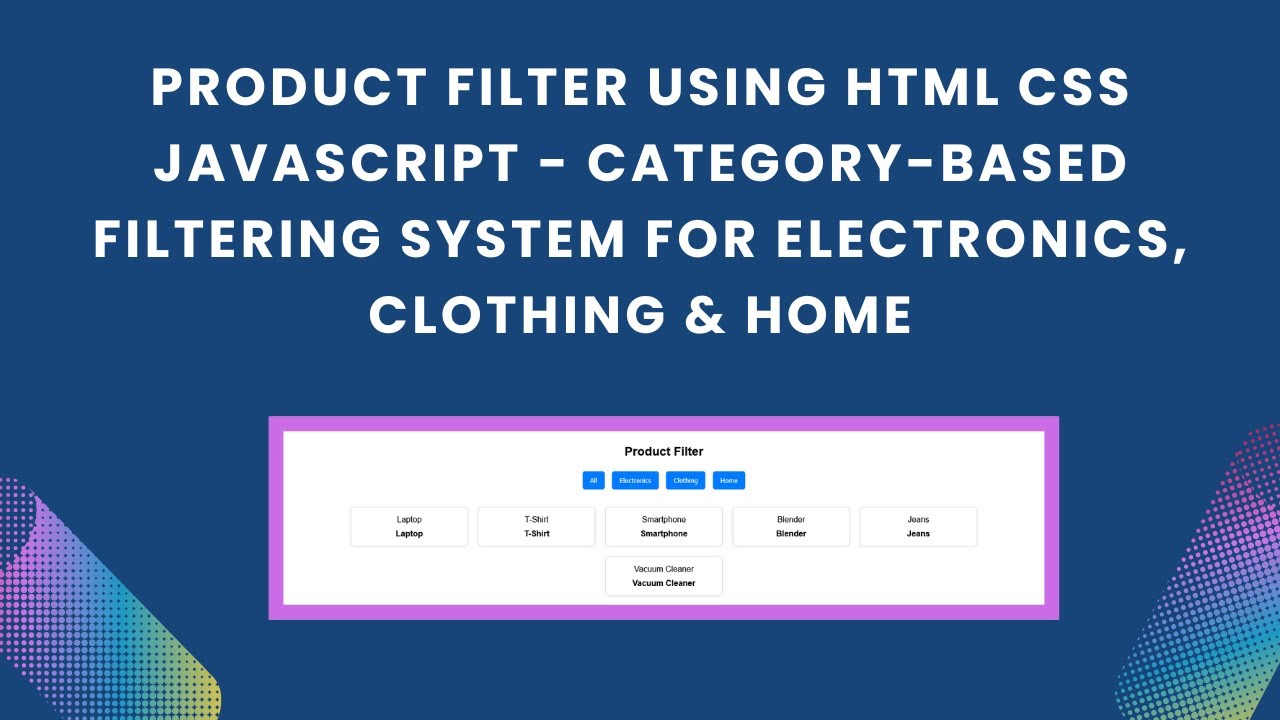
<h2>Product Filter</h2>
<div class="filter-buttons">
<button onclick="filterProducts('all')">All</button>
<button onclick="filterProducts('electronics')">Electronics</button>
<button onclick="filterProducts('clothing')">Clothing</button>
<button onclick="filterProducts('home')">Home</button>
</div>
<div class="product-list" id="product-list">
<div class="product" data-category="electronics">
<img src="https://via.placeholder.com/150" alt="Laptop">
<div class="product-name">Laptop</div>
</div>
<div class="product" data-category="clothing">
<img src="https://via.placeholder.com/150" alt="T-Shirt">
<div class="product-name">T-Shirt</div>
</div>
<div class="product" data-category="electronics">
<img src="https://via.placeholder.com/150" alt="Smartphone">
<div class="product-name">Smartphone</div>
</div>
<div class="product" data-category="home">
<img src="https://via.placeholder.com/150" alt="Blender">
<div class="product-name">Blender</div>
</div>
<div class="product" data-category="clothing">
<img src="https://via.placeholder.com/150" alt="Jeans">
<div class="product-name">Jeans</div>
</div>
<div class="product" data-category="home">
<img src="https://via.placeholder.com/150" alt="Vacuum Cleaner">
<div class="product-name">Vacuum Cleaner</div>
</div>
</div>
</div>
<script src="script.js"></script>
</body>
</html>
🎨 Step 2: Styling the Product Grid and Buttons
Now, let’s make the page visually appealing using CSS.
📄 styles.css
body {
    font-family: Arial, sans-serif;
    background-color: #f4f4f4;
    text-align: center;
    margin: 0;
    padding: 20px;
}

.container {
    width: 80%;
    margin: auto;
    background: white;
    padding: 20px;
    border-radius: 10px;
    box-shadow: 0 0 10px rgba(0, 0, 0, 0.1);
}

.filter-buttons {
    margin-bottom: 20px;
}

.filter-buttons button {
    margin: 5px;
    padding: 10px 15px;
    cursor: pointer;
    border: none;
    background: #007bff;
    color: white;
    border-radius: 5px;
    transition: 0.3s;
}

.filter-buttons button:hover {
    background: #0056b3;
}

.product-list {
    display: flex;
    flex-wrap: wrap;
    justify-content: center;
}

.product {
    display: inline-block;
    width: 200px;
    margin: 10px;
    padding: 15px;
    border-radius: 8px;
    border: 1px solid #ddd;
    background: white;
    box-shadow: 0 0 5px rgba(0, 0, 0, 0.1);
    transition: transform 0.3s;
}

.product:hover {
    transform: scale(1.05);
}

.product img {
    width: 100%;
    border-radius: 5px;
}

.product-name {
    font-weight: bold;
    margin-top: 10px;
}
📌 Step 3: Adding JavaScript for Filtering
Finally, let’s implement JavaScript to filter products dynamically when a user clicks a category button.
📄 script.js
function filterProducts(category) {
    let products = document.querySelectorAll('.product');
    products.forEach(product => {
        if (category === 'all' || product.getAttribute('data-category') === category) {
            product.style.display = 'inline-block';
        } else {
            product.style.display = 'none';
        }
    });
}
🔥 Why Use This Product Filter?
✅ User-Friendly – Customers can quickly find what they need
✅ Fast & Lightweight – No external libraries required
✅ Customizable – Easily modify categories and styles
✅ Responsive – Works on all screen sizes
📌 Bonus: Enhancements You Can Try
Want to improve your product filter even further? Here are some cool ideas:
🔹 Add search functionality to filter products by name
🔹 Implement animations for smoother transitions
🔹 Fetch product data from an API or database
🎥 Watch the Full Tutorial on YouTube
For a detailed video walkthrough, check out:
🔗 Code Repository: GitHub
💡 Final Thoughts
A well-implemented product filtering system significantly improves the shopping experience. By following this tutorial, you’ve built a functional, responsive, and visually appealing filter that can be easily integrated into any e-commerce platform!
🚀 Loved this tutorial? Don’t forget to share, leave a comment, and follow for more exciting web development guides! 🎯
#HTML #CSS #JavaScript #ProductFilter #Ecommerce #WebDevelopment #FrontendDevelopment #InteractiveUI #Coding #TechTutorial #WebDesign 🚀🛒