
Web notifications are a great way to enhance user engagement by displaying dynamic alerts, messages, or updates directly on your website. In this tutorial, you’ll learn how to build a sleek, interactive notification system using HTML, CSS, and JavaScript.
By the end of this guide, you’ll have a fully functional and visually appealing notification system that smoothly appears and disappears with elegant animations. Let’s dive in! 🏗️🎨🔥
📌 What You’ll Learn
✅ How to create a notification container using HTML 🏗️
✅ Styling notifications with CSS animations for smooth effects 🎨
✅ Using JavaScript to dynamically generate and remove notifications 🔥
✅ Implementing fade-in and fade-out animations for a polished UI ✨
✅ Customizing the notification design to match your website’s theme 🎯
🚀 Step-by-Step Guide
1️⃣ Setting Up the HTML Structure
We need a simple structure that includes:
- A button to trigger notifications
- A container to hold the notification messages
<!DOCTYPE html>
<html lang="en">
<head>
<meta charset="UTF-8">
<meta name="viewport" content="width=device-width, initial-scale=1.0">
<title>Custom Web Notifications</title>
<link rel="stylesheet" href="styles.css">
</head>
<body>
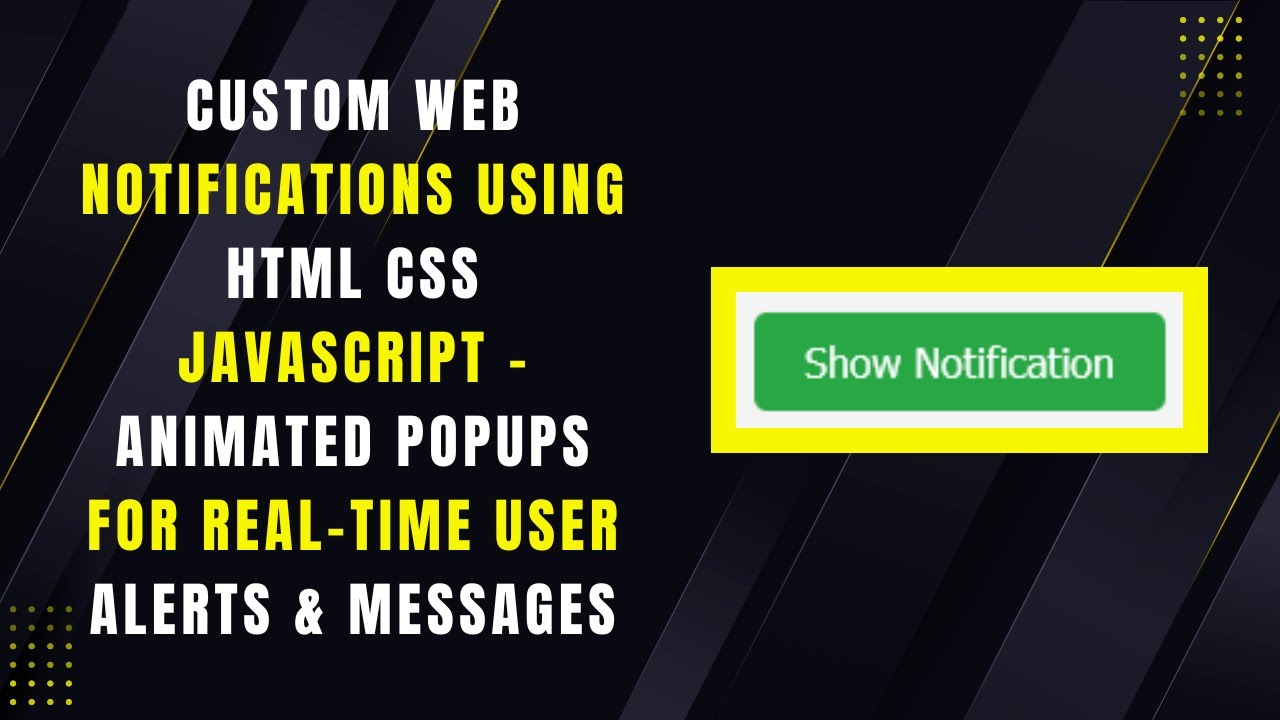
<button class="show-btn" onclick="showNotification('New message received!')">Show Notification</button>
<div class="notification-container"></div>
<script src="script.js"></script>
</body>
</html>
2️⃣ Adding CSS for Styling and Animation
To make the notifications visually appealing, we’ll style them with a modern look and add smooth animations.
body {
    font-family: Arial, sans-serif;
    background-color: #f4f4f4;
    display: flex;
    justify-content: center;
    align-items: center;
    height: 100vh;
    flex-direction: column;
}

.notification-container {
    position: fixed;
    top: 20px;
    right: 20px;
    display: flex;
    flex-direction: column;
    gap: 10px;
}

.notification {
    background-color: #1e90ff;
    color: white;
    padding: 15px 20px;
    border-radius: 5px;
    box-shadow: 0 4px 6px rgba(0, 0, 0, 0.1);
    animation: fadeInOut 4s ease-in-out;
}

@keyframes fadeInOut {
    0% { opacity: 0; transform: translateX(100%); }
    10% { opacity: 1; transform: translateX(0); }
    90% { opacity: 1; transform: translateX(0); }
    100% { opacity: 0; transform: translateX(100%); }
}

.show-btn {
    padding: 10px 20px;
    font-size: 16px;
    background-color: #28a745;
    color: white;
    border: none;
    border-radius: 5px;
    cursor: pointer;
}
3️⃣ Writing the JavaScript for Dynamic Notifications
Now, let’s add the JavaScript to handle notification creation and removal dynamically.
function showNotification(message) {
    const container = document.querySelector('.notification-container');
    const notification = document.createElement('div');
    notification.classList.add('notification');
    notification.textContent = message;
    container.appendChild(notification);

    setTimeout(() => {
        notification.remove();
    }, 4000);
}
🎯 How It Works
1️⃣ When the “Show Notification” button is clicked, the showNotification() function is triggered.
2️⃣ A new notification is created and added to the .notification-container.
3️⃣ The notification appears with a smooth fade-in effect.
4️⃣ After 4 seconds, it automatically disappears with a fade-out animation.
This simple yet effective system enhances the user experience by providing real-time feedback or alerts without interrupting their workflow.
🔥 Live Demo & Source Code
📺 Watch the Full Video Tutorial:
💻 Get the Source Code on GitHub: GitHub Repository
If you found this guide helpful, don’t forget to like 👍, comment 💬, and subscribe 🔔 for more web development tutorials! 🚀
Happy coding! 🎨💻✨
#HTML #CSS #JavaScript #WebNotifications #FrontendDevelopment #WebDesign #Coding #UserExperience #TechTutorial 🚀