
Want to keep track of your daily emotions? This Interactive Mood Tracker is a simple yet effective tool that lets you log your mood every day. Whether you’re feeling happy, sad, excited, or calm, this tracker helps you stay mindful of your emotions over time.
In this tutorial, you’ll learn how to build a mood tracker using HTML, CSS, and JavaScript. By the end, you’ll have a fully functional tracker that records your moods and displays them in an easy-to-review format. 📅✨
Why Use a Mood Tracker?
✔️ Helps track emotional patterns over time
✔️ Encourages self-awareness and mindfulness
✔️ Simple, effective, and easy to use
✔️ Can be customized to add more moods and features
What You’ll Learn
✅ How to create a dropdown mood selector with HTML 📋
✅ Styling the mood tracker with CSS for a clean UI 🎨
✅ Using JavaScript to log and display mood entries dynamically 🔄
✅ Adding a timestamp to track mood changes over time ⏳
✅ Enhancing user interaction with a simple and effective design 🎯
Step 1: HTML – Creating the Mood Tracker Structure
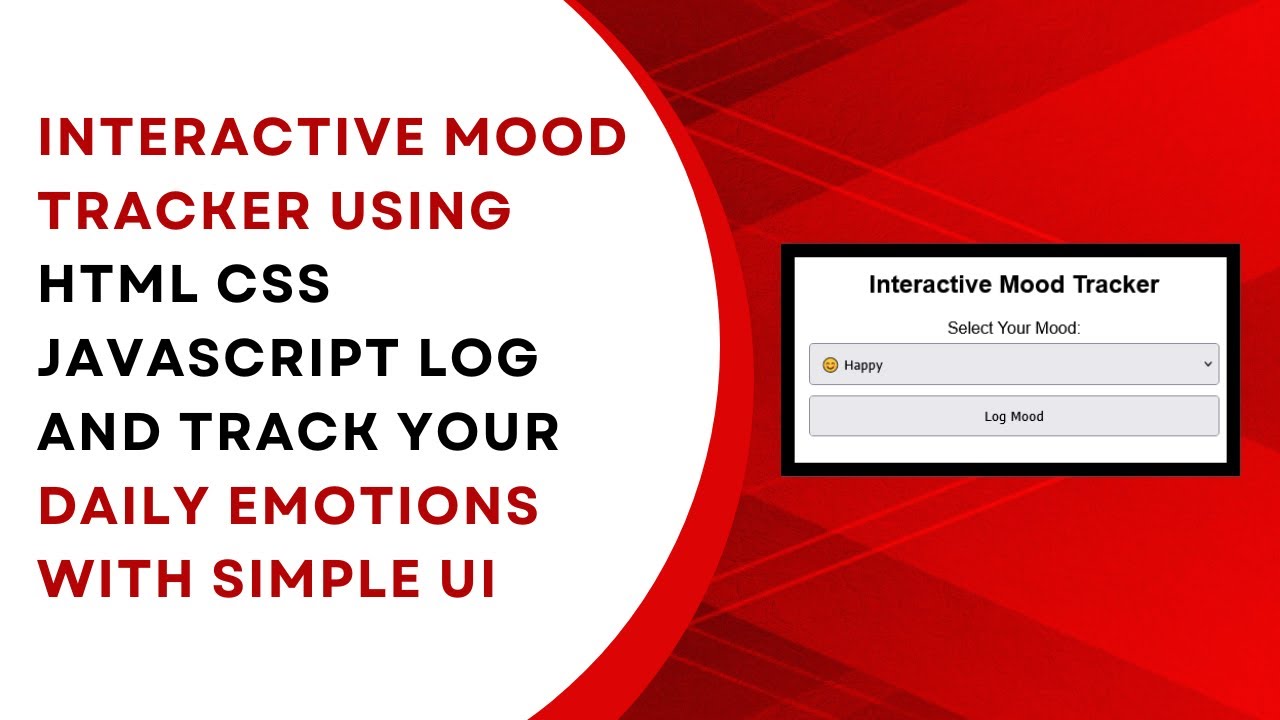
The HTML structure is simple: a heading, a dropdown menu for mood selection, a button to log the mood, and a section to display logged entries.
<!DOCTYPE html>
<html lang="en">
<head>
    <meta charset="UTF-8">
    <meta name="viewport" content="width=device-width, initial-scale=1.0">
    <title>Interactive Mood Tracker</title>
    <link rel="stylesheet" href="style.css">
</head>
<body>
    <h2>Interactive Mood Tracker</h2>
    <label for="mood">Select Your Mood:</label>
    <select id="mood">
        <option value="Happy">😊 Happy</option>
        <option value="Sad">😢 Sad</option>
        <option value="Excited">🤩 Excited</option>
        <option value="Angry">😡 Angry</option>
        <option value="Calm">😌 Calm</option>
    </select>
    <button onclick="logMood()">Log Mood</button>
    <div class="mood-log" id="moodLog"></div>
    <script src="script.js"></script>
</body>
</html>
Step 2: CSS – Styling the Mood Tracker
We’ll use CSS to create a simple and user-friendly interface.
body {
    font-family: Arial, sans-serif;
    max-width: 400px;
    margin: auto;
    padding: 20px;
    text-align: center;
}
select, button {
    width: 100%;
    padding: 10px;
    margin: 5px 0;
}
.mood-log {
    margin-top: 20px;
    text-align: left;
}
.entry {
    background: #f4f4f4;
    padding: 10px;
    margin: 5px 0;
}
Step 3: JavaScript – Logging and Displaying Mood Entries
With JavaScript, we can capture the selected mood and display it with a timestamp.
function logMood() {
    let mood = document.getElementById("mood").value;
    let log = document.getElementById("moodLog");
    let entry = document.createElement("div");
    entry.className = "entry";
    entry.innerHTML = `<strong>${new Date().toLocaleDateString()}</strong>: ${mood}`;
    log.prepend(entry);
}
How It Works
1️⃣ User selects a mood from the dropdown menu.
2️⃣ Clicking the “Log Mood” button stores the selected mood.
3️⃣ JavaScript adds the entry with the current date to the log section.
4️⃣ Each mood entry appears at the top, creating a daily mood log.
Watch the Full Video Tutorial 🎥
📌 Source Code on GitHub:
🔗 View Complete Code
Why Should You Use This Mood Tracker?
✔️ Encourages emotional self-awareness
✔️ Helps track mood patterns over time
✔️ Easy to use with a simple UI
✔️ Fully customizable for personal use
✔️ Lightweight and requires no database
Final Thoughts
This Interactive Mood Tracker is a great tool for self-reflection and emotional tracking. You can customize it further by adding mood statistics, color-coded entries, or even a database to store long-term logs.
💡 Try it out and start tracking your moods today!
👉 Enjoyed this tutorial? Let us know in the comments!
📢 Subscribe to Madras Academy for More Web Development Tutorials! 🚀
🔹 YouTube: Madras Academy
🔹 GitHub: Madras Academy Repositories
#HTML #CSS #JavaScript #MoodTracker #WebDevelopment #FrontendDevelopment #Coding #TechTutorial #InteractiveDesign #DailyMoodLog #SelfCare 🚀📊