
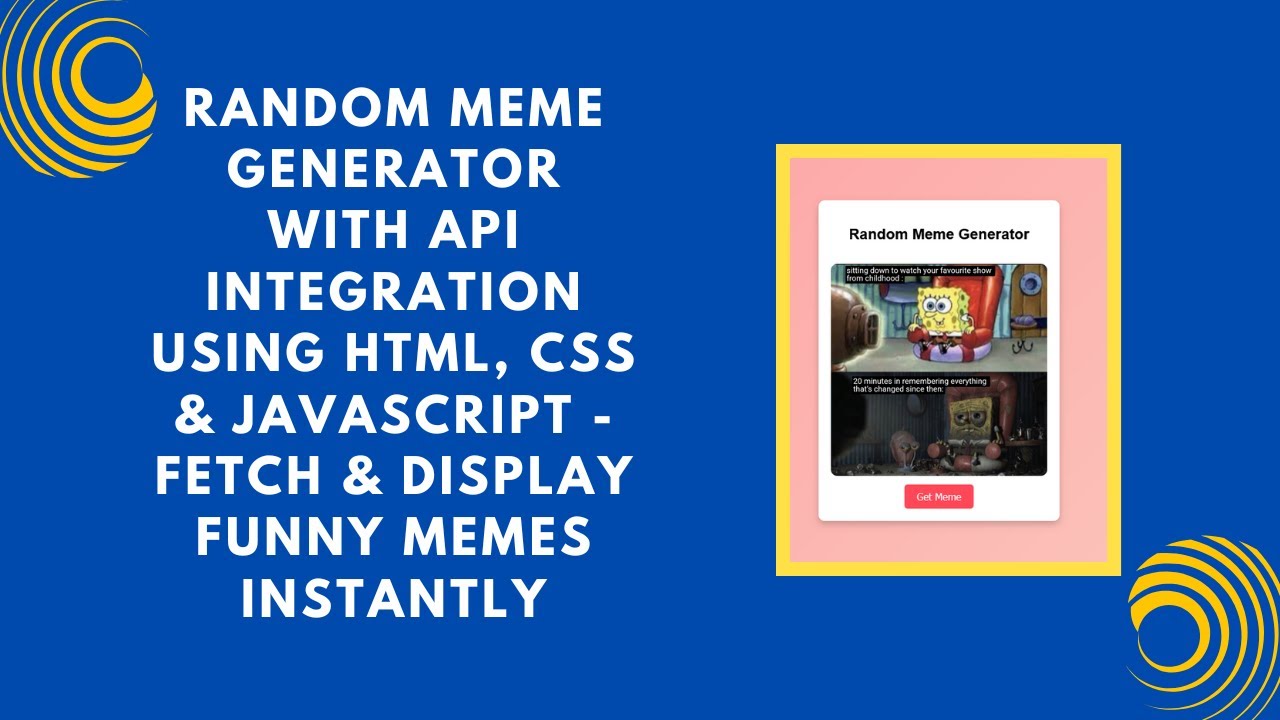
In this tutorial, you’ll learn how to create a Random Meme Generator using HTML, CSS, and JavaScript. This guide will show you how to fetch random memes from an API and display them dynamically on your webpage. Perfect for adding fun and engaging content to your website!
What You’ll Learn:
✅ How to structure a meme generator using HTML 🖥️
✅ Styling the meme container for a clean and modern look 🎨
✅ Fetching memes from an API using JavaScript 🔄
✅ Dynamically updating the image with each button click 🎭
✅ Enhancing user interaction with smooth UI effects 🌟
By the end of this tutorial, you’ll have a fully functional meme generator that brings fresh humor to your webpage.
Step 1: Setting Up the HTML Structure
First, let’s create the basic HTML structure for our meme generator.
<!DOCTYPE html>
<html lang="en">
<head>
    <meta charset="UTF-8">
    <meta name="viewport" content="width=device-width, initial-scale=1.0">
    <title>Random Meme Generator</title>
    <link rel="stylesheet" href="styles.css">
</head>
<body>
    <div class="container">
        <h2>Random Meme Generator</h2>
        <img id="meme" src="" alt="Random Meme">
        <button onclick="fetchMeme()">Get Meme</button>
    </div>
    <script src="script.js"></script>
</body>
</html>
Step 2: Styling with CSS
Now, let’s add some styles to make our meme generator look visually appealing.
body {
    font-family: Arial, sans-serif;
    display: flex;
    flex-direction: column;
    align-items: center;
    justify-content: center;
    height: 100vh;
    background: linear-gradient(135deg, #ff9a9e, #fad0c4);
    margin: 0;
    text-align: center;
}

.container {
    background: white;
    padding: 20px;
    border-radius: 10px;
    box-shadow: 0px 5px 10px rgba(0, 0, 0, 0.2);
    width: 350px;
    text-align: center;
}

img {
    width: 100%;
    border-radius: 10px;
    margin-top: 15px;
}

button {
    background: #ff4757;
    color: white;
    border: none;
    padding: 10px 20px;
    font-size: 16px;
    cursor: pointer;
    border-radius: 5px;
    margin-top: 10px;
}

button:hover {
    background: #e84118;
}
Step 3: Adding JavaScript for Interactivity
Now, let’s write JavaScript to fetch memes from an API and update the image dynamically.
function fetchMeme() {
    fetch("https://meme-api.com/gimme")
        .then(response => response.json())
        .then(data => {
            document.getElementById("meme").src = data.url;
        })
        .catch(error => console.error("Error fetching meme:", error));
}

// Load a meme on page load
fetchMeme();
Final Thoughts
With this simple yet effective implementation, you have a fully functional meme generator that fetches and displays random memes with each button click. You can further enhance it by adding animations, styling improvements, or even integrating additional meme categories!
Watch the Tutorial Video Here:
Code Repository:
💾 Access the complete source code on GitHub: GitHub Repository
For more exciting web development tutorials, don’t forget to like, comment, and subscribe to Madras Academy! 🚀