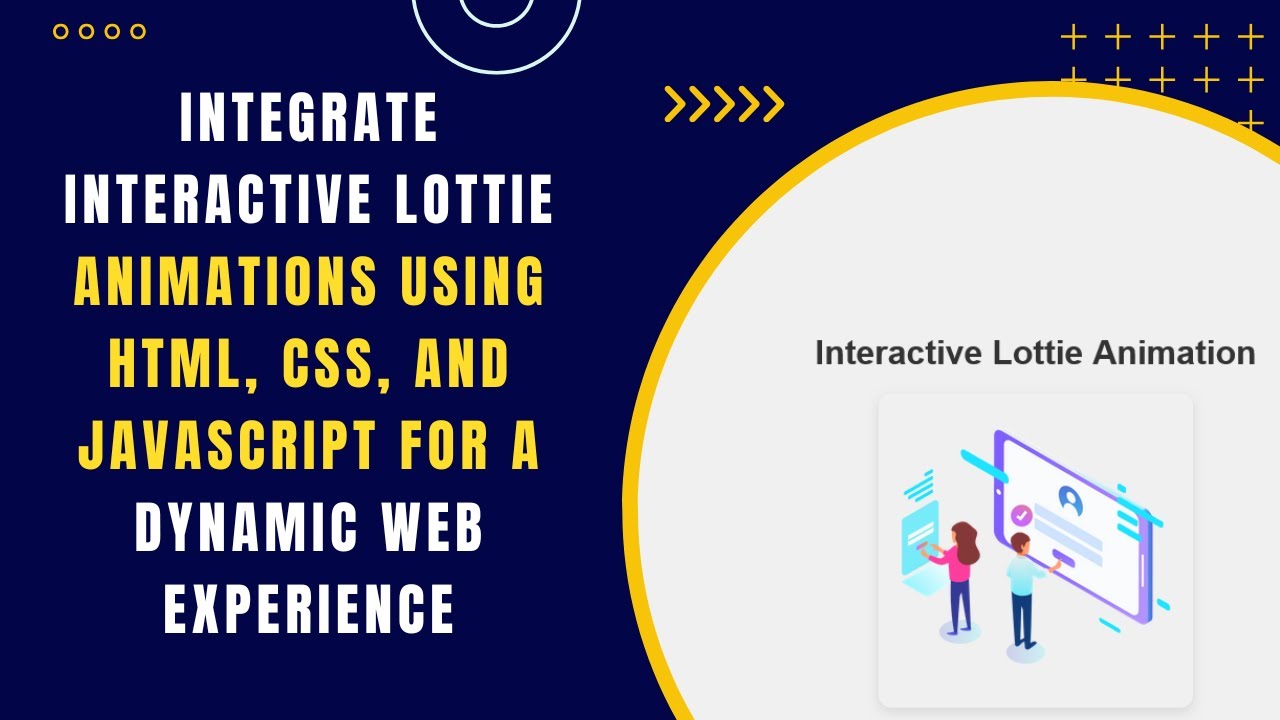
Lottie animations are a powerful way to enhance the visual appeal of your website while keeping performance optimized. In this guide, you’ll learn how to integrate Lottie animations into your web projects using HTML, CSS, and JavaScript.
What is Lottie?
Lottie is a lightweight, open-source animation library developed by Airbnb. It allows you to render high-quality vector animations in your web applications without losing performance. Lottie animations are scalable, interactive, and easy to implement.
Why Use Lottie Animations?
✅ Lightweight and optimized for the web
✅ Scalable without losing quality
✅ Easy to integrate with HTML, CSS, and JavaScript
✅ Supports interactive animations
✅ Works across different browsers and platforms
Step-by-Step Guide to Integrate Lottie Animations
1️⃣ Set Up the HTML Structure
Start by creating a simple HTML file with a container for the Lottie animation:
<!DOCTYPE html>
<html lang="en">
<head>
  <meta charset="UTF-8">
  <meta name="viewport" content="width=device-width, initial-scale=1.0">
  <title>Lottie Animation Integration</title>
  <style>
    body {
      font-family: Arial, sans-serif;
      display: flex;
      flex-direction: column;
      justify-content: center;
      align-items: center;
      height: 100vh;
      margin: 0;
      background-color: #f0f0f0;
    }

    h1 {
      font-size: 2rem;
      margin-bottom: 20px;
      color: #333;
    }

    #lottie-container {
      width: 300px;
      height: 300px;
      border-radius: 12px;
      box-shadow: 0px 4px 10px rgba(0, 0, 0, 0.1);
    }
  </style>
</head>
<body>
  <h1>Interactive Lottie Animation</h1>
  <div id="lottie-container"></div>

  <script src="https://cdnjs.cloudflare.com/ajax/libs/bodymovin/5.9.6/lottie.min.js"></script>
  <script>
    lottie.loadAnimation({
      container: document.getElementById('lottie-container'),
      renderer: 'svg',
      loop: true,
      autoplay: true,
      path: 'https://assets4.lottiefiles.com/packages/lf20_jcikwtux.json'
    });
  </script>
</body>
</html>
2️⃣ Styling the Animation Container
The #lottie-container div will hold the animation. We apply some CSS styles to center it and give it a shadow effect for better visual appeal.
#lottie-container {
  width: 300px;
  height: 300px;
  border-radius: 12px;
  box-shadow: 0px 4px 10px rgba(0, 0, 0, 0.1);
}
3️⃣ Adding Lottie to Your Project
Lottie animations are rendered using the lottie-web library. Include it in your HTML file using a CDN:
<script src="https://cdnjs.cloudflare.com/ajax/libs/bodymovin/5.9.6/lottie.min.js"></script>4️⃣ Loading a Lottie Animation
Use JavaScript to load and play the animation. You need to specify:
- The container where the animation will appear
- The rendering mode (
svgis recommended for scalability) - Whether the animation should loop
- Whether it should autoplay
- The path to the Lottie JSON file
lottie.loadAnimation({
  container: document.getElementById('lottie-container'),
  renderer: 'svg',
  loop: true,
  autoplay: true,
  path: 'https://assets4.lottiefiles.com/packages/lf20_jcikwtux.json'
});
Customization Options
You can customize Lottie animations with different settings:
- Looping: Set
loop: falseto play the animation only once. - Speed Control: Adjust playback speed using
animation.setSpeed(2);(where2doubles the speed). - Pause & Play: Use
animation.play()andanimation.pause()to control playback.
Where to Find Lottie Animations?
You can browse and download free animations from LottieFiles. They provide thousands of pre-made animations for different use cases.
GitHub Repository & Video Tutorial
📂 Get the source code on GitHub: Madras Academy GitHub
🎥 Watch the full video tutorial:
Conclusion
By following this guide, you have successfully integrated a Lottie animation into your web page using HTML, CSS, and JavaScript. Lottie animations help make websites more interactive and visually engaging with minimal effort.
🚀 Want more tutorials? Subscribe to Madras Academy on YouTube!
If you found this guide helpful, don’t forget to like, comment, and share! 💡✨

