
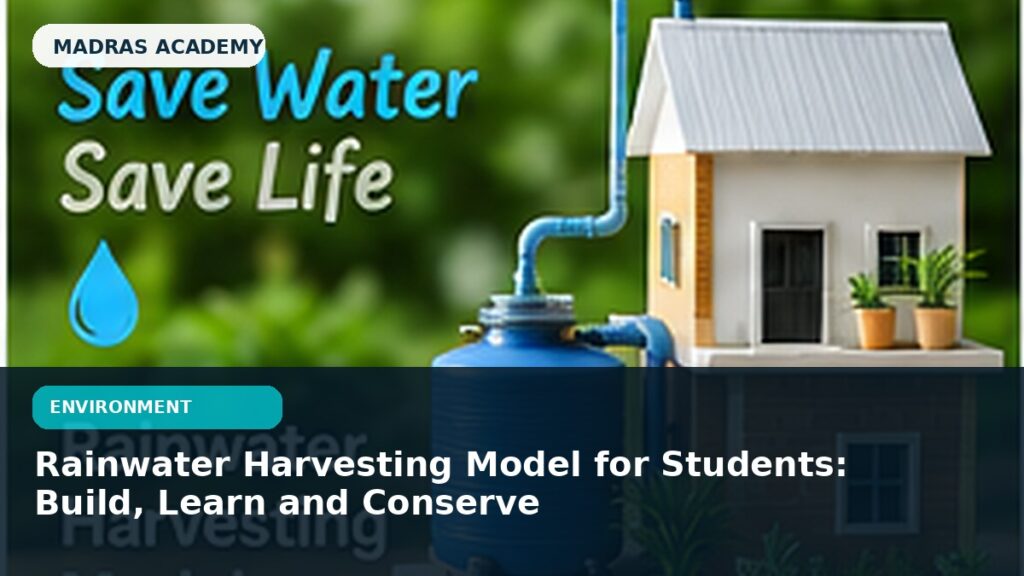
A rainwater harvesting model helps students understand how water falling on a roof can be collected, filtered and stored instead of flowing away. The model can be built almost entirely from cardboard, bottles, tubing and simple filter materials.
This tutorial is designed for students who want to understand the project rather than only copy a finished model. Build one part at a time, test each section, record what changes and prepare a short explanation of the science or engineering principle.
Main parts of the system
A practical harvesting system normally includes a catchment area, gutters, a first-flush or bypass idea, filtration and storage. A school model can demonstrate each stage with transparent or labelled parts.
- Roof/catchment
- gutter
- downpipe
- first-flush section
- filter
- storage tank
- overflow/recharge area
How filtration works
A model filter can use cloth, gravel and sand to demonstrate removal of visible particles. This is only a demonstration of physical filtration; the collected model water should not be presented as safe drinking water.
Why rainwater harvesting matters
Stored rainwater may reduce demand on treated water for suitable non-drinking uses. Harvesting can also help students discuss local water availability, runoff and groundwater recharge.
Add measurement for a stronger project
Students can calculate approximate collection using roof area and rainfall depth. Even a simple scaled example makes the model more analytical.
- Catchment area
- rainfall depth
- estimated collection volume
- storage capacity
- overflow
Step-by-step build
- Create a sloped model roof on a cardboard house.
- Attach straws or narrow channels along the roof edge as gutters.
- Connect the gutter to a clear downpipe.
- Add a small bypass bottle to represent first-flush water.
- Build a transparent filter column using cloth, gravel and clean sand.
- Route the outlet into a labelled storage tank.
- Add an overflow pipe leading to a model recharge pit or garden.
- Pour clean coloured water over the roof to demonstrate the flow.
Common mistakes to avoid
- Calling the filtered model water safe to drink
- Building a flat roof with no visible water flow
- Forgetting overflow and first-flush concepts
- Using dirty or unsafe materials in the demonstration
- Focusing only on decoration without explaining the water path
Frequently asked questions
Can harvested rainwater be used for drinking?
Real drinking-water use requires proper treatment, testing and compliance with local standards. A school model should not claim that simple sand filtration makes water potable.
What is a first-flush system?
It diverts the initial runoff that may contain dust and debris from the roof before cleaner rainwater enters storage.
How can I make this a science-fair investigation?
Measure the volume collected from different roof areas or compare filtration flow rates using the same amount of water.
Conclusion
A good rainwater-harvesting project shows the complete journey of water and explains both the benefits and the limits of the system.
Madras Academy project tip: add a block diagram, component labels, photos of testing, a simple results table and two or three viva answers. That makes the project easier to explain and shows genuine understanding.