Arduino Adventures – A Beginners Course
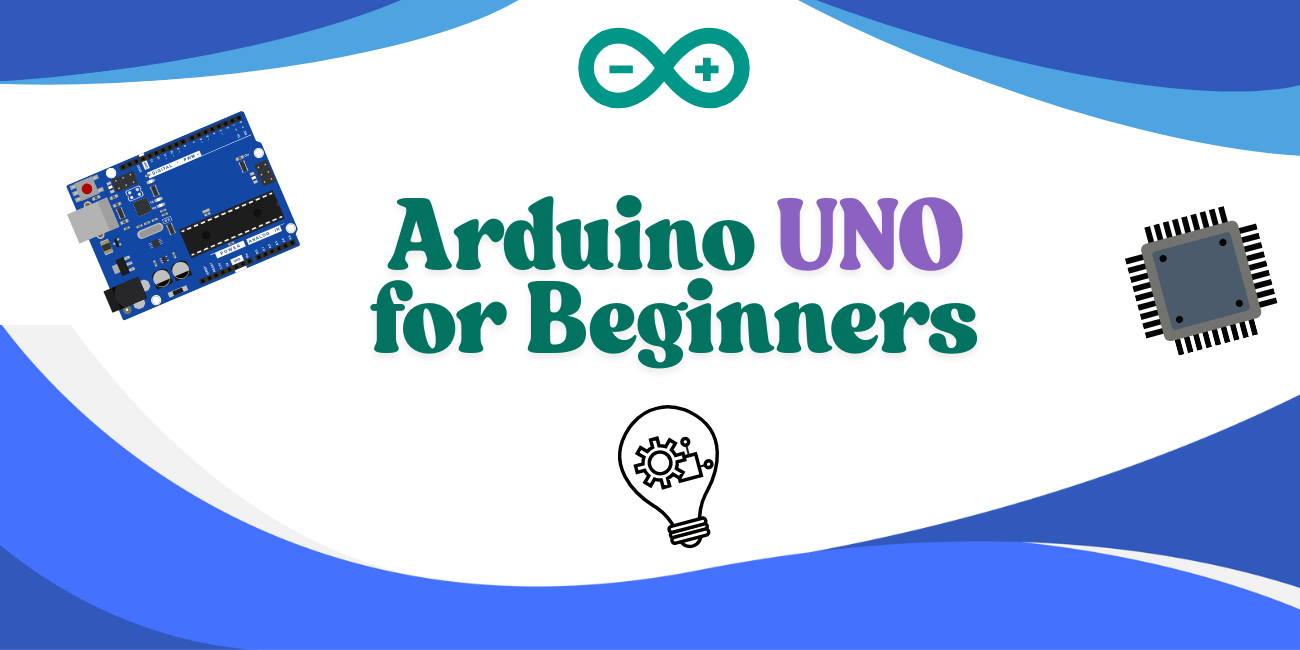
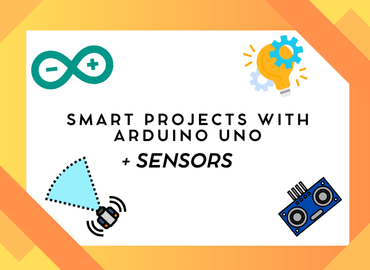
This hands-on summer Course introduces kids and teens to the exciting world of electronics and coding through Arduino. Participants will learn how to build circuits, control LEDs, use sensors, and code fun interactive projects using real-world components.
With step-by-step guidance, students will gain a strong foundation in electronics, microcontrollers, and programming. From blinking LEDs and buzzers to building temperature alarms and light-sensitive devices, every student will design and complete their own final project by the end of the course.
Course Information
This Arduino & Electronics Course is a beginner-friendly, interactive course designed for kids and teens. It blends creativity with technology, enabling participants to build real electronic circuits and learn how to code using Arduino.
What Will You Learn?
Throughout the Course, students will explore electronics, programming, and sensors through engaging projects. They’ll gain practical coding skills, understand circuit components, and learn how to make devices that react to the environment.
- Introduction to Arduino and how microcontrollers work
- Hands-on experience with breadboards, LEDs, and resistors
- Controlling lights, buzzers, and buttons using simple code
- Using sensors like temperature, light, and sound
- Building interactive mini-projects such as alarms and dimmable LEDs
- Understanding analog vs digital input/output
- Learning basic programming concepts like conditions and loops
- Creating and wiring your own final project from scratch
- Explaining and showcasing your project during a demo day
Requirements
This course is designed for beginners with no prior jewelry-making experience required.
- Recommended for ages 10–17 (customized support provided)
- All electronic components, Arduino boards, and tools will be provided
- Students should bring a notebook for ideas, notes, and circuit sketches
- Comfortable clothing suitable for hands-on activities is recommended
-
Day 1: Introduction to Arduino & ComponentsLearn what Arduino is and understand the basics of microcontrollers, sensors, and actuators. Get an overview of the Arduino board, install the IDE, and complete a mini project to blink the built-in LED using simple code.
-
Day 2: Breadboard & External LED BlinkingUnderstand how a breadboard works, connect an external LED with a resistor, use digital pins and digitalWrite(), and modify code to blink the LED with various timings.
-
Day 3: Multiple LEDs & PatternsControl multiple LEDs using delay() to create blinking sequences. Mini project includes making a traffic light simulation or running LED effect.
-
Day 4: Push Buttons & InputUse push buttons to control LEDs, learn about digital input and if statements, and build a mini project to toggle an LED with a button press.
-
Day 5: Buzzer & Alarm ProjectConnect and control a buzzer to generate sounds based on conditions. Mini projects include a simple door alarm or creating SOS signals using morse code.
-
Day 6: Introduction to Sensors – Temperature SensorUse DHT11 or LM35 sensors to read temperature data with analogRead(), display results on the Serial Monitor, and build a mini project that shows "Hot" or "Cold" messages based on temperature.
-
Day 7: Combine Sensor + OutputCombine the temperature sensor with a buzzer or LED to create a warning system. Mini project includes building a buzzer alarm that activates when the temperature gets too high.
-
Day 8: Analog Inputs – Potentiometer or LDRUse analog components like a potentiometer or LDR to control LED brightness with analogWrite(). Mini projects include creating a manual LED dimmer or an automatic light using a light sensor.
-
Day 9: Final Project BuildStudents choose from project ideas such as a Smart Night Light, Mini Temperature Alarm, or Reaction Timer Game. Begin building with guided wiring and code support.
-
Day 10: Final Project ShowcaseComplete final projects, test functionality, explain wiring and code during the showcase, and receive certificates or digital badges. Printable component checklist and visual wiring diagrams provided for each project.
| Batch | Start Date | Timing | Days | Mode |
|---|

