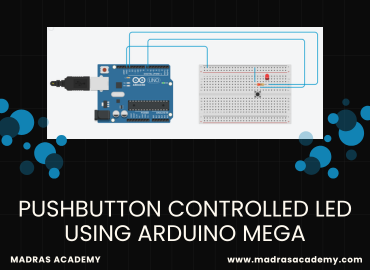
Arduino Mega Tutorial: How to Blink an LED
Welcome to this beginner-friendly tutorial by Madras Academy, where you'll learn the fundamental skill of blinking an LED using the Arduino Mega. This "Hello World" of electronics is the perfect first project to kickstart your Arduino journey!
In this step-by-step tutorial, you will:
- Set up your Arduino Mega board for the first time
- Learn how to properly connect an LED with resistor
- Write your first Arduino sketchto blink the LED
- Upload code to your Arduino Mega board
- Understand the basic structure of Arduino programs
Whether you're completely new to Arduino or just getting started with the Arduino Mega, this tutorial will help you understand the fundamentals of microcontroller programming in a simple, easy-to-follow manner.
👉 Use the tabs below to navigate through the project:
- Project Info & Demo - See the blinking LED in action
- Wiring & Code – Get the simple circuit diagram and complete code
- Notebook & Help - Document your progress and troubleshooting tips
Let's make your first Arduino project a success!
📌 Project Information
- Title: Blinking LED with Arduino Mega
- Difficulty: Absolute Beginner
- Build Time: 5-10 minutes
- Skills Gained: Basic circuit setup, Arduino IDE usage, digital output control
🎬 Demo Video
Watch the project in action below:
🧰 Component List
This simplest Arduino project requires just a few basic components to get started:
Essential components:
- Arduino Uno: The powerful microcontroller board
- LED: Any standard LED (color of your choice)
- 220 ohm Resistor: Protects the LED from excessive current
- Breadboard & Jumper Wires: For easy circuit assembly
- USB Cable: To upload code and power the Arduino
| Component | Quantity | Description |
|---|---|---|
| Arduino Mega | 1 | Main controller board |
| LED | 1 | Any color |
| 220 ohm Resistor | 1 | Current limiter for LED |
| Breadboard | 1 | For building the circuit |
| Jumper Wires | 2–3 | For connections |
| USB Cable | 1 | To upload code |
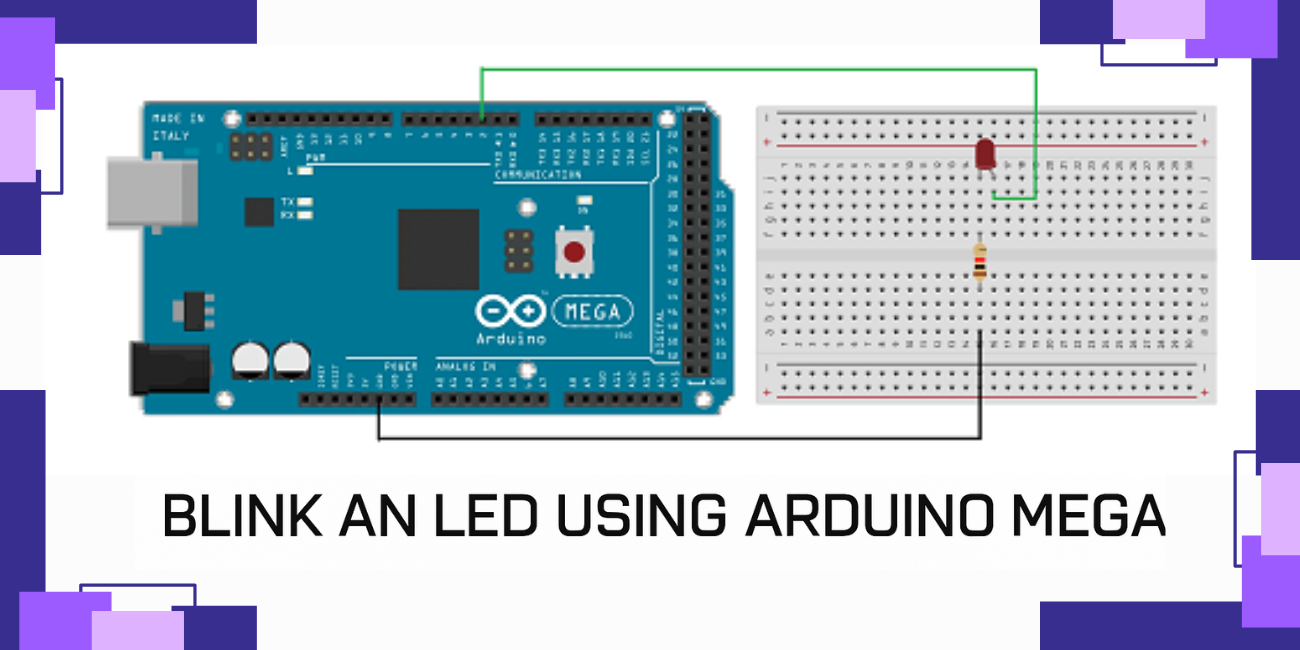
🔌 Circuit Diagram

💻 Arduino Code - The Blink Sketch
	// The setup function runs once when you press reset or power the board
void setup() {
  // Initialize digital pin 13 as an output
  pinMode(13, OUTPUT);
}

// The loop function runs over and over again forever
void loop() {
  digitalWrite(13, HIGH);   // Turn the LED on (HIGH is the voltage level)
  delay(1000);              // Wait for a second
  digitalWrite(13, LOW);    // Turn the LED off by making the voltage LOW
  delay(1000);              // Wait for a second
}
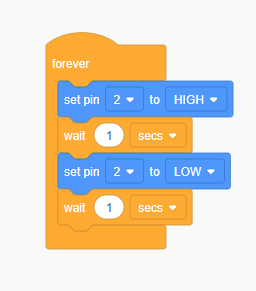
Note: This is the built-in example sketch that comes with the Arduino IDE (File > Examples > 01.Basics > Blink).
📘 Project Notebook Template
- Project Title:
- Date:
- My Objective:
- Materials I Used:
- Circuit Diagram:
- LED Color Used:
- What I Learned:
- Questions I Have:
🛠 Troubleshooting Tips
- ✅ Verify LED polarity (long leg to pin 13, short to GND)
- ✅ Ensure the 220Ω resistor is properly connected
- ✅ Check that the correct board is selected in Arduino IDE
- ✅ Confirm the proper COM port is selected
- ✅ Try different USB cables if upload fails
📚 Next Steps
Now that you've mastered blinking one LED, try these variations:
- Change the blink speed by modifying the delay values.
- Add more LEDs and make them blink in sequence.
- Create a heartbeat pattern (short-short-long pulses).
🎓 Join Our Community
Continue your learning journey with Madras Academy's beginner courses!
- Duration: 3 Days
- Total Lectures: 15
- Capacity: Max 50
- Difficulty Level: Advanced
- Medium of Instruction: English
Project Cost
₹13,000
₹15,000